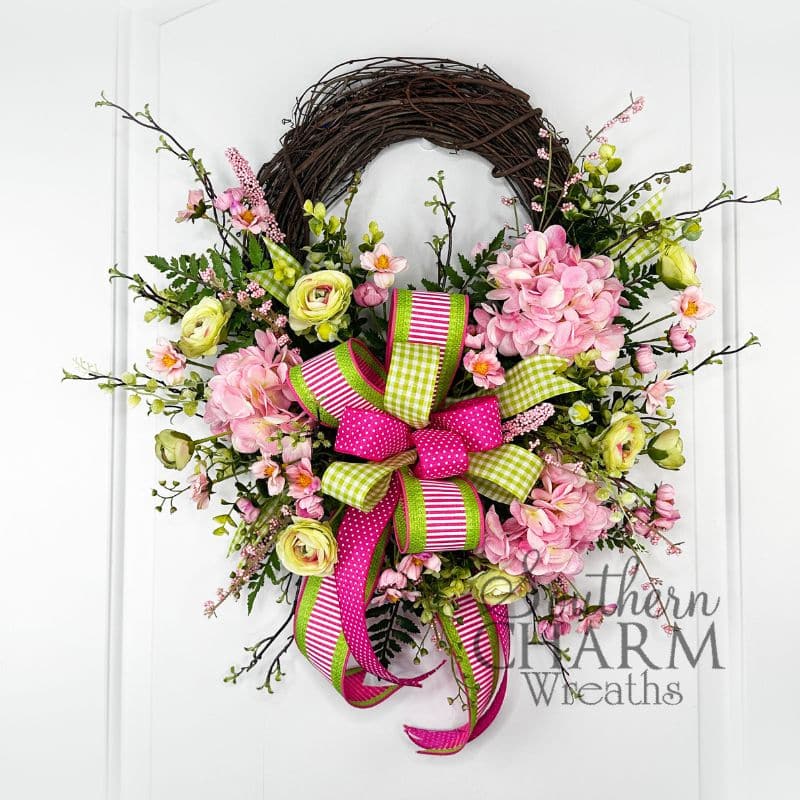
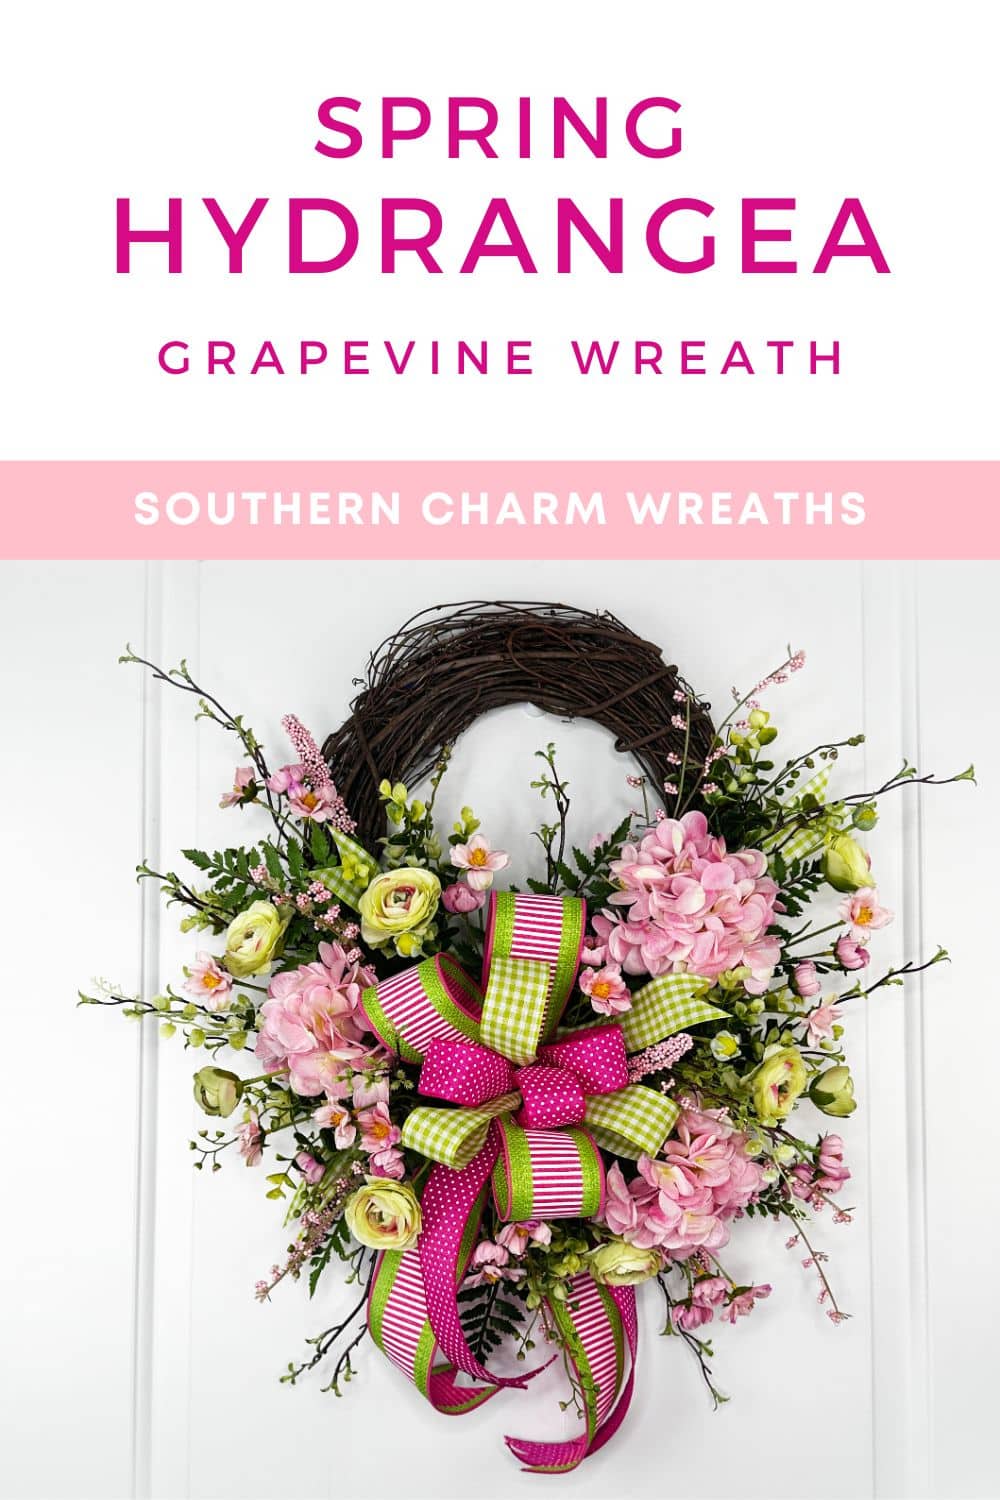
DIY Pink Hydrangea Grapevine Wreath
Hey y’all! Laurie Anne here and today, I’m bringing you a sweet and simple pink hydrangea grapevine wreath tutorial—perfect for your front door, entryway, or any spot that needs a pop of spring color.
We’ll be talking all about my go-to “recipe” for wreath making, so you can easily swap out flowers and colors for any season.
Why You’ll Love This Spring Wreath
- Eye-Catching Hydrangeas: Pink hydrangeas bring a soft, romantic vibe.
- Pop of Green: Green ranunculus and lush greenery add contrast and make the pink really “pop.”
- Beginner-Friendly Recipe: Follow my systematic approach—what you do to one side, you do to the other—to keep your wreath balanced.
- Versatility: Swap out blooms or ribbons to create wreaths for summer, fall, or any occasion.
“This is a recipe, just like when you’re baking a cake—once you learn it, you can change up the colors and flowers for any season!” – Laurie
Materials You’ll Need for the Spring Hydrangea Wreath
- 14-inch Grapevine Wreath
- Hydrangea Bush (Pink)
- Tip: If the bloom is too large, trim it down to make it fit the wreath proportionally.
- Green Ranunculus
- Look for varieties with hints of pink in the petals for a coordinated look.
- Additional Pink Fillers (e.g., small buds, tiny rose-like accents)
- Assorted Greenery
- Leather Leaf Fern (for a lush base)
- Eucalyptus Bush (lime green tips coordinate beautifully with the ranunculus)
- Optional: Branches or Berry Sprigs for extra texture
- Ribbons
- 2.5-inch pink/striped ribbon
- 1.5-inch green check ribbon
- 1.5-inch pink Swiss dot ribbon
- Floral Wire, Wooden Picks, or Steel Picks
- Floral wire and picks help secure shorter stems and give added length.
- Wire Cutters & Scissors
- Hot Glue Gun (Optional)
How to Make a Spring Hydrangea Wreath
1. Attach the Bow First
- Make a Multi-Ribbon Bow:
- Begin with your 2.5-inch ribbon. Measure out your tails (about 12 inches) and make 6-inch loops.
- Layer your 1.5-inch ribbons next, creating matching loops at a slightly smaller length (5 or 6 inches).
- Keep track of which side has two loops and which side has one loop, so you can alternate.
- Secure the bow with floral wire—twist the wire, not the bow!
- Position the Bow on the Grapevine:
- Place it in the center or a bit lower on your wreath, depending on your design preference.
- Tighten the wire securely around the grapevine and trim any excess.
“Once the bow’s on, everything else is centered around that!” – Laurie
2. Build a Greenery Base
- Start with Leather Leaf Fern:
- Trim it so it doesn’t extend more than about 3 inches beyond your wreath’s shape.
- Insert around the bow in an X pattern or “crescent” style, framing the bow from above, below, and both sides.
- Add the Second Greenery (Eucalyptus):
- Tuck eucalyptus stems among the fern to add texture.
- Remember: What you do on one side, repeat on the other for balance.
3. Place the Hydrangeas
- Trim the Blooms if Needed:
- If the hydrangea head is too large for a 14-inch wreath, snip off a few florets and rewire them if you like.
- Follow a Zig-Zag Pattern:
- Insert one hydrangea on the left, one on the right, then one near the bottom, creating a diagonal flow.
- Avoid lining them up at the same exact height—vary the placement for a natural look.
4. Fill in with Ranunculus & Pink Accents
- Green Ranunculus:
- Look for “holes” or gaps with no color, and insert the ranunculus blooms there.
- Space them so each bloom has its own spotlight (avoid crowding the florals).
- Pink Fillers & Buds:
- Tuck smaller pink blossoms and filler flowers throughout to tie all the pinks together.
- Use wooden or steel picks if you need extra stem length.
5. Add Texture with Branches or Berries
- Finish with Whimsical Touches:
- Snip apart berry sprays or branches so you can place them more precisely.
- Place them last so they stand out and give airy movement around the edges.
6. Final Touches
- Fill Any Holes: Step back and see if there are empty spots (where you can see through to the door). Add a bit of greenery or a small bloom.
- Fluff & Adjust Ribbon Tails: Curl or dovetail them. Trim if needed so they don’t overpower the flowers.
- Check the Back: Make sure everything is secure and no wires are scratching your door.
Styling & Display Tips
- Hanging Your Wreath: Use a sturdy wreath hanger or a ribbon loop.
- Indoor vs. Outdoor: If you hang it outside, try placing it under a covered porch to protect it from weather.
- Switching Seasons: Once you learn this “recipe,” swap out florals for summer geraniums or fall mums. Keep the same steps, just different colors!
Join Our Design Membership
Ready to dive deeper? In the Wreath of the Month Club (soon to get a glow up to Everbloom Design Club), we share tons of detailed tutorials—live and recorded—so you can master everything from wreaths to whimsical centerpieces. We’d love to have you!
Join the waitlist so you’ll be first to know when we open it up to new members.
Laurie Anne I’m joining replay from Ga. I am always in awe of your beautiful designs. I do believe that this one is my favorite! Also thank you for reiterating the mechanics of design. It’s very helpful.
Laurie Anne, thank you so much for sharing this wreath design and the step-by-step tutorial and video. I love hydrangeas & this wreath is beautiful!
I attended Julie’s Wreath Makers Live Event over 5 years ago. I had been married for 27 years and was going through my divorce at the time of the event. It was a pleasant distraction and brought me happiness.
I was so inspired and eager to begin my wreath-making journey. I bought ribbons, adorable kits, etc., while there.
Once home & back to dealing with my divorce struggles, all of my adorable wreath items got boxed up with the move and have remained that way, since.
Seeing the tutorial brought back that feeling of joy I felt at the Convention & has inspired me to get those boxes out that I had packed away and left untouched for so long.
Again, thank you for helping me remember the joy of crafting!
# replay
Laurie Anne,
This is a beautiful wreath… but than again everything you do is just gorgeous. I too like when you explain what you are doing and why. Thank you for all the detail you provide.
Is there a list of the products you used with the skew #s?. I have tried to find the Eucalyptus with the lime green tips and the lime green and pink ribbon without any luck. Usually the products with the skew #s are included.
Thank you.
Hey Bernice – We only provide SKUs for our Wreath Making of the Month Club trainings.
Thank you Taylor. I must have confused myself … I thought I was in the Wreath of the Month Training videos when i pulled it up to watch. Thanks for the quick reply.
hi