
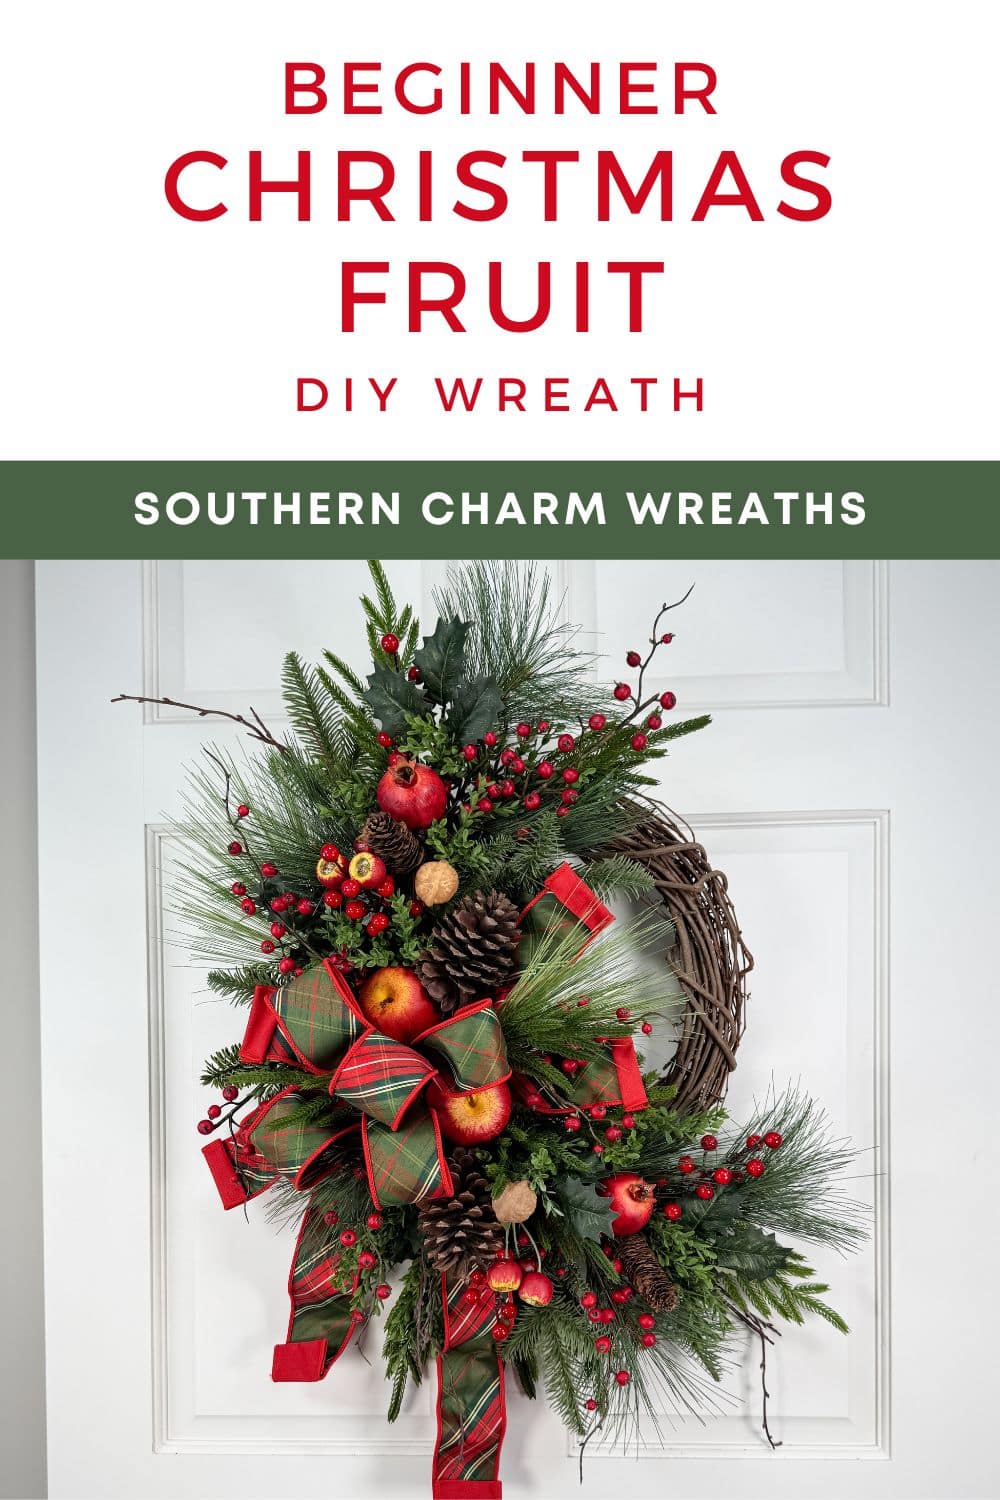
DIY Christmas Grapevine Wreath for Beginners Using Silk Flowers
Have you ever bought a grapevine wreath, set it on your worktable, and then just stared at it?
You’ve got a bag of silk flowers. A roll of ribbon. Maybe a few picks and ornaments you grabbed because they were pretty. But now you’re looking at all of it thinking, where do I even start?
I’ve been there. And honestly, the reason most beginners get stuck isn’t because they picked the wrong supplies or don’t have enough creativity. It’s because they don’t have a starting point. Just a bare wreath base and a whole lot of options.
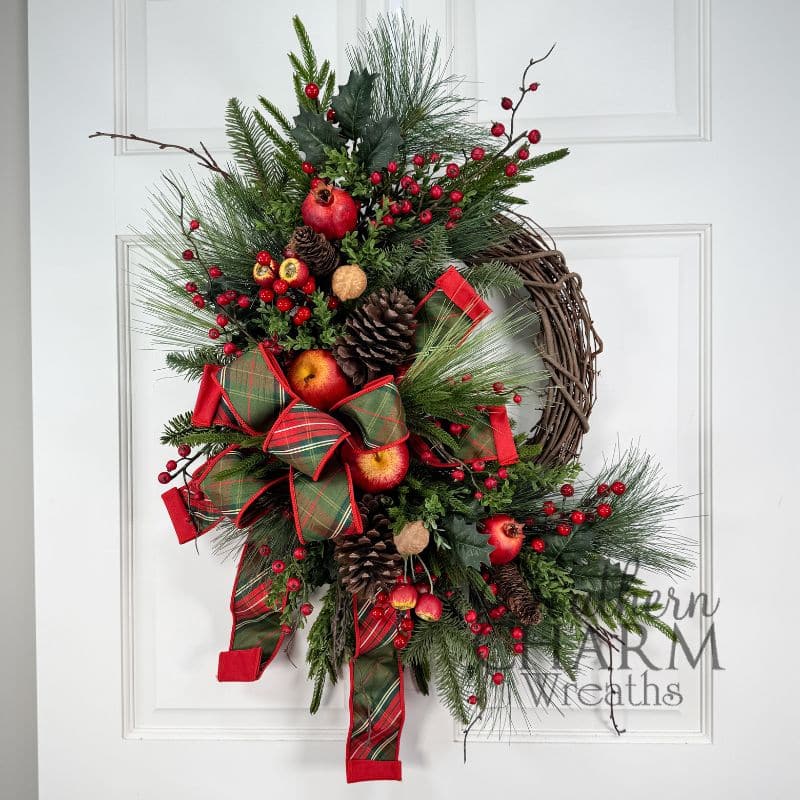
So today I’m walking you through how to make a Christmas grapevine wreath using silk flowers, step by step. This is the kind of wreath I’d suggest to someone who’s brand new to wreath making or has only made a couple and wants to feel more confident about where things go and why.
I filmed the full tutorial on my YouTube channel, and I’ve broken the process down here so you can follow along, pause, and come back whenever you need to.
What Makes Grapevine a Good Base for Beginners?
If you’re just getting started, a grapevine wreath base is one of the most forgiving options you can work with. The vines create natural nooks and gaps where you can tuck stems in without always needing hot glue. You can insert stems directly into the vine, reposition them if something doesn’t look right, and the organic texture of the grapevine itself adds visual interest even before you decorate it.
I actually like leaving parts of the grapevine visible in the finished design. You don’t have to cover every inch. The exposed vine gives the wreath character and keeps it from looking overdone.
For this project, I’m using a grapevine wreath base. If you’re a beginner, I’d suggest staying in the 14 to 18-inch range. It gives you enough room to build out a design without feeling like you need a mountain of supplies to fill it.
Supplies You’ll Need
Here’s what I used for this Christmas grapevine wreath. You don’t need the exact same items. Use what you have, swap out colors, try different flowers. The approach is the same either way.
Base and Tools:
- 14″ Grapevine wreath base
- Hot glue gun and glue sticks
- Wire cutters
- Scissors
- Florist wire or bind wire
Ribbon:
- 2.5″ Christmas plaid wired ribbon
Silk Flowers and Greenery:
- Greenery bush
Accents and Embellishments:
- Mixed fruit pine sprays
- Berry pick
Not sure what Christmas greenery to buy? I put together a free Christmas Greenery Guide that walks you through what I look for when I’m shopping, what works well together, and how to mix greens for depth and texture. You can grab it 👉 Get the Free Christmas Greenery Guide + Join the waitlist for the Christmas Wreath Making and Marketing Masterclass.
How to Make a Christmas Grapevine Wreath with Silk Flowers
Step 1: Prep Your Grapevine Base
Before you start adding anything, take a minute to look at your wreath base. Grapevine wreaths aren’t perfectly uniform, and that’s part of their charm. But you do want to check for any loose vines sticking out at odd angles. Tuck them back in or trim them with your wire cutters.
Decide which side is the front. One side usually has a flatter profile and the other has more vine texture. I like to use the side with more dimension as the front because it gives stems and accents something to nestle into.
Also decide where the top of the wreath is. Flip it around and see which orientation looks most balanced to you. Once you know your top, you know where your design is going.
Step 2: Make Your Bow
I like to make the bow before I start placing anything else because the bow is usually the largest element and it helps anchor the rest of the design. Once it’s in place, I know how much space I have to work with.
For this wreath, I used one 2.5″ ribbon. I measured out 12″ streamers, then created 2 x 6″ loops on each side. Once all the loops were made, I secured the center with florist wire and attached the bow to the grapevine wreath.
Here’s a tip that makes a difference: when you attach the bow, don’t just set it on top of the wreath. Push it down into the vines a little so it feels like part of the design, not something sitting on top of it.
Step 3: Add Your Greenery Base
Greenery goes in before the flowers. Think of it as the foundation that everything else builds on top of.
I started by inserting larger mixed fruit spray, on each side of the bow, angling them along the curve of the wreath. The goal here is to create a base layer of green that fills out the area around the bow and gives your silk flowers something to sit against.
When you’re inserting stems into grapevine, look for the gaps between the vines. Slide the stem in at an angle and give it a small dab of hot glue to keep it in place. You don’t need to drench it. Just enough to hold.
I like to work with the greenery in small sections rather than using one giant stem. Cut your stems apart so you have individual pieces you can place exactly where you want them. It gives you more control over the shape and fullness.
Step 4: Place Your Additional Greenery
Now for the part that makes the wreath feel like Christmas.
I used a denser greenery first to fill in the gaps. Before placing them, I trimmed the stems down, just long enough to tuck into the grapevine or secure with hot glue.
Here’s what I want you to notice as you watch the video. I’m not placing the greenery in a straight line or clustering them all in one spot. I’m spacing them out so your eye travels around the design. Some are tucked in close to the bow, some are further out along the greenery. That spacing is what keeps the wreath from feeling lopsided or heavy on one side.
If you’re using silk flowers for the first time, here’s a quick tip: look at the flower head and decide which direction you want it facing before you glue it. Once the glue sets, repositioning gets messy. Take an extra second to angle it, then commit.
Step 5: Add Your Accents and Embellishments
This is where the wreath starts coming to life. Your greenery is in. Now you’re adding the smaller pieces that fill in gaps and give the wreath personality.
I added berry stems throughout the design. The key here is working in odd numbers and varying the placement. Instead of putting three picks right next to each other, spread them out. Tuck one near the bow, one lower on the left, one higher on the right. Step back after every few pieces and look at the wreath from a distance. What you see up close at your worktable is different from what someone sees when the wreath is hanging on a door.
Step 6: Final Touches and Adjustments
Once everything is placed, I like to step back and look at the whole wreath before calling it done.
Here’s what I check: Are there any gaps where the grapevine is showing and I don’t want it to? Is the design balanced, or does one side feel heavier than the other? Are my ribbon tails hanging the way I want them?
Small adjustments make a big difference at this stage. A little piece of greenery tucked into a bare spot. A berry stem rotated so it catches the light differently. Angle-cutting your ribbon tails so they don’t look blunt.
And then there’s the most important part: knowing when to stop. More isn’t always better with wreaths. If you keep adding, you’ll start covering up the things that already look good. When something feels right, trust that feeling and put the glue gun down.
Tips for Beginners Making Their First Christmas Grapevine Wreath
Start with fewer supplies than you think you need. It’s easier to add than to take away. You can always tuck in one more stem or pick, but pulling something off a wreath after it’s glued is a pain. And you’ll waste supplies.
Use what you already have. You do not need to buy everything new. Check your bins. Look at leftover stems from other projects. That half-used roll of ribbon from last year? Bring it out. Some of my favorite wreaths have come from supplies I almost forgot I owned.
Don’t try to make it perfect on the first pass. Place your main elements, step back, then adjust. Wreath making is a process of building and refining, not getting every piece exactly right the first time.
Work on a flat surface, but check it hanging up. A wreath looks different when it’s lying on your table versus hanging on a door. If you can, hold it up or hang it on a hook partway through to see how everything falls.
Watch the video more than once if you need to. The first time through, just watch. The second time, follow along. There is no rush and no test at the end.
Frequently Asked Questions
Can I make a Christmas grapevine wreath if I’ve never made a wreath before?
Yes. Grapevine is one of the best bases for beginners because the vines give you natural places to tuck stems in. You don’t need special skills or years of practice. Just follow the steps, start simple, and give yourself permission to learn as you go.
What size grapevine wreath should I use?
For beginners, I’d suggest a 14 to 18-inch base. It’s big enough to build a full-looking design but not so large that you need a lot of supplies to fill it.
Do I have to use silk flowers? Can I use real ones?
You can, but silk flowers are more practical for door wreaths. Real flowers wilt, especially in heat, and they don’t hold up to weather. Silk flowers look great for months, and you can store the wreath and bring it out year after year.
Where do I buy silk flowers and Christmas greenery?
I shop at places like Trendy Tree, Greenery Market, Hobby Lobby, and Deco Exchange. The quality varies a lot between brands, so I recommend looking for stems that have some flexibility and realistic color. Stiff, plasticky-looking flowers will make the whole wreath feel cheap, no matter how well you arrange them.
How do I know when my wreath is “done”?
This is one of the most common questions I get. Here’s my honest answer: when you step back and your eye isn’t landing on a spot that feels empty or off-balance, you’re done. If you’ve been staring at it for ten minutes trying to decide if it needs “just one more thing,” it probably doesn’t. Put the glue gun down.
Can I sell a wreath like this?
Yes. If you’re interested in selling your wreaths, I actually teach that too. My upcoming Christmas Wreath Making & Marketing Masterclass (September 21-25) covers not just the creating, but also how to market and sell your finished designs. Join the waitlist to get early access.
How do I attach a hanger to a grapevine wreath?
Most grapevine wreaths are easy to hang because you can slide a wreath hanger right between the vines on the back. If you want extra security, wrap a piece of florist wire around a sturdy section of vine at the top, twist it into a loop, and hang from that.
Want to Learn More About Working with Christmas Greenery?
One of the things that makes the biggest difference in a Christmas wreath is the greenery you choose and how you combine it. Different greens create different textures, and mixing them well is what gives a wreath depth and movement instead of looking flat.
I put together a free Christmas Greenery Guide that covers what I look for when I’m shopping for artificial Christmas greenery, which types work well together, and how I mix them. If you’re planning to make Christmas wreaths this year, this guide will save you time and money at the store.
👉 Grab the Free Christmas Greenery Guide + Join the Masterclass Waitlist
When you sign up, you’ll also be first in line when registration opens for my Christmas Wreath Making & Marketing Masterclass this September. Five days, six Christmas wreath designs, and three go-to design approaches you can use on any wreath. I’ll tell you more about that soon.
Happy Wreathing,
Julie “Decking the Grapevines” Siomacco