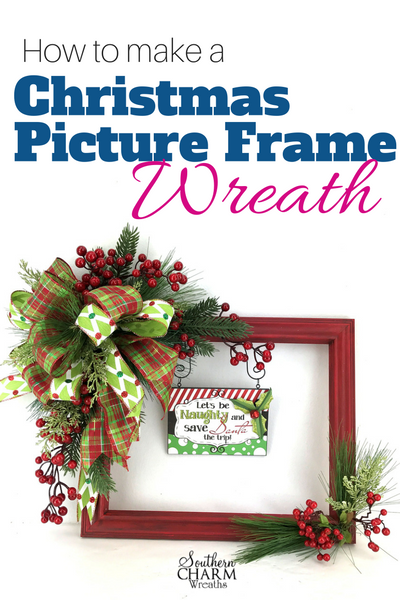
How to Make a Christmas Picture Frame Wreath
We have something very fun today – a Christmas Picture Frame Wreath! We’ll use a picture frame as our base – no grapevine or deco mesh here! This post contains some affiliate links for your convenience. Click here to read my full disclosure policy.
How to Make a Christmas Picture Frame Wreath
Today I’m sharing a fun wreath alternative – a Christmas Picture Frame Wreath! You won’t need a ton of supplies and can even reuse a frame you have so this is a fairly economical decoration. Plus, this is very flexible – you can choose any size frame, any colors, completely up to you! Here’s how:
Supplies needed
- Open back picture frame (Michaels)
- Red & Brown Acrylic Paint (Michaels)
- Krylon Protecting Sealer
- Rustic wire, picture hanger or chain
- Christmas Pine Berry Picks (Sims Pottery)
- Glittered greenery pick (Sims Pottery)
- Ornament (Hobby Lobby)
- Zip ties (Hobby Lobby)
- Wired Christmas Ribbon
- Heavy Duty Staple Gun
- 1/4″ staples
- Florist wire
- Oasis U-Glue Dashes (optional)
[Tweet “How to Make a Christmas Picture Frame Wreath”]
How to Make a Christmas Picture Frame Wreath:
- Choose a frame – you can buy one or repurpose one you have. Thrift stores often have a great selection as well!
- Decide on your colors. I pick an ornament first and then plan the rest of the arrangement based on the ornament style and color. Also think about your other decor and what would fit in best.
- Prime and paint your frame. Spray your frame with a primer (either white or grey). I then painted two coats of red acrylic paint any bright Christmasy red will work. Because I wanted more definition and the frame to look aged, I used watered down brown acrylic paint as a wash. To do that, work in sections and paint the watered down acrylic on coating it well and then quickly wiping it off. This gives a bit of an age to the frame.
- Decide whether you want your frame arrangement to be horizontal or vertical and then find the frame’s center. Measure it out and mark the center on the back.
- If you plan to hang your frame, go ahead and add your hanger now before you start your arrangement. You can use a picture hanger hook, a loop of rustic wire or better yet, attach a chain to either ends.
- Lay the berry picks together, facing opposite directions, and ziptie them together in the center.
- Determine where you want your ornament placed and how long you would like for it to hang. Then attach your ornament by stapling it to the back of the frame with a staple gun.
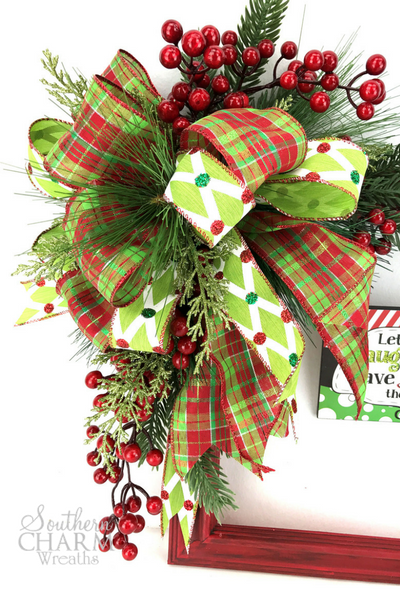
- It’s now time to make a bow with your chosen wired ribbon. Don’t let this step scare you! I walk you through this step-by-step in the video. Note: For the bow in the video, I made 5, 5 1/2″ loops.
- Now you can attach your bow to the center of the pine berry picks using the wire that is already there. Be sure to trim any extra stems in the back that may be sticking out.
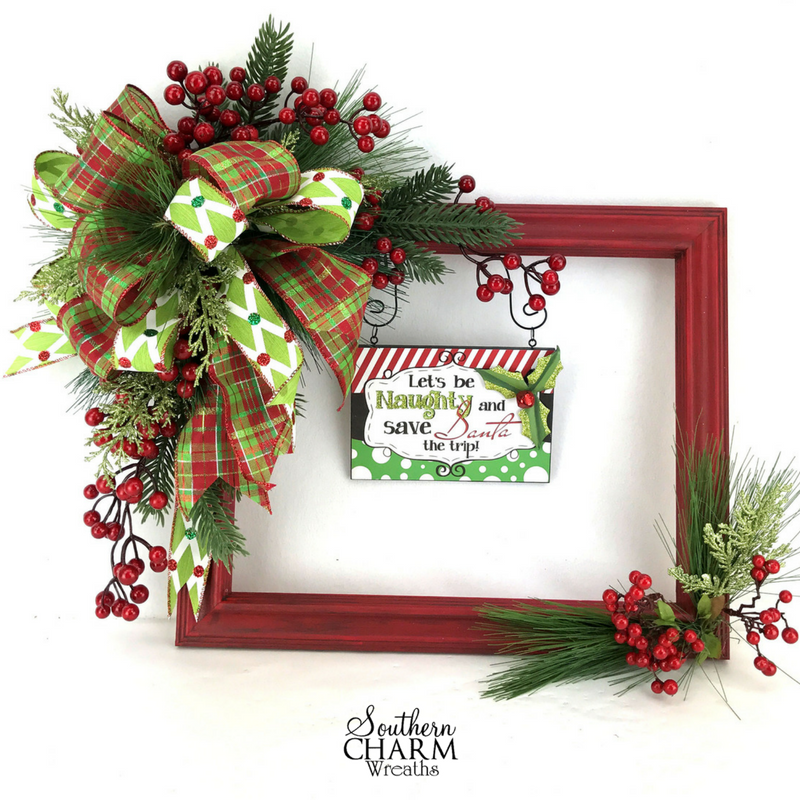
- Attach the bow and berry picks to the frame. I attached mine to the left top corner but you can place yours wherever it works for your arrangement. Tip: To keep the bow arrangement from slipping, I drilled two holes into the frame and then threaded the wire through it. You could also use some hot glue to assure a it is attached.
- To cover the wire in the back of the frame, hot glue a leaf or piece of ribbon over it.
- Your berry picks are now laying in a straight line. Bend each end so that the arrangement is now in an L shape. Don’t be afraid, it is just wire! Once you have it in place, you can add a little bit of hot glue under each end if it feels too loose. You can also hot glue or Oasis U-Glue Dashes to any of the ribbon pieces if you want to ensure stays in place.
- For a beautiful finished look, take extra leaves, glittery stems, whatever you would like and glue them in between the bow loops. This adds a great layer of dimension and interest.
- To balance out the arrangement, I glued greenery stems and red berries to the bottom right corner.
- Voila! You’re done!
Alright, here’s the video…
Remember, you don’t need to use the exact same items I use! Be creative, think about the colors that work best in your home. You might want to hang your frame vertically instead of horizontal and that is great, there is no right or wrong! It would also be fun to do an arrangement of 3 of these on a wall or even a porch.
I hope you enjoyed this tutorial! Make sure to comment below and tell me if you like it so that I know to keep making more tutorials like this. Don’t forget to share this with your family and friends!
Hey, if you like my Facebook Live tutorials, then I know you will love my Wreath Making of the Month Club, my online course where I teach you how to make a professional, designer quality wreath and you learn from the comfort of your home. You can learn more here: https://southerncharmwreaths.com/blog/product/wreath-making-month-club/
Also, join my mailing list and/or follow me on Facebook where I’m LIVE most Thursdays so that you can join in on the conversation www.facebook.com/southerncharmwreaths.
Happy Wreathing,
Julie
If you enjoyed this post, you might also like:
How to Make a Slim Storm Door Christmas Wreath
Top 10 Gift Ideas for Crafters and Creators


Loved your video. I have made several of these and they usual sell first at crafts. I haven’t made a Christmas one yet and this gave me ideas to make them better.
Great picture frame tutorial! I was wonderIng where you buy your deco mesh? In my area, it seems to be getting more and more limited. For Christmas last year, I could buy several rolls at Joanns and this year they have discontinued their line of mesh. Also, Hobby Lobby severely cut back on their mesh, whereas last year they had a lot! I do order a lot from Craft Outlet on line and another Etsy vendor on line, but mesh supplies are becoming harder and harder to find. Any ideas??? Thanks a bunch and Merry Christmas to you and your family.
I purchase wholesale and online only.
Hello from Florida, I love watching your videos. They are so informative. Thank you for teaching us how to make these beautiful items.
Cab you tell me what size frame you used?
I love the things you do! I love to watch except when you spend so much time trying to get iPad working and it doesn’t even matter.
If I don’t get the ipad to work then the video doesn’t work. It matters.