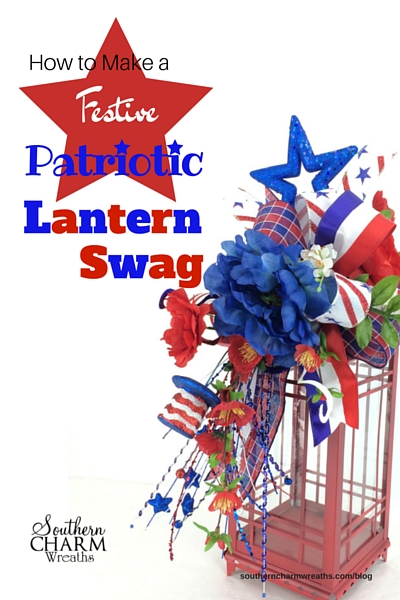
How to Make a Festive Patriotic Lantern Swag
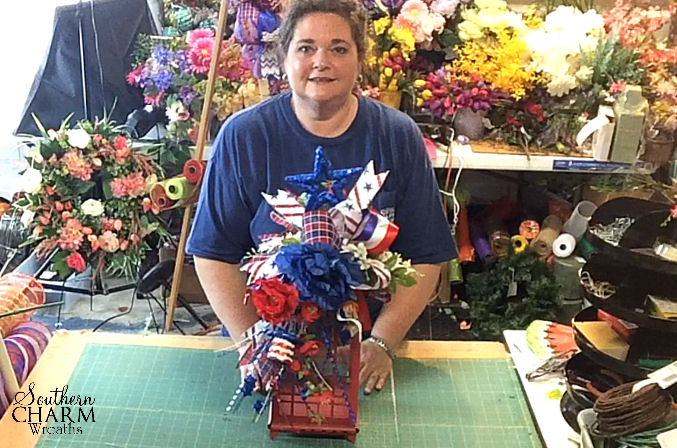
Do you adorn your home with lanterns? If so, have you ever decorated your lantern with a lantern swag? In this video, I will show you how to make a festive Patriotic Lantern Swag using silk flowers, picks and ribbon. Everyone seems to be decorating with lanterns these days whether it be in the kitchen, living room or porch. So why not add patriotic flair to your lantern when decorating your home this Fourth of July. It can be fun and adds to the festive atmosphere. Pair this lantern swag with your other red, white and blue décor and you will have a nice vignette to enjoy for the entire month. This post contains some affiliate links for your convenience. Click here to read my full disclosure policy.
How to Make a Festive Patriotic Lantern Swag
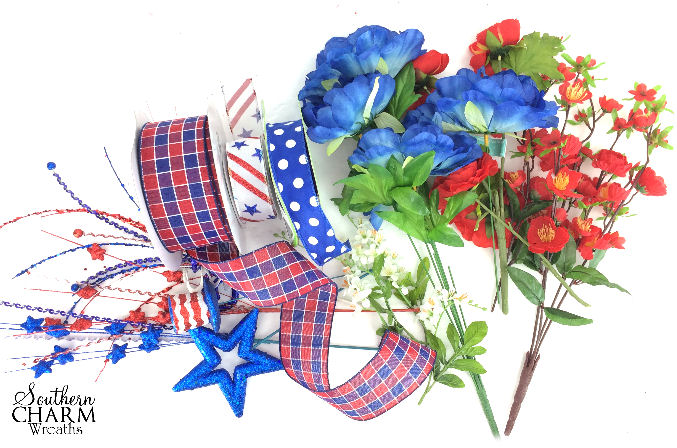
Supplies
Mechanics
Glue Gun
Zip Ties
Florist Wire
Rustic Wire
Wire Cutters
Glue Gun Mat (optional)
Ribbon
Patriotic Ribbon 1.5”
Patriotic Ribbon 2”
Floral
1 Large Silk Flower (focal flower)
2 Medium Silk Flower Stems
2 Small Silk Flower Stems
Small Silk Flowers for Filler
Patriotic Pics (I purchased mine at Hobby Lobby)
Small Silk Flower leaves (optional)
Other
Lantern for display (I used and 18” purchased locally but I’ve seen some at Hobby Lobby)
Instructions
[Tweet “How to Make a Patriotic Lantern Swag”]
Step 1 – Assemble the Swag
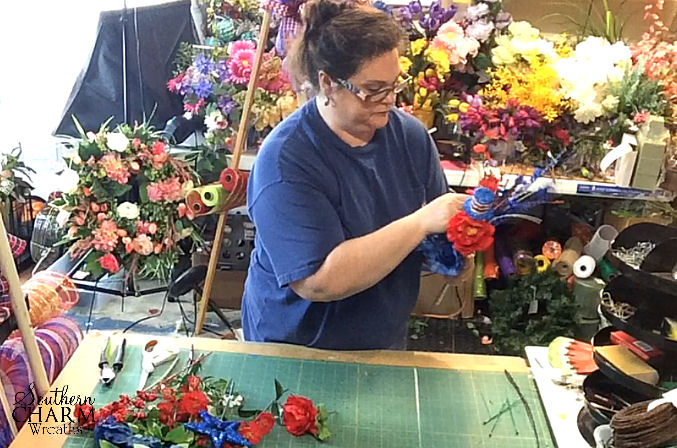
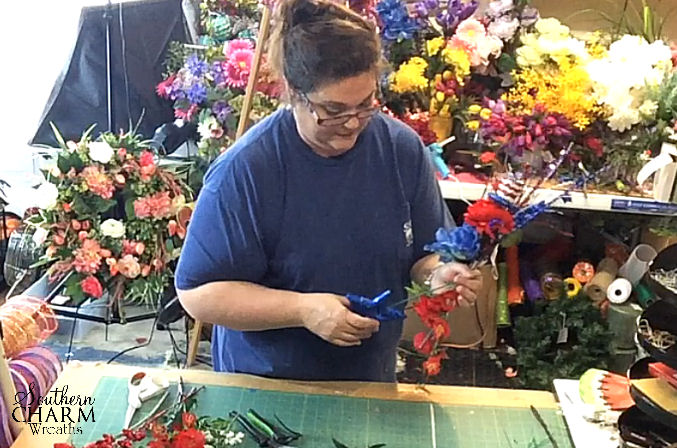
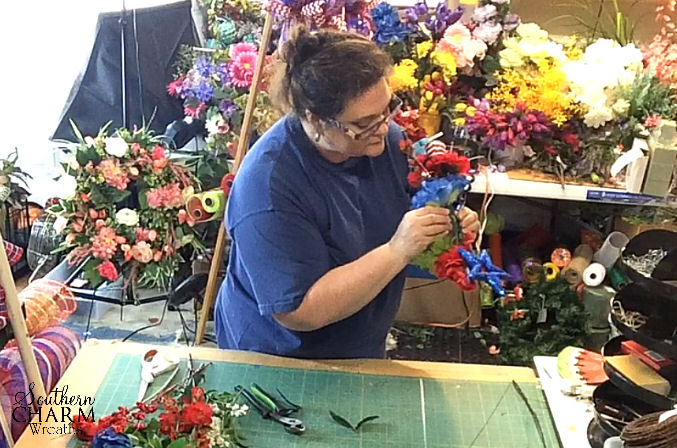
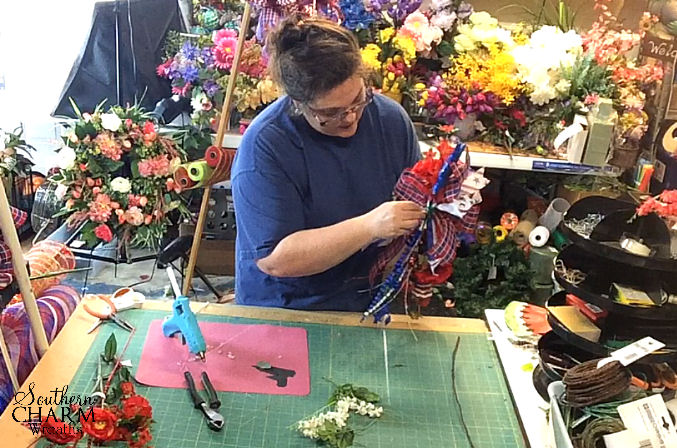
First, measure your lantern height and determine how far down you want your swag to drape. Then assemble a bouquet of picks and flowers in your hand. Stagger the flowers and picks so that they don’t form quite a straight line but you don’t want them too wide either. Start with a base, which I used glittered patriotic picks but you can use greenery too. Then place flowers and picks on top of the base ending with the focal flower, which is closest to your hand.
Now working on the opposite side of your hand place a medium flower, a small flower stem and another patriotic pick so that you now have flowers and picks coming from both sides of your hand but one side is weighted with more items and longer pieces. Make sure to leave enough room for a bow, which will be placed where your hand is holding the stems.
Once you like the placement, zip tie these stems in place with three zip ties and trim the zip ties short. Trim the stems of the flowers and picks to 1″.
[Tweet “How to make an Easy Peasy Lantern Bow!”]
Step 2 – Assemble the Bow
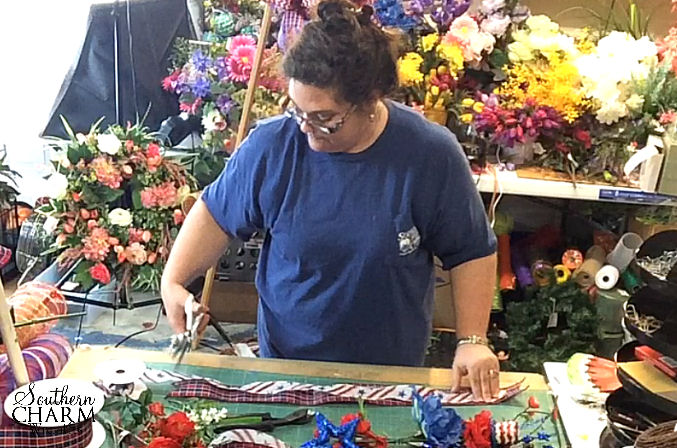
Measure out a long ribbon tail using two of the ribbons (a 1.5″ and 2″ widths). This ribbon tail will go behind your base of flowers on the longer side and the length will vary depending on the length of your swag. Once you measure the tail, add an additional 17” (10” for the loop and 7” for the other tail) in length.
Measure out 3-26” ribbon streamers with your other ribbons. Now you should have a total of 5 ribbon streamers (5-2″ and 2-1.5″) with two being longer than the others.
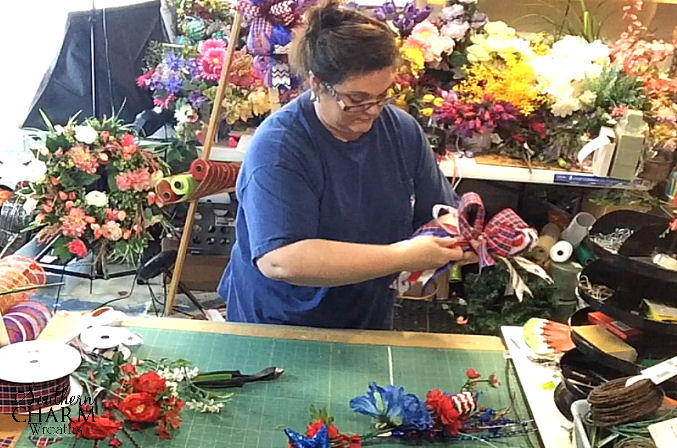
Working with the 2” ribbon and keeping the long tail, pinch in your fingers and measure out 10” then fold the ribbon to the back and pinch at the 10” mark. This makes a 5” loop with two tails, one longer than the other. Twist the ribbon so that the good side of the ribbon faces forward. Do this again for the 1.5” ribbon.
Now make a ribbon loop going in the opposite direction by measuring in 6″ then measuring out 10” forming a 5″ loop and twisting the ribbon. Keep adding ribbon loops and alternating directions until all the streamers are used (see video below). Note: When making your festive patriotic lantern swag, you may need to make your loops larger or smaller depending on your lantern size.
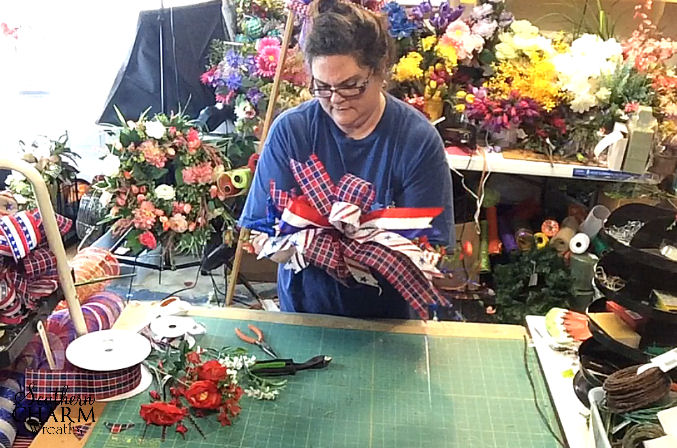
Use floral wire and twist around the ribbon loops tightly forming a bow.
Use the floral wire to attach the bow to the swag on top of the zip ties. Cut the wire short and rap around to the front of the swag.
Step 3 – Hide the Mechanics (optional)
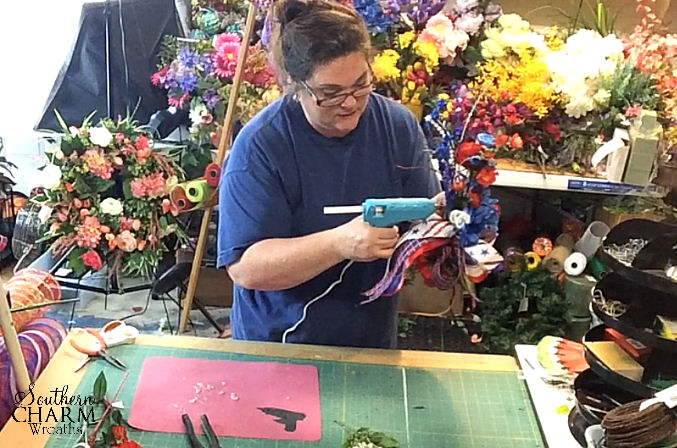
Use small silk flower leaves (or cut larger ones) and hot glue over the zip ties on the back. I typically use 2-3.
Hot glue the long ribbon tails down on the back side of the swag so that it will stay in place and drape behind the swag.
Step 4 – Attach Swag to Lantern
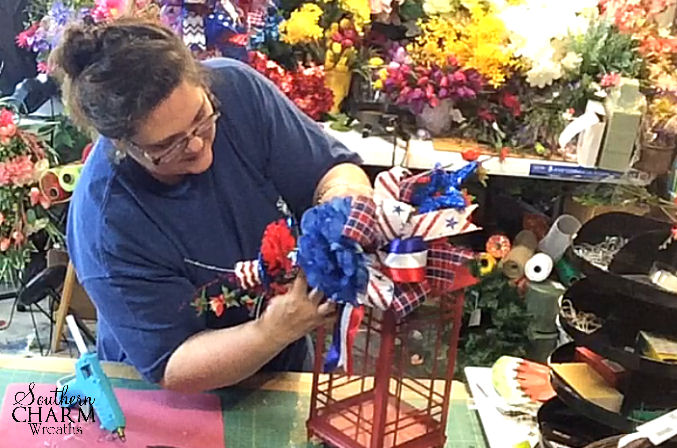
Cut a 20” piece of rustic wire and twist it around the base of the swag on the short end of the swag beside the bow. This is the wire that will be used to tie your swag to your lantern. Now you can attach your swag to the lantern either on top or on the side, depending on your lantern shape.
You will notice that the swag is more horizontal when you first attach it. You want it to be more vertical or even “C” shape. To accomplish this, carefully bend the STEMS of the flowers and picks (NOT the flowers themselves or they will break off) so that they drape more down the front. Bend the focal flowers closer to the bow and bend any picks on top upward so that they stand straight up.
Step 5 – Fill In Around the Bow
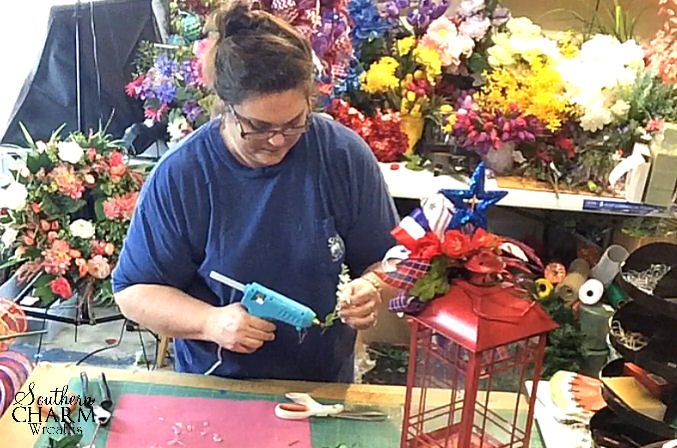
Now that your lantern swag is almost complete, we need to finish it off by adding in more flowers and greenery around and inside the bow loops. Use small pieces of flowers and greenery and hot glue them in between the bow loops. Carefully sandwich the hot glued stem in between the bow loops and bow tails until it’s cooled. Do this throughout the bow and don’t forget the sides and back since the lantern swag will be visible from all sides.
There you have it a beautiful patriotic lantern swag.
For complete step-by-step instructions on how to make a festive patriotic lantern swag, watch my youtube video here.
Comment below and tell me if you decorate your home with lanterns or if you have any questions on how to make a festive patriotic lantern swag. Also, let me know if you are enjoying my DIY videos, your sweet comments are my “tip” jar. 🙂
Blessings & Happy Wreathing
Julie
If you enjoyed this post, you might also like:
How to Make a Fall Lantern Swag
How to Make a Popular Multi Ribbon Patriotic Bow
30 Amazing 4th of July Wreath Ideas
How to Make a Simple July 4th Wreath

Thank you Very much!!! It’s Beautiful, I’ve really been struggling with adding greenery and florals, I didn’t even think of gluing to the ribbons!!! I’ve gotten on the mindset to avoid glue as much as possible, but that should hold very well!!! LOVE IT, as ALWAYS!!!!
Glad you liked it Heidi!
Once again, THANK YOU Julie for sharing your time and talents.
You are indeed an angel for giving back to so many of us who seek your guidance and expertise.
YOU ARE DEFINTELY APPRECIATED !!
Love you, Janna
Awe, thank you Janna! You’re making me blush. – Julie
Thanks Julie for another awesome tutorial. You’re the BEST. Can’t wait to give this a try!!!
You are welcome Donna! Thanks for checking it out. -Julie
Thank you so much for this tutorial…I love lanterns and now I can decorate them for every occasion…thanks again
Great. Thank you Annetta! I’m glad you liked the video. -Julie
Gorgeous Patriotic Lantern Swag and I LOVE the shade of blue you used.! What an inspiration you are! Now I hope to have the courage to try one for myself. With all the Patriotic Days we have, there are many times this can be used which makes it even better! – Mary Helen
Thanks Julie I love it thanks for sharing your tutorial I will be trying it.
Great video. I’m going to use your idea to make a Kentucky derby fascinator. I’ll switch out the colors, but follow your lead. Very pretty lantern. , too never thought of gluing the ribbons down to keep them in place. Thank you so much for your time!
What a beautiful lantern swag! I appreciate all the tips and how-tos you are sharing with us!
Many blessings on your efforts!
Thank you!
Julie, I am really enjoying the videos on lanterns. I recently retired and had purchased 5 lanterns at different times and starting last Nov. I decorated my lanterns watching your videos over and over. Two of them are on the porch on each side of a bench on little round glass tables. Get so many compliments on them and have given your address to so many people, from ladies that work in Brahams to the the bank ladies. You are very popular in our town now. I also take pics and put on Facebook. Get so many likes and compliments. After Nov. I went wild and every holiday have decorated them. Started on wreaths on Easter made a cross wreath. Thank you so much for all the teaching videos, we love you in Texas!!!
Aw, this made my day Melody!! Thanks for sharing your story and testimonial.
love love love. I am going to make one. I made a bow using the funky bow technique
now to find the picks and flowers. wish me luck. I will look at the color article you suggested today on your live broadcast.
I have yet to make a lantern decor piece. My brain couldn’t wrap around how to go at it. When I saw you do the picks the way you did, my lightbulb turned on. Lol! Thanks for the tutorial. I’ll be sure to show you my first one thanks to your video 🙂
How beautiful!!! Thank you for sharing your tutorial. I have been wanting to make some lantern swags for Christmas presents. You do a fantastic job explaining and demonstrating. We are truly blessed that you share your talents with us.
Bless you, Cynthia
Julie i just want to start by saying i love your work and you are very gifted and i appreciate your how to videos they are easy to follow and so helpful. I was wondering where you purchased that black stand on your table that holds all of you tools, i have looked high and low for one. thanks again, a huge admirer.
You can purchase one on Amazon here http://amzn.to/2gJ9o8s
thank you 🙂 i just purchased one of your how to videos may i say it was awesome . i will be purchasing more
Thanks for sharing your beautiful tutorial, I fill like I’m binge watching as I just recently joined and can’t wait to get started. You do such beautiful arrangements and wreaths.
Thank you!