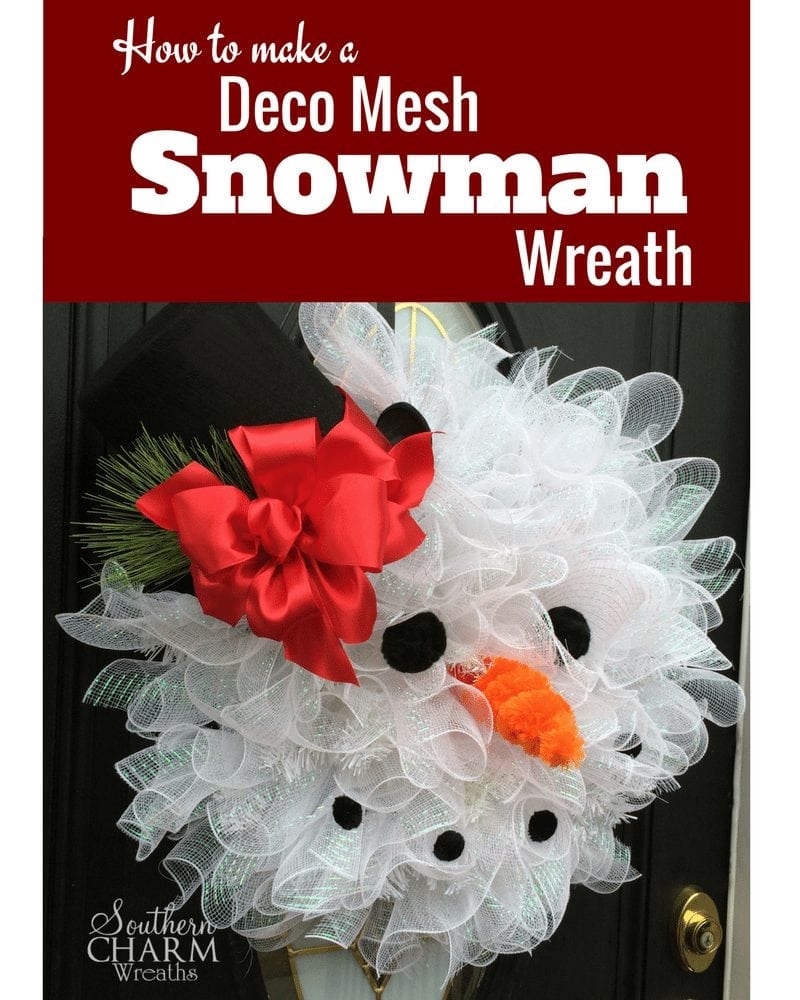
How To Make Deco Mesh Snowman Wreath
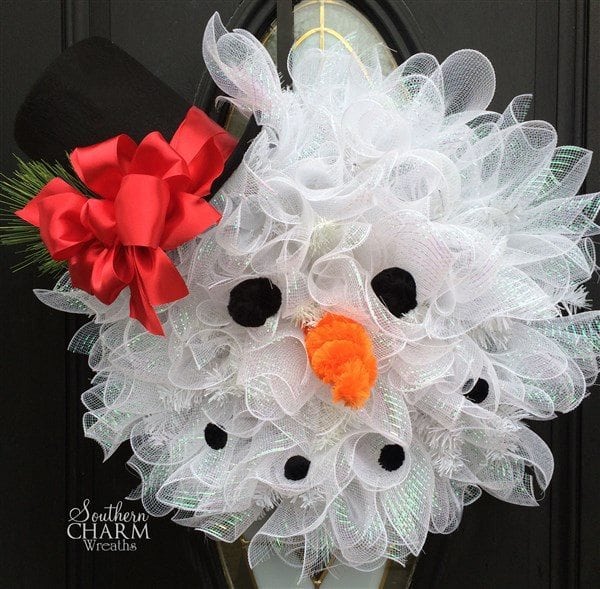
It’s gone viral and everyone wants one…I’m talking about the deco mesh snowman wreath!! And why shouldn’t it??? It is adorable! I tried to locate the original Pinterest poster but I had no luck, so if you know who the original picture belongs to, please let me know so that I can give them credit. When a customer requested one of these Frosty’s, I posted the completed wreath on my Facebook page and it was SO popular! I asked my followers if they wanted a tutorial and of course they said YEESS, so here is my version of the popular deco mesh snowman wreath including tips you may not have thought of! This post may contain affiliate links for your convenience. Click here to read my full disclosure policy.
[Tweet “How to Make a Deco Mesh Snowman Wreath”]
First let me apologize as I had problems with the mic on video below, so I had to record a voice over (scroll to bottom for video). Please let me know if you have any questions by commenting below.
Supplies
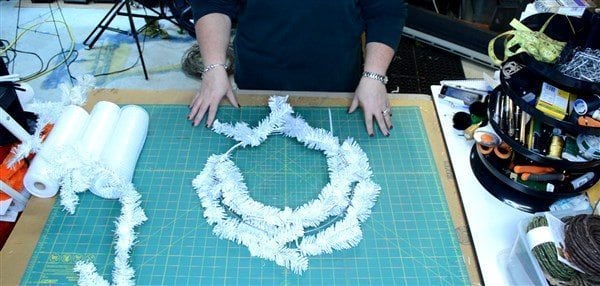
1 -24” white work wreath form
1 white work garland or you can use pipe cleaners
2.5 rolls of white 10″ deco mesh
26” of white 21″ deco mesh
1 large orange chenille stem for nose (Hobby Lobby) UPDATE: If you can’t find the chenille stem use a small artificial tree (those used with train sets) and spray paint it orange, or a styrofoam cone painted with acrylic paint.
2 -2” black pom poms
4 -1” black pom poms
4-5 black chenille stems
2-3 white chenille stems
1 top hat
Approximately 5 yards 2.5” wired ribbon in any pattern you prefer
12” cake board
12 x 18” white craft foam
Scissors
Rotary Cutter
Awl or Punch
Wire Cutters
Hot Glue Gun
Artificial greenery
Step 1 – Prepare Wreath
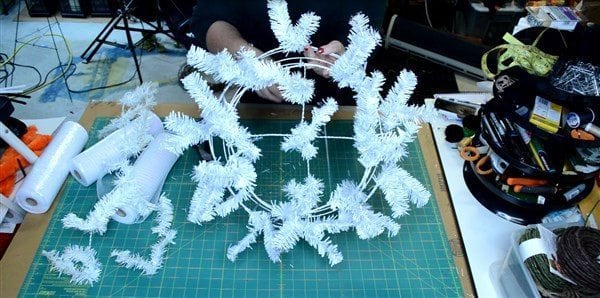
Start by first fluffing the wreath. When you first get your wreath, it will be flat and you need to fluff the wreath and make sure to pull the twist ties up, out and away from the base. Turn the wreath over and make sure that there aren’t any sharp edges, if so push them forward.
Using a piece of the work garland we are going to form a cross in the center of the wreath. Trim the twist ties off the end to reveal a long piece of wire. Use the straight edge of the wire garland to wire around the work wreath frame. Stretch the garland across to the other side, clip off the excess and secure it around the wreath frame. We are creating a base in the center of the wreath so that we can attach deco mesh into the center.
Do the same thing going across the wreath in the other direction with another piece of garland.
Trim off any twist ties you do not need, including one in the center since we already have one. Use the center twist ties to secure where the garland pieces cross.
Note: If you don’t have this garland, you can use floral wire, double up pipe cleaner or use zip ties, just make sure it is white.
Step 2 – Adding Deco Mesh
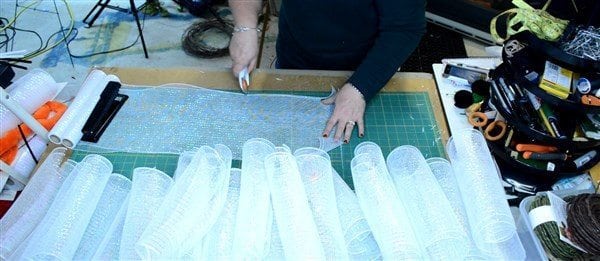
Stack two rolls of 10” deco mesh on top of each other to speed up the cutting process. Roll out the mesh and use an anchor to hold it in place (my stapler). Use a rotary cutter to cut the strips 10″ long. Put the strips to the side and continue to cut until all the mesh is used from both rolls.
Note: I like to use a rotary cutter to make the cut cleaner, which helps to prevent some of the unraveling that happens with deco mesh.
You will need the third roll of mesh to use for filling in any bare spots, I used about ¼ of this roll.
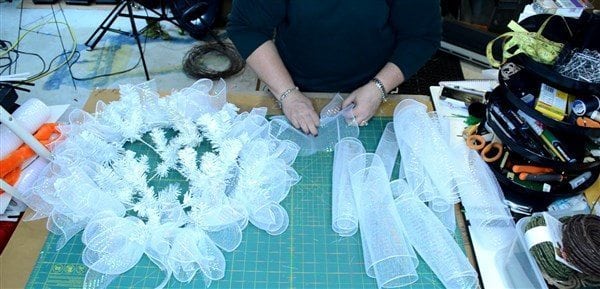
Attach the deco mesh by using the “ruffle technique” and pinching the center of each piece. Do this for three pieces of mesh and secure these three pieces under one of the twist ties. I started on the out ring but you can start anywhere. Continue attaching three pieces of deco mesh into each of the twist ties on the wreath and the cross bar until it is filled up.
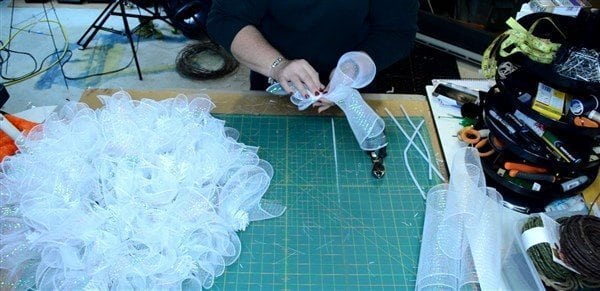
Use extra pieces of deco mesh to fill in any bare spots. Since you don’t have a twist tie, use a half a pipe cleaner to attach it to the wreath. You can use 3 pieces of mesh for larger holes and one or two pieces for smaller holes.
There will be holes where you created the cross piece in the center. To get around that, move the pipe cleaner towards the end of the mesh pieces before securing it to the wreath. This long mesh will fill in the hole.
Make sure all the mesh is facing upward and not stuck under a twist tie.
Step 3 – Make The Nose
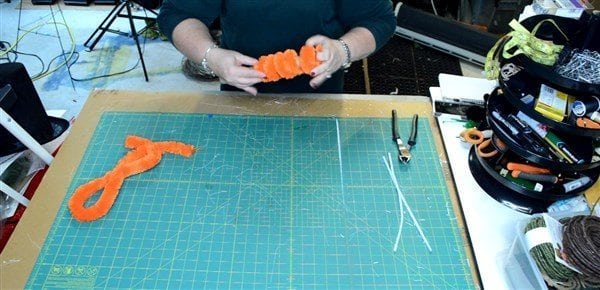
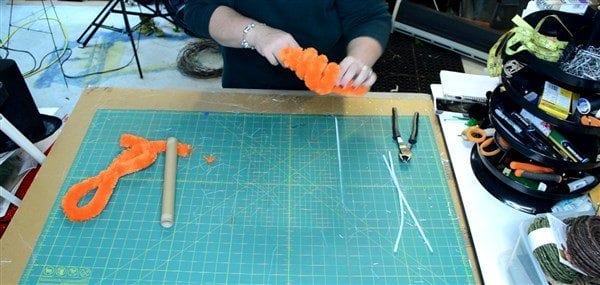
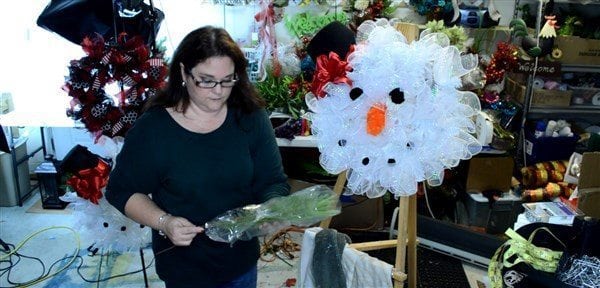
Cut the 1” chenille stem 24” long. Wrap it around the cardboard center of a deco mesh roll to help get it coiled. Remove it from the cardboard and use your hands to make the tip tighter and the base wider, shaping it into the shape of a carrot. Leave a 3” tail on the end to wrap around the center of the wreath form.
There you have it, Frosty’s nose.
Step 4 – Bow for Hat
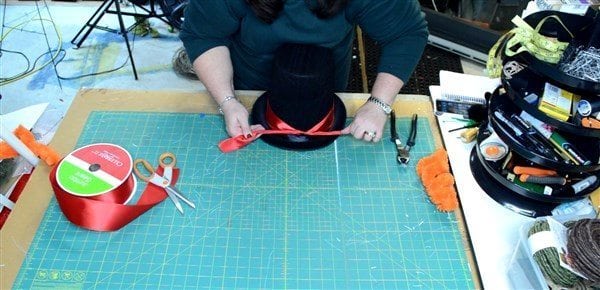
First, wrap the ribbon around the base of the hat leaving a tail. The length of my ribbon is a little over a yard but measure out what fits your hat. Tie in a knot on the front of the hat and put aside.
To make the bow, unroll some of the ribbon from the roll which makes it easier to work with. Form a small loop and pinch and gather around the back. This forms a pleated knot on the front which will be the center of the bow.
The back side of the ribbon going towards the ribbon roll will now be facing up, to turn it over to have the good side showing, just twist it keeping the twisted section in your fingers. Pull the ribbon out and back under forming a loop. Measure out a 3” loop (if your hat is smaller, use smaller loops). Twist the ribbon again always keeping the good side of the ribbon on top. Make a 3” loop now on the other side of the center loop and twist the ribbon. You should now have what looks like a bow tie.
Keep forming 3” loops until you have six total, 3 on each side of the center. Make one additional loop longer, which will be the bow tail when cut in half. Twist the ribbon again and then cut the ribbon from the roll leaving a 5” tail.
Use floral wire or pipe cleaner to run through the center hole and around the back. While holding the ribbon and wire tight in one hand, use your other hand to fluff and maneuver the loops into shape and position. When you like it, turn your hand over and twist the bow to make the wire tight around the bow loops.
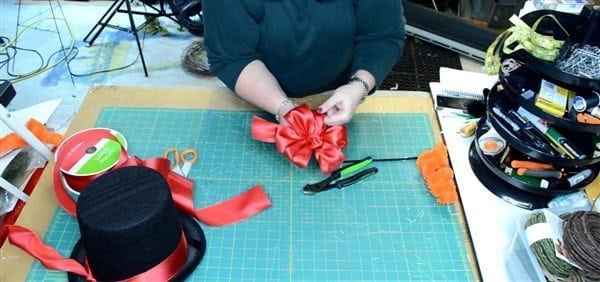
To attach the bow to the hat, run the wire under the knotted sash and twisted the wire. Cut the wire short and push in the extra wire. Cut the tails shorter on the sash and the bow.
Step 5 – Adding Eyes & Nose
First, you may want to make your wreath hanger now or you can do this afterwards, whichever you prefer. I added it now so that I can hang the wreath up to work with it. Use a chenille stem to make a wreath hanger.
Before adding the hanger, make sure that one of the twist ties is on the top left of the wreath where you want the hat to be positioned.
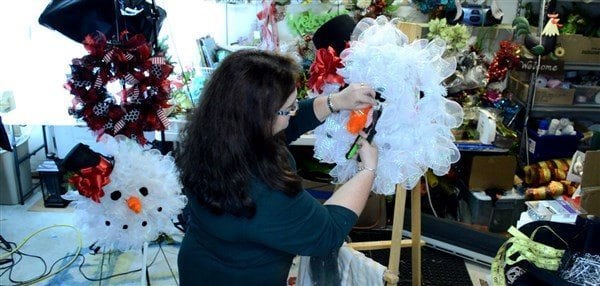
Attach the carrot nose into the center of the wreath by pushing the end through the mesh to the back. Turn the wreath over and wrap the tail of the nose around the wire on the cross on the back of the wreath. Use the center twist ties on the front of the wreath and run them up through the center of the carrot to help support its weight.
Step 6 – Attaching the Hat
Use the 21” mesh and gather it in the center, untwist the twist ties where the hat will go and attach the mesh strip. This added mesh will help support the weight of the hat.
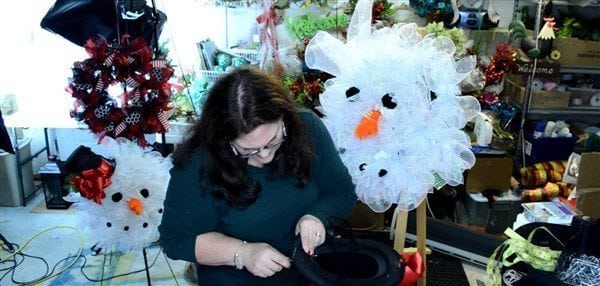
Position the hat on the wreath to get a measurement of where you need to add wires. Remove the hat and use a punch or awl to pierce the fabric on the hat making two holes on the side under the sash; the sash will help hide the wire. Thread a black pipe cleaner into the holes.
Do this on the other side of the hat, making two holes and threading pipe cleaner. Sometimes it is tricky to pierce the fabric and it takes patience but you will get it. Do the same thing on the back of the hat with two holes and a pipe cleaner.
Attach a fourth wire to the brim of the hat making holes and threading pipe cleaners. This will be used to secure the hat brim when we fold it under behind the wreath.
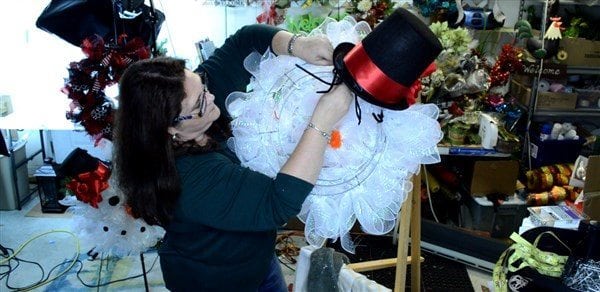
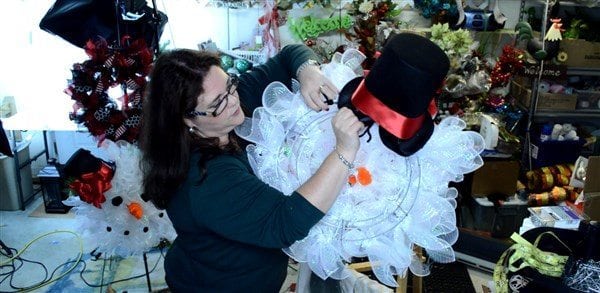
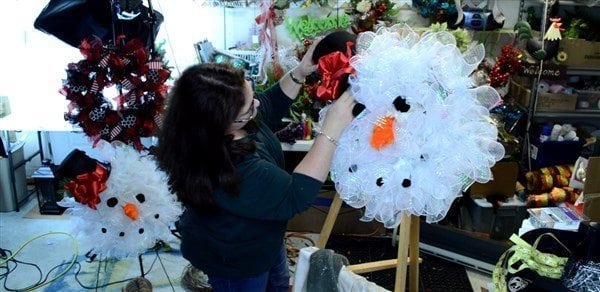
Place the hat on top of the wreath pushing the added 21” mesh up, under the hat. Twist the pipe cleaners on the side of the hat to the wreath frame. Don’t tie them all the way down at first, just enough to hold it in place. Once those are wired, then wire the pipe cleaner on the back of the hat.
Once you like the position of everything, turn the wreath over and tighten those three pipe cleaners tight.
Bend the brim of the hat back so that the wreath will lay flush when hanging on the door. Use the pipe cleaner attached to the brim to twist it to the inner ring of the wreath frame and twist tight.
Cut all the pipe cleaners short.
You will see in the video below, I noticed that the hat was still floppy, so I attached another wire to anchor it in the front by doing the same process of making two holes and threading the pipe cleaner and wiring it to the back of the wreath frame. So there are a total of 5 pipe cleaners holding the hat in place.
Cut and hot glue piece of artificial pine or holly to stick under the bow.
Step 7 – Backing
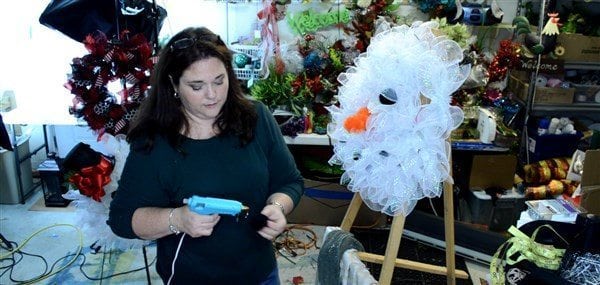
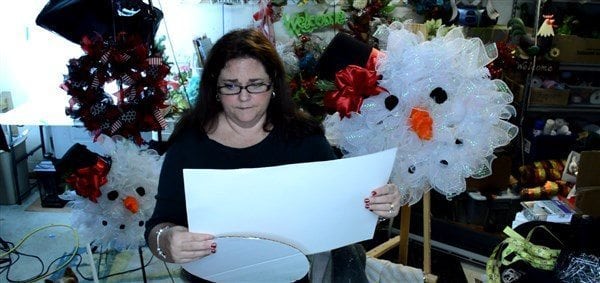
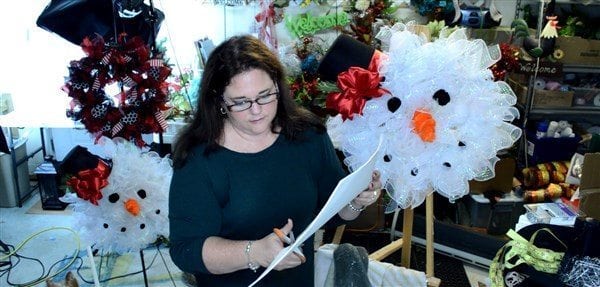
Use the cake circle as a template and draw a circle onto the foam. If you don’t have a cake circle you can use a pencil and string. Cut the circle out of the foam and turn the wreath over on the table. Add a dollop of hot glue to the top of the circle and attach to the needle ties on the back of the wreath. When it is cooled, attach another dollop of hot glue to the bottom in the same way.
Then move to the sides of the circle, hot gluing in the same manner. Once that glue cools, add more hot glue in between those four places or anywhere that is needed.
Step 8 – Cleanup
Feel free to use wire cutters and trim the needle ties shorter, especially if they are covering up a facial feature. Also use scissors to trim any of the long frays off of the deco mesh. You can also add more mesh now if you see more holes.
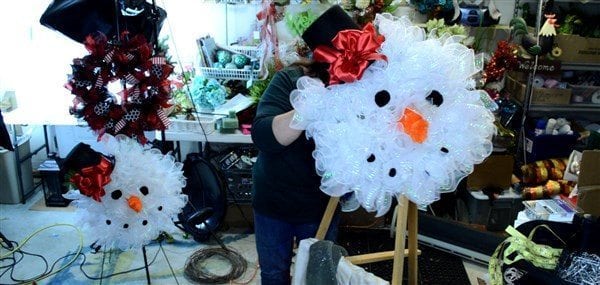
There you have it, a deco mesh snowman wreath. Here is the full video on each step above.
I teach how to make more wreaths like this in my ebook, www.learndecomeshwreaths.com.
If you found this tutorial useful, please share it now.
Happy Wreathing,
Julie
If you enjoyed this post, you might also like:
How to Make A Funky Bow -Christmas Edition
How to Attach Plush Doll to Wreath

About how tall is the top hat? Cost?
about 6″ and it was $7-$8
Me gusto!! Mil Gracias por compartir ?
Cute! I made a wreath like this and shared it on my blog in 2012. Not sure if mine was the original or not, but it has been very popular on Pinterest, and to answer your question, I made my hat out of recycled boxes and felt. 🙂 http://www.pitterandglink.com/2012/12/mesh-snowman-wreath.html
Your wreath is so cute but not the one I pulled inspiration from. How did did the boxes hold up in the elements?
Thanks! I gave the wreath to my mom as a gift, and she hangs it over her mantle, so it’s not in the elements. Rustoleum has a spray called “Never Wet” or something like that though, and spraying the the boxes with that could be an option to help it withstand the elements. 🙂
Thanks for the tip!
I made one but my face looks so odd….I think it was cuz my nose was so small….I’m gonna try to make one like this ….the!!
Just want to thank you for all the effort you put into all these awesome tutorials and videos. I can’t wait to make one.
On another note, when does your daughter perform in the parade?
Great tutorial, just one problem. When you got to the part for making the bow to the end of the tutorial, every part of the wreath was out of the frame.
Thank you for bringing that to my attention. It’s hard to record yourself. I hope you learned something from the video.
Julie, did you just hot glue the pompoms for eyes and mouth directly onto the deco mesh?
Thanks for all you do! Wishing you and your family a very blessed Thanksgiving and Christmas.
Yes. Sorry I think the video cut that part out. Just hot glue
Hi I am having trouble finding the work garland and the mesh on the site you gave. What am I doing wrong?
Love your tutorials…..they are so easy to follow! Do you think it would be possible to use the net bath scrubbies from Dollar Tree? Or maybe use them to make ornaments instead of the wreath. Thanks for the inspiration!
I can’t find any top hats. I live in Co. & have a Hobby Lobby & Micheal’s in a town near by & they don’t carry them. Are there any places on line to find these? Thanks for your help.
A must have!!
I think everyone is the country is making this adorable snowman wreath. I can’t find 10″ white deco mesh anywhere. It is all sold out. Have you ever used 21″ for this snowman?
Dear Julie,
I wish I had known about Trendy Tree before this. Being brand new at crafting, I spent a lot of time trying to locate all the supplies for the snow man. I found just about everything. Yesterday I received the hat. It was quite smashed so I ordered another one. Wish me luck on my ‘travels’ with this project.
Can you tie the mesh on the wreath, instead of using pipe cleaners to tie the mesh on the wreath?
You either need a work wreath form or pipe cleaners on a wire wreath.
Where do you purchase your top hats from?
There’s a supply list at the top of the post giving you suggestions.
all these awesome tutorials and videos. I’m gonna try to make one like this
While I don’t know who the original designer/ creator of this adorable snowman wreath is either, I did learn from another crafter that made a replica as well that the easiest way to deal with the Top Hat is to simply cut it in half. Yep!!! Carefully make two hats out of one and attach it. It works perfectly and you get 2 hats for the price of one!!! For the really nice stiff felt hats, I think I paid around $16+ each which is $7.50 for each snowman wreath. I was happy.
Can not makes nose need pattern please!