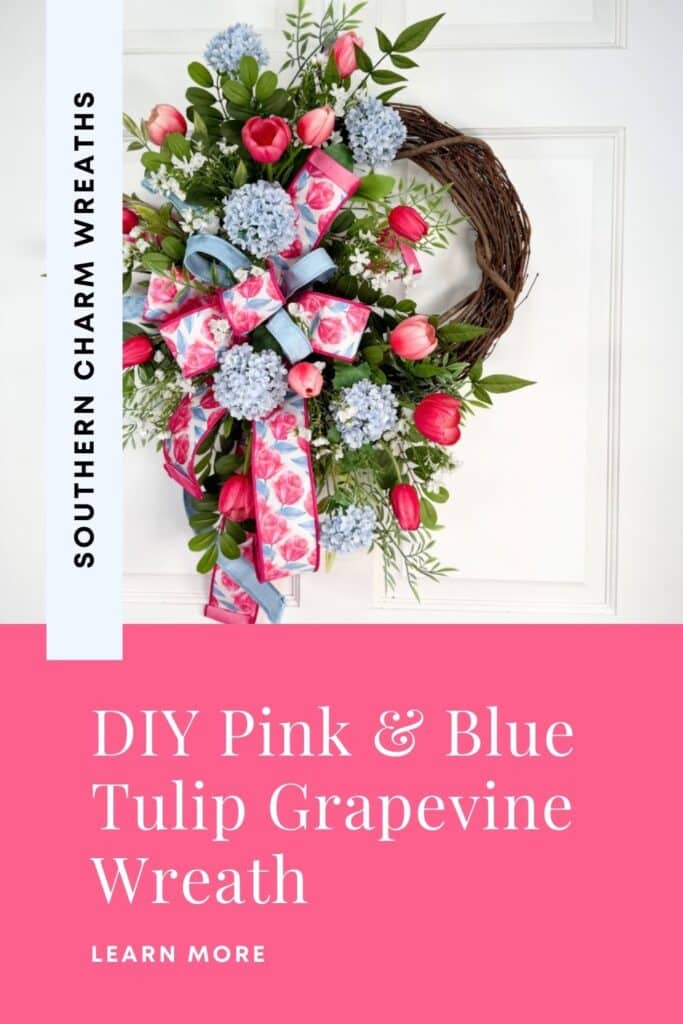
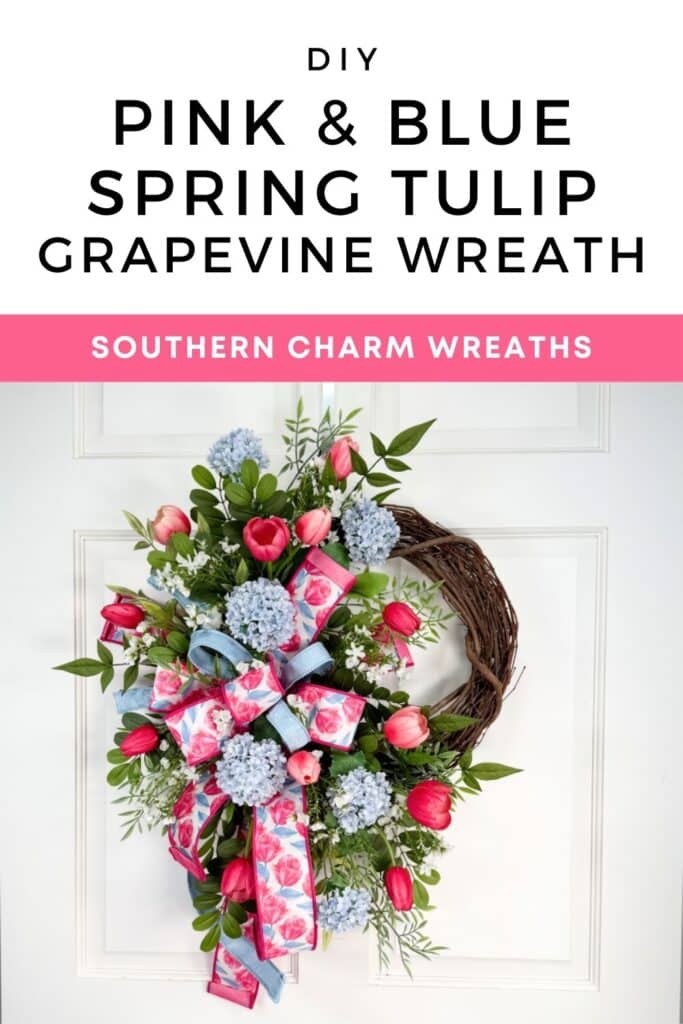
How to Make a Hydrangea and Tulip Grapevine Wreath That Looks Full and Professional
Today I’m walking you through how to create a hydrangea and tulip grapevine wreath that feels full, balanced, and polished without overcomplicating the process. This is one of those designs that looks impressive on the door but is built on simple, repeatable foundations.
Whether you are brand new to wreath making or looking to tighten up your design skills, this tutorial focuses on the fundamentals that truly make a difference.
Start With Color Selection
Before anything ever touches your grapevine base, color matters.
I always recommend starting one of two ways:
- Use a color wheel to guide complementary shades
- Or pull your colors directly from a patterned ribbon

Ribbon is often the easiest starting point because it already does the color work for you. Once your ribbon is chosen, let it guide your greenery and florals so everything feels cohesive instead of random.
This step alone can elevate a wreath from homemade to professional.
Hydrangea and Tulip Grapevine Wreath Video Tutorial
Build a Strong Greenery Base
A full wreath always starts with greenery, not flowers.
For this tulip grapevine wreath, the goal is depth and movement. That means using at least three different types of greenery with variation in:
- Leaf shape
- Color tone
- Texture
Layering greenery creates the foundation that supports everything else. It also helps the flowers stand out instead of competing with one another.
As you work around the grapevine base, focus on direction and flow. Greenery should feel like it’s growing naturally around the wreath, not sitting on top of it.
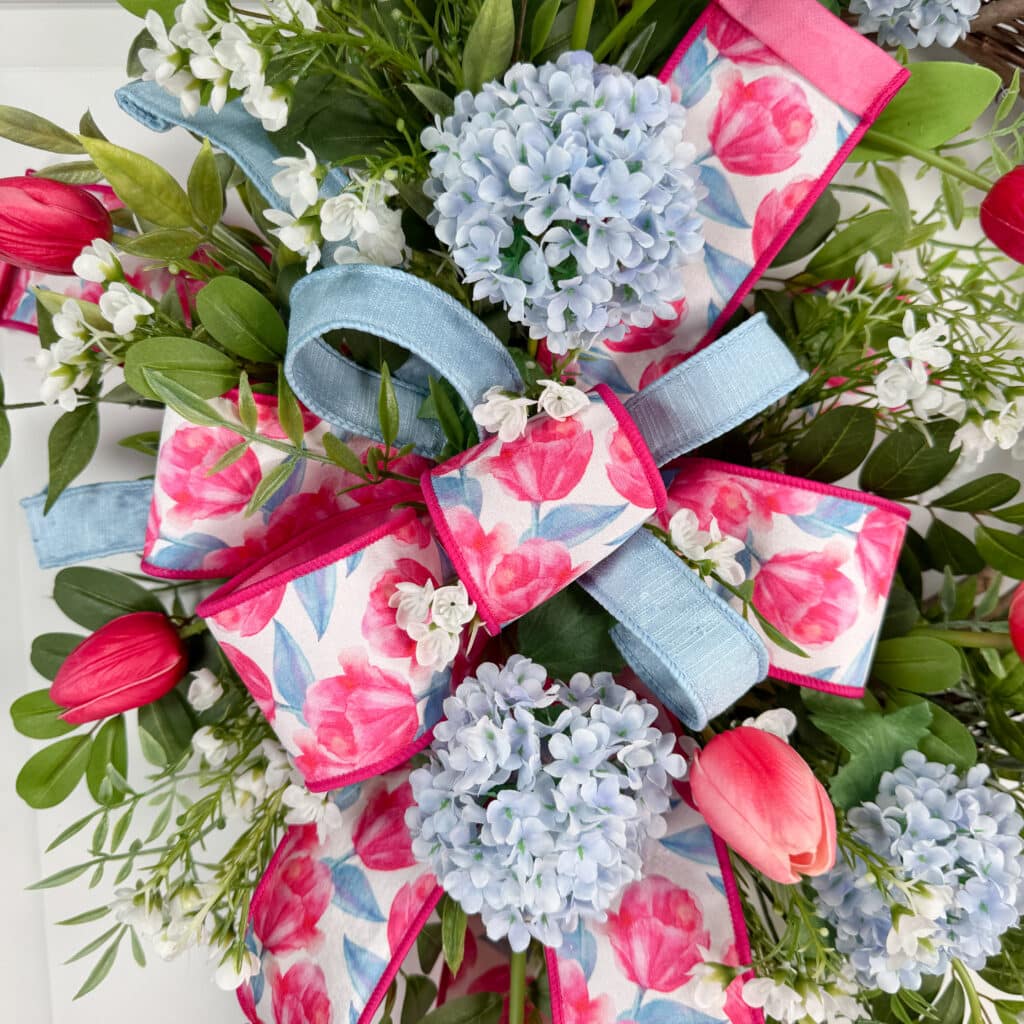
Make and Attach the Bow First
Once your greenery base is established, it’s time for the bow.
For this design, I use a multi-loop bow attached directly to the grapevine base. One important tip here is do not cut your wire tails right away. Leaving them long gives you flexibility to adjust placement as the wreath comes together.
The bow acts as an anchor point. Everything else will be designed around it, so take a moment to make sure it feels balanced and secure.
Layer Florals in the Right Order
This is where many wreath makers get stuck, but the order truly matters.
Start by building outward from the bow using flat-leaf greenery. This helps transition the bow into the rest of the wreath and avoids that “plopped-on” look.
Next, add your larger focal flowers first. In this design, snowball hydrangeas go in before tulips. Larger flowers establish structure and spacing.
After that, bring in the tulips. Let them move in different directions so the wreath feels alive and dimensional rather than stiff.
Finish with filler flowers to soften edges and fill small gaps without overwhelming the design.
Proper Stem Insertion Makes a Big Difference
One of the most overlooked details in wreath making is how stems are inserted.
Make sure stems are pushed deep enough into the grapevine so they feel secure and intentional. Loose stems not only look messy but also affect how long the wreath holds up on the door.
Take your time here. Small adjustments add up to a big difference in the finished piece.
Final Touches and Design Confidence
As you step back and look at your wreath, make small tweaks:
- Adjust angles
- Check balance on both sides
- Make sure your focal area feels intentional
Design confidence grows by understanding why things work, not just copying steps. The more you slow down and notice what each layer adds, the more natural this process becomes.
This tulip grapevine wreath is a perfect example of how strong foundations lead to beautiful results.
Ready to Keep Growing Your Skills
If you loved this tulip wreath tutorial, keep practicing these core principles:
- Thoughtful color selection
- Layered greenery
- Intentional floral placement
These are the same skills that translate across seasons, styles, and even into selling your work with confidence.
Looking forward to learning how to make a new wreath.
Your creations are absolutely stunning!