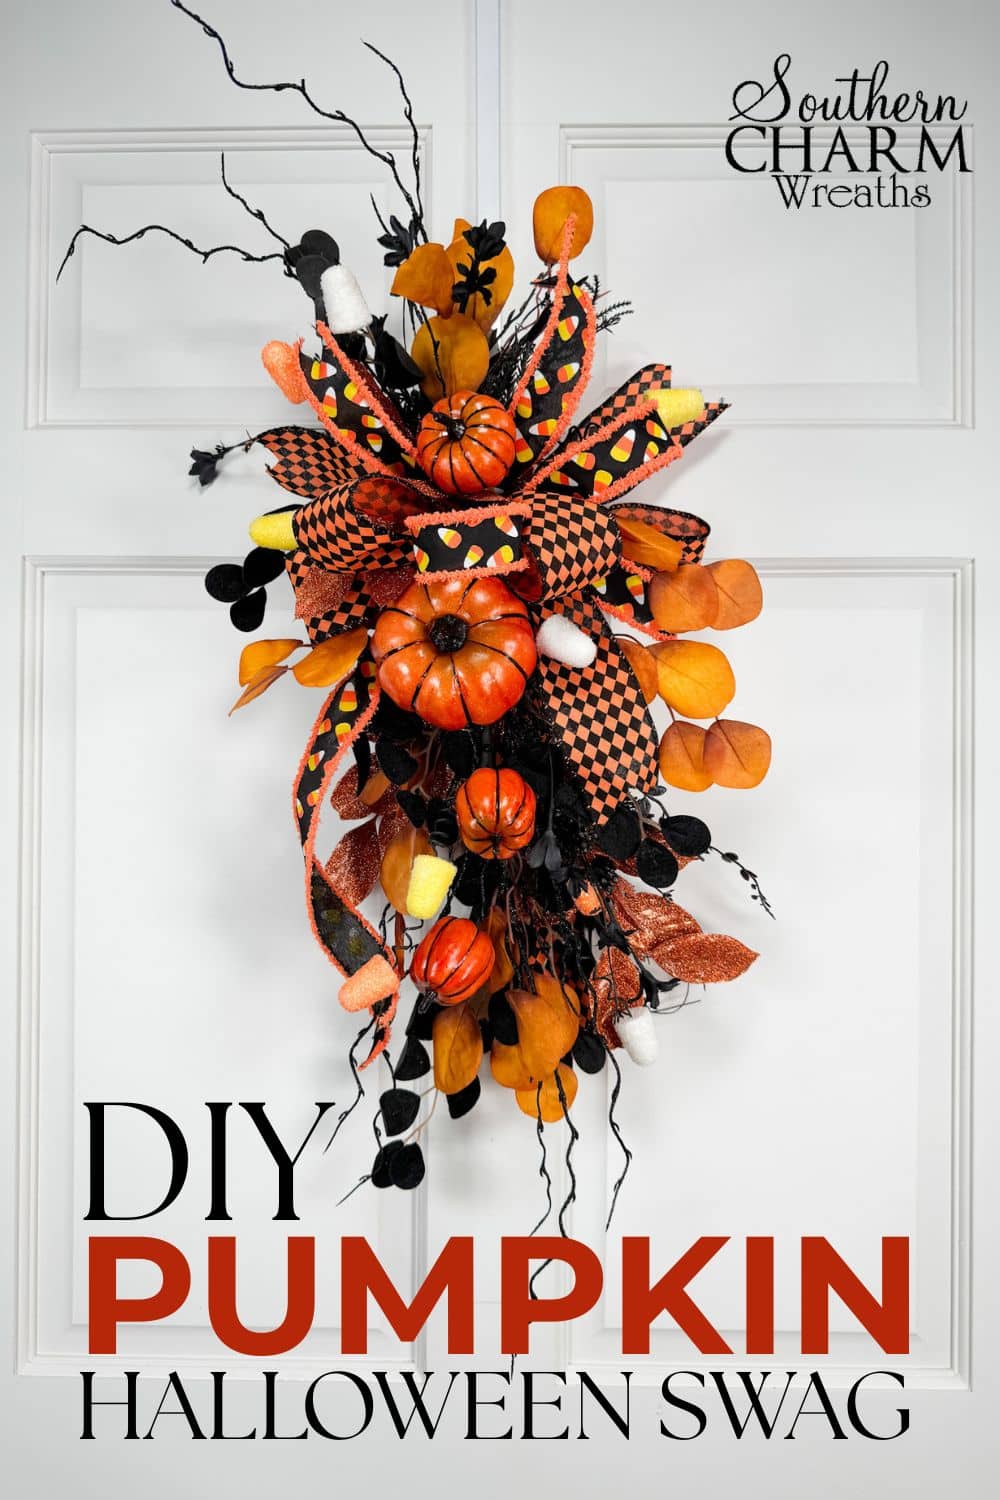
DIY Pumpkin Halloween Swag
Looking for a fun way to add a little Halloween cheer to your front door or lantern? Y’all are going to love this DIY Pumpkin Halloween Swag. It’s quick, festive, and beginner-friendly, which makes it perfect whether you’re decorating your own home or creating pieces to sell in your shop.
How to Make a DIY Pumpkin Halloween Swag
This project combines pumpkins, candy accents, bold ribbon, and pops of glittery leaves into a design that’s both spooky and whimsical. Best of all, it comes together fast with just a few supplies!
Supplies You’ll Need
- 1 long pumpkin pick
- 1 short coordinating pumpkin pick
- Black filler greenery (60919 style)
- Glittered leaves or shimmer picks
- Candy accent sprays
- 2 ½” wired ribbon (orange/black harlequin)
- 1 ½” wired ribbon (candy corn print)
- Black or white zip ties
- Floral wire (18 gauge)
- Wire cutters & scissors
- Hot glue gun & glue sticks
Many of these supplies came from Greenery Market. Don’t stress if you can’t find the exact same pieces—use what you have in your stash or grab similar colors and textures!

Step-by-Step Instructions
Step 1: Start with Your Picks
Layer a long pumpkin spray with a shorter one. These already include pumpkins, leaves, and branches, so they’ll give you a head start. Fluff them out for fullness.
Tip: If your leaves look bent, give them a quick pass with a clothes steamer. Or leave them as is—crunchy leaves just make it more realistic!
Step 2: Add Filler
Use black glittery filler stems or greenery to create depth. Spread them wide to give the swag a fuller shape.
Step 3: Include Candy Accents
Trim your candy picks and layer them in. Place them near the top so they’ll peek through the bow later.
Step 4: Zip Tie the Pieces Together
Stack the sprays side-by-side and secure with a zip tie. Leave a small space in the middle (about 3 inches) where your bow will sit.
Step 5: Make Your Bow
- Cut ribbon tails long enough to match the swag’s length.
- Create 3 loops with your 2 ½” ribbon, about 6” each.
- Layer the 1 ½” ribbon on top, reversing the loop placement for balance.
- Secure with floral wire.
Tip: Pre-make bows in batches for craft shows or Etsy orders. It saves time and keeps designs consistent.
Step 6: Attach the Bow
Use the bow’s wire to secure it tightly in the center of your swag. Trim excess ribbon into dovetails for a polished finish.
Step 7: Shape and Balance
Bend pumpkins closer to the bow, spread candy accents outward, and trim any long stems. If you notice holes, glue in leftover leaves or candy pieces for balance.
Where to Use Your Pumpkin Swag
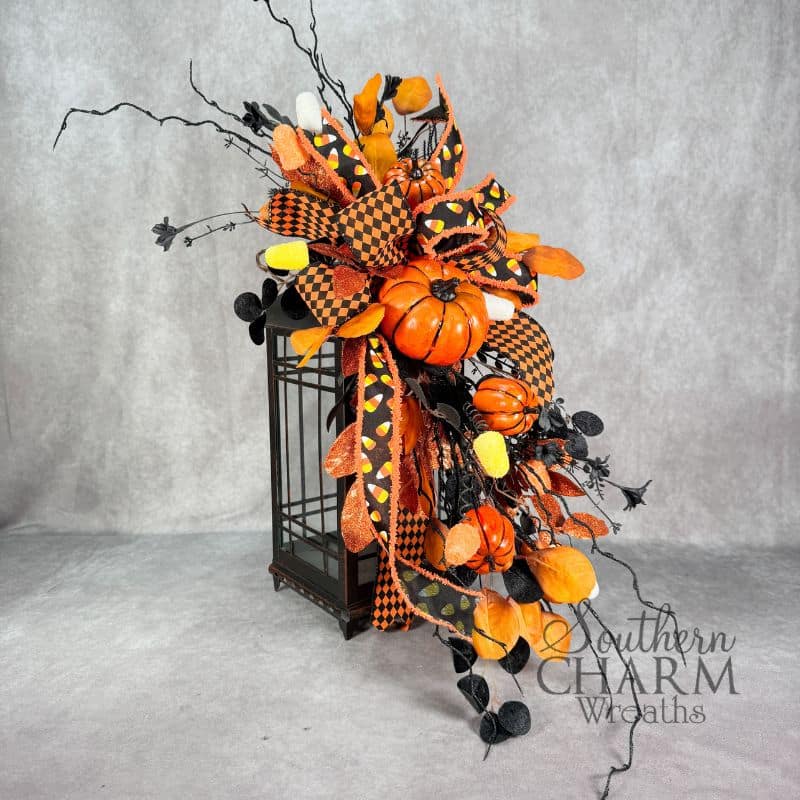
- On a Lantern – Drape over the chimney for instant Halloween charm.
- As a Door Swag – Add a wire loop to the back and hang on your front door.
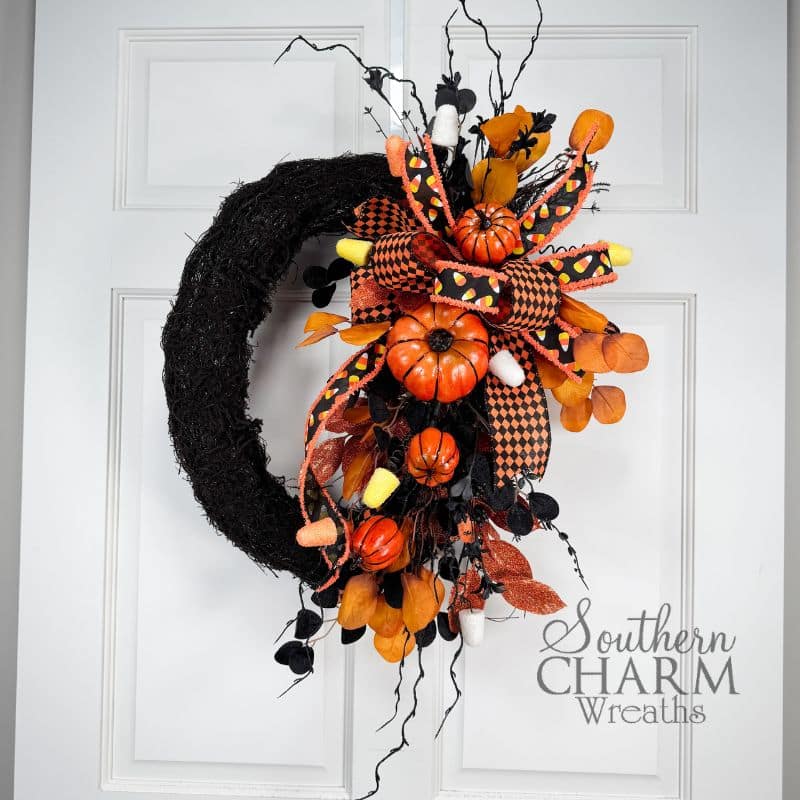
- On a Wreath Base – Attach to a painted grapevine or teardrop swag for a fuller design.
- Mailbox or Sconce Accent – Secure with floral wire for outdoor décor.
Isn’t it fun when one design has so many uses?
Customization Ideas
- Swap pumpkins for sunflowers to make a fall swag that lasts beyond Halloween.
- Use red and white picks with candy cane ribbon for a Christmas version.
- Try glittery hearts and pink ribbon for Valentine’s Day.
FAQs
Do I need to use the exact same ribbon?
Nope! Any coordinating 2 ½” and 1 ½” ribbons will work. Choose prints that match your style.
Can I make this without a bow?
Yes! Use two large focal flowers (like hydrangeas or sunflowers) instead. Place one at the top and one at the bottom where the bow would normally sit.
How long does this take to make?
About 30–40 minutes once you get the hang of it. Perfect for quick gifts or craft show inventory.
This DIY Pumpkin Halloween Swag is proof that festive décor doesn’t have to be complicated. With just a few supplies and about half an hour, you’ll have a stunning piece that can be used in multiple ways.
If you loved this project and want more information about the Christmas Made Simple Workshop get more information here.