How to Spray Paint a Metal Container for Floral Arrangements
Y’all, let’s be honest—some of those store-bought metal containers are way too pricey. But what if I told you there’s a super easy way to DIY your own floral stand that looks high-end… using just spray paint?
In this quick tutorial, I’m showing you how to turn an inexpensive piece into a statement container with just two spray paints and a little patience. It’s all about layering that color and hitting those crevices—don’t worry, I’ll walk you through it!
Supplies You’ll Need
- A plain container
- Flat black spray paint + primer (make sure it works with the material of the container.)
- Metallic spray paint (bronze or copper adds great depth!)
- Cardboard, drop cloth or spray box
- Gloves (optional, but saves cleanup!)
Step-by-Step: How to Spray Paint Your Container Like a Pro
Step 1: Wash the Container
Before you start the painting process make sure to wash and completely dry the container.
Step 2: Position Container
Position your container upside down to avoid too much overspray. Use cardboard or drop cloth underneath your project.
Step 3: Add a Thin Layer of Primer
Shake your black spray paint really well, then do quick bursts of spray over the top surface of the container. Be sure to hit the crevices—those recessed spots really catch the light once it’s finished.
Allow to dry.
Tip: Keep your hand moving so you don’t get any drips. Don’t get too close—I got a little close in a couple spots (we’ve all been there!).
Step 4: Add Primer to the Interior of the Container
Skip the bottom for now, but do go around the lip of the container. That edge helps give it a clean, finished look from all angles.
Then let the first coat dry before moving to the next layer.
Step 5: Add Metallic Dimension
Once the black coat is dry, it’s time to add a little drama. Shake up your metallic spray paint and start adding a light layer right over the black. You don’t have to cover everything—this is about adding depth and visual texture.
The metallic paint I used is mostly brown with just a hint of shimmer. It gives the whole thing a warm, aged look without being too shiny.
Step 6: Flip and Repeat
Once your top side is dry, flip the container over and hit the underside with the same technique—black first, then a light mist of metallic. You want to get those angles so it looks finished from every side.
Step 7: Let It Dry
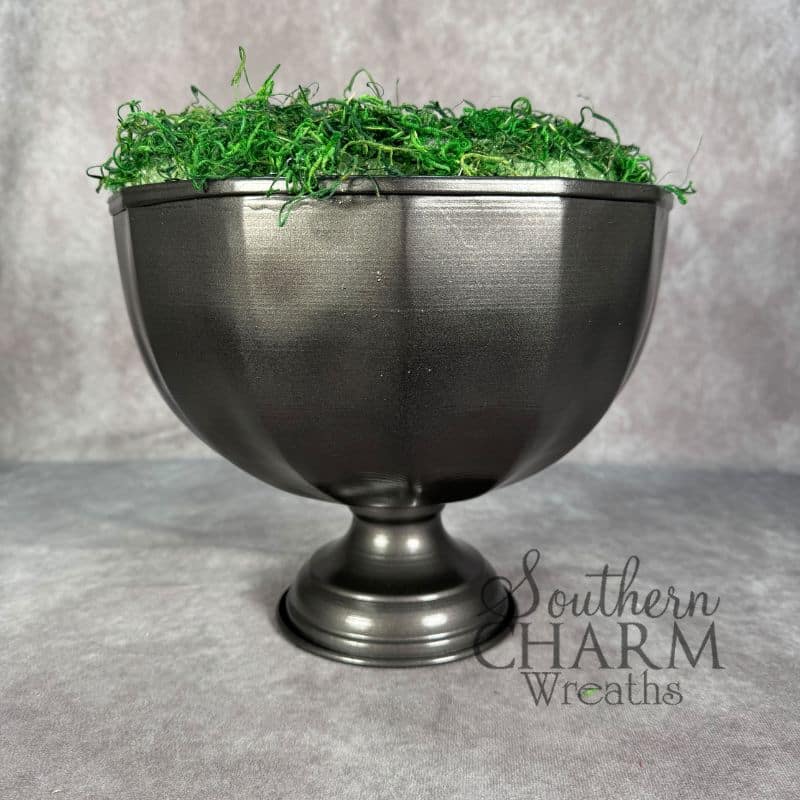
Now just let the whole thing dry completely. Be patient! Once it’s cured, you’ve got a sturdy, beautiful container that’s perfect for holding a floral arrangement, seasonal décor, or even a small tabletop tree.
Isn’t it wild how a couple cans of spray paint can turn something basic into something gorgeous? You don’t have to spend a fortune—just use what you’ve got and have fun with it. Don’t stress if it’s not perfect. It’s just paint, y’all!
Want more tutorials like this? Join us inside the our exclusive Design School, where we go deeper into floral artistry.
#replay