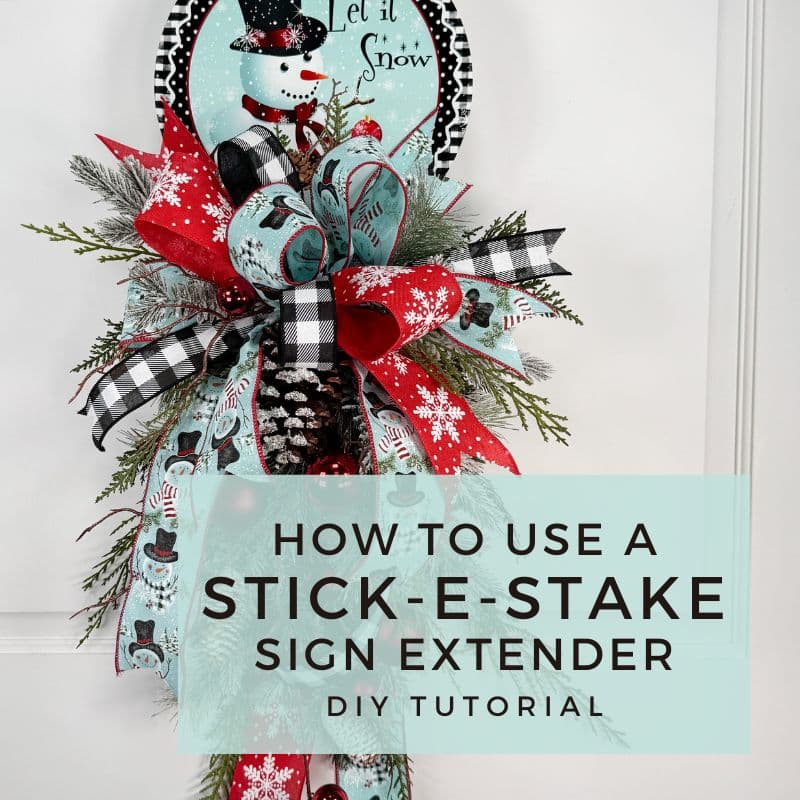
How to Use a Stick-e-Stake Sign Extender
Learn how to use a Stick-E-Stake for an easy and beautiful swag design. They’re simple to use and would make a great addition to your crafting collection. Our amazing friend Terri Marshall from MILandDIL Designs is the inventor of this brilliant new tool.
How to Use a Stick-E-Stake Sign Extender
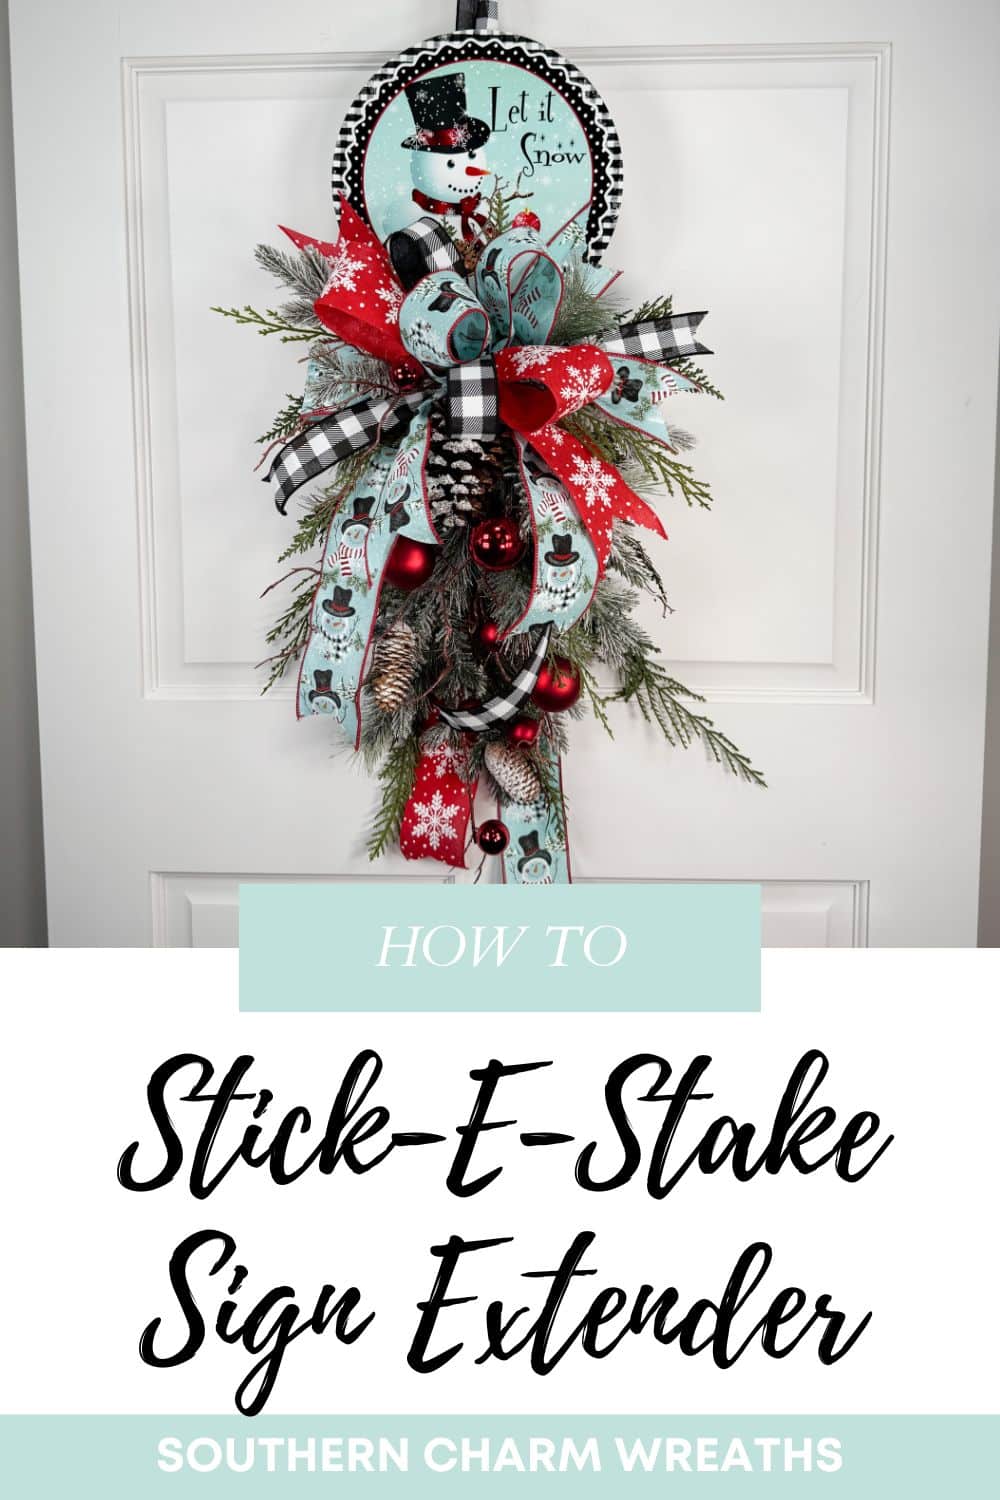
Have you heard of Stick-E-stakes? These clever sign extenders can help you pull together a swag with no base needed.
These handy contraptions are adjustable sign holders that can simplify wreath making and faux floral design. And today, I’m sharing step-by-step Stick-e-Stake instructions so you can try this technique out yourself!
This post may contain affiliate links for your convenience. Click here to read my full disclosure policy.

Supplies for this project
You’ll need:
- Stick-e-Stake kit
- Metal sign
- Styrofoam
- Colored tape
- Hot glue
- Silk-wired ribbon
- Faux greenery
- Decorative sprays
- Scissors
- Serrated knife
How to use a Stick-e-Stake
1. Prepare the Stick-E-Stake
Begin by turning your focal sign around, marking the top and bottom center with a piece of colored tape for reference.
Then, take out your Stick-E-Stake. Pushing the ends towards each other allows you to adjust the height of the stake. Once you’re happy with the height, pull the legs apart to lock the placement.
2. Secure the Stick-E-Stake
Line the stake up with the center-bottom of your sign, leaving about 1 ½” of the legs hanging off the sign.
Use the provided alcohol wipe to clean when you’ll be placing the stake. Along it to dry, remove the tape backing from the stake, and press it to your sign. Hold for a few seconds to secure the stake.
At this time, you can still adjust the height if needed. Remember to remove your tape markers.
Piece of styrofoam, 6” long, 2” deep, and about 3” wide.
3. Add styrofoam
Pick a piece of foam that’s about 6” long, 3” wide, and 2” deep. Place the stake ends into the end of the foam, keeping it near the edge so that there is as little foam on the back end as possible (this will help your swag lay flat).
Use the stake ends to mark your placement. Then, use a serrated knife to round the foam edges. Dip the stake ends into hot glue, then stick them into the foam. Be sure to save room for your bow!
4. Build your swag
From here, design your swag by attaching a fun bow, greenery, sprays, and more. Choose your elements by picking out colors from your focal sign.
5. Tie a hanger
To make a hanger, cut a 31” length of ribbon and feed it through the back of your sign, through the stake hoop. Fold the ribbon back to the top of the design and secure the ends with a knot.
And with that, you can use this Stick-Stake technique for plenty of projects to come!
Watch the video: How to use a Stick-E-Stake
If you enjoyed this post, you might also like:
- How to Add Fake Greenery to Outdoor Pots
- How to Choose Ribbon Colors And Patterns For Multi-Ribbon Bow Making
- DIY Ribbon Wreath Hanger
Like this post? Pin it for later!
I used the sticky stake for the 2ed time today and had the same issues with LOCKING IN PLACE. The LOCK does not hold. I even had my husband read the instructions , watch the video and try to lock in place. He had the same issues. Wondering if others had had the same issues.
Thank you
I’ve not had issues, the ones I’ve made have been hanging for months and haven’t released and I pull it apart to lock and stick in foam with hot glue but feel free to reach out to the manufacturer for help if you need it.
How did you attach the bow to the Styrofoam .
I used a pick.