
How to Make a Fall Lantern Topper with Silk Flowers
Have you ever seen a lantern swag so big you couldn’t tell there was a lantern under it? I have, more times than I can count. When I make a fall lantern topper, my goal is simple: I want the flowers to dress up the lantern, not bury it.
I filmed this one live, start to finish, and I’m walking you through every step here. No floral foam, no special tools. Just two sprays, a few stems, a bow, and some wire.
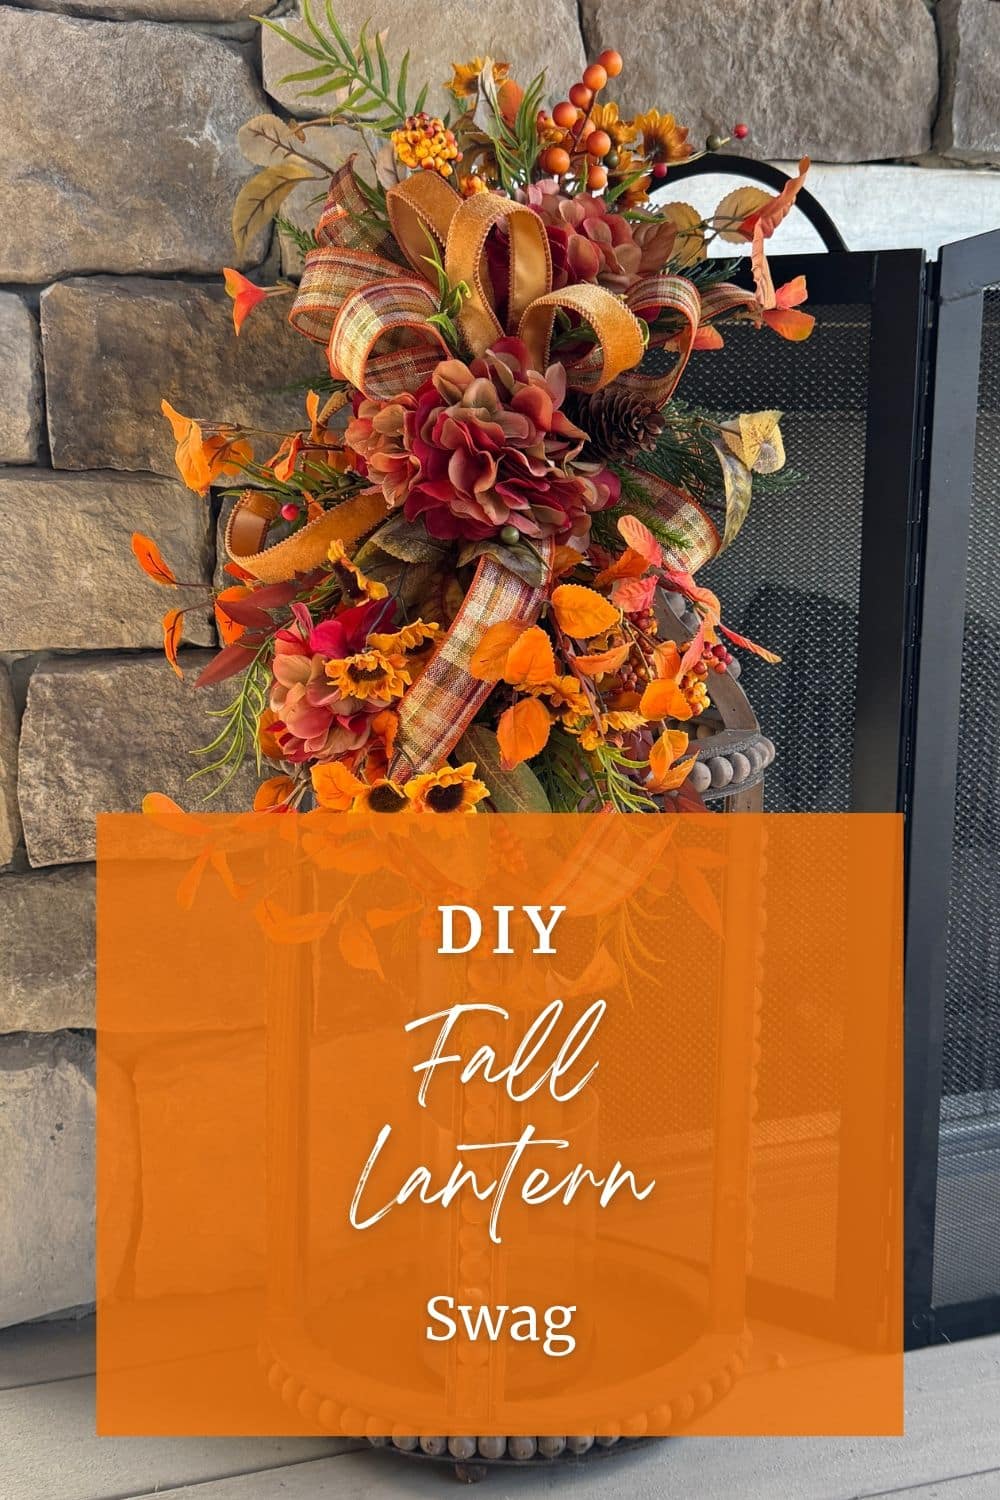
What is a lantern topper?
A lantern topper (some people call it a lantern swag) is a small floral arrangement that you piece together, hand tie, and attach to the top of a lantern. Lanterns come in all shapes and sizes, so the one rule I always follow is this: the size of your swag should match the size and scale of your lantern.
And here’s the good part. Once you know how to make one, you can use the same swag on a grapevine wreath, a mailbox, a mantle, or a small door. I’ll show you how at the end.
One quick note, since I get asked this on Facebook all the time. These are all silk flowers.
What Supplies Do You Need for a Fall Lantern Swag?
I like quick wins, so I start with sprays that are already put together. A spray already has the branches, leaves, berries, and pine cones on one stem, which saves a lot of time. Look for a long spray and a short spray in the same color family. They don’t have to match perfectly. Mine had a couple of different berries, and they still worked.
Florals and greenery
- 1 fall leaf and berry spray, about 26″ (I used this berry and leaves spray from Greenery Market)
- 1 shorter fall leaf and berry spray, about 16″
- 3 silk hydrangea stems
- A few mini sunflower stems (for a pop of yellow)
- 1 burgundy or wine-colored bush (optional, if your sprays need more of that color)
- 2 pine sprays, like cedar or Norfolk pine
- Flocked fern stems
- Extra pine cones
Ribbon
- 1.5″ plaid fall ribbon (I picked one with a little burgundy in it)
- 7/8″ velvet ribbon
Tools and mechanics
- 8″ zip ties
- Paddle wire
- 22 gauge florist wire (for the bow)
- 18 gauge rustic wire (for the hanger)
- Brown floral tape
- Angled wire cutters
- Hot glue (I use a glue pot with Gorilla Glue sticks)
- A lantern (mine in the video is 18″, and I’m putting the finished swag on a lantern almost 3 feet tall at home)
Small tip, but it makes a difference: don’t feel locked into seasonal greenery. The fern I used is sold as a spring and summer stem, and the cedar is usually called Christmas greenery. Here in South Carolina, I treat both as year-round greens. They break up all that orange and add texture.
How to Make a Fall Lantern Topper, Step by Step
Step 1: Pull your colors together first
Color is the first thing a buyer looks at, so it’s the first thing I look at too. Lay your sprays on the table and pull stems that bring out the colors already in them. My sprays had orange leaves and dark berries, so I added a burgundy bush to repeat that wine color and mini sunflowers to pick up the yellow. If something doesn’t look right next to the sprays, put it back. You’ll know.
Step 2: Strip and save your leaves
Before you start building, pull some of the leaves off your stems and set them aside. Don’t throw them away. I keep a drawer of these, and at the end I hot glue them over zip ties, wire, and glue drips to hide them. There are some silk leaves I do throw away, and people on my Facebook page lose their minds over it. Keep whatever you like. It’s a judge-free craft room.
Step 3: Heat your glue
I use a glue pot, which is really an electric fry pan (yes, you could make a grilled cheese in it). I drop in regular Gorilla Glue sticks, because honestly, it’s the only glue that holds for me. You’re looking for a honey-like consistency. If it’s too thick, turn the heat up a little. If it’s running like syrup, turn it down.
Step 4: Fluff everything
Every silk stem you touch needs a fluff. These come packed flat, so shake hands with each little piece and separate it out. Don’t worry if you don’t love the shape of the spray yet. You can give it a haircut with your wire cutters later.
Step 5: Build the top and bottom sprays
Your short spray is the top of the swag and your long spray is the bottom. Work on them one at a time.
Start with the hydrangeas. The bow will sit in the middle of the swag, and since it’s the largest element, your largest flower heads belong closest to it. For the bottom spray, I trimmed a few blooms off one hydrangea to make a smaller head, then tucked it lower on the spray, inside the leaves. Save the trimmed blooms for later. Then I placed a larger hydrangea up near where the bow will go.
Next, add your sunflowers and greenery. If a stem is too short to reach where you want it, extend it with an old stem you were about to toss. Hold the two together, wrap them tightly with paddle wire, and twist it off. Cover the wire with brown floral tape. That wire and tape are what I call mechanics, and we always want to hide our mechanics.
Tuck in pine and fern so it peeks out under and through the flowers. I don’t want to see a bunch of any one thing. I want it all mixed together.
When it looks right, pull an 8″ zip tie tight around the stems and cut the tail with angled wire cutters. They get closer to the nub so you won’t scratch your hand on it later. I know it looks like a jumbled mess at this point. Trust the process.
Repeat for the top spray. Lay your greenery down first, then add flowers. Pay attention to where you want the color and flowers to land near the bow, not the far end. Zip tie it.
Step 6: Join the two sprays
Here’s where people get tripped up. You’d think you’d put the sprays end to end, but they bump into each other that way. Instead, lay them side by side on the table, stems overlapping, top spray pointing one way and bottom spray pointing the other.
Leave a gap in the center for your bow. I normally leave about the width of my hand when I use 2.5″ ribbon. Since I used 1.5″ ribbon here, I pushed them a little closer, to about 4″. If a pine cone is in the way, cut it off and glue it back later. Zip tie the two sprays together.
Step 7: Make a layered bow
Start with a streamer, then pinch and pleat. I form the loops with my dominant hand and hold the ribbon with my other hand, starting in the pads of my pointer finger and thumb.
Lay a loop on top of the swag to judge the size. My first loop was 14″ across (7″ per side) and by the time I added a second loop I could see it was too big, so I backed off to 12″. That’s a 6″ loop if you use a bow maker. I made 4 loops of the plaid, cut the ribbon in an X, then layered 3 loops of the velvet on top with another streamer, and finished with a center loop.
Tie it off with 22 gauge florist wire. Before you twist, check that your loops are even on both sides. If one side is longer, your wire is off center. Then pull the bow and wire away from each other while you twist the bow. That locks it tight.
Step 8: Attach the bow and trim the stems
Straddle the bow’s wire legs over the center of your swag and twist them tight around the stems. Before you trim anything, make sure you like it. Then trim the wire, bend the ends forward, and cut off the extra stems from the back. You can leave them, but they add weight.
Glue a few of your saved leaves over the zip ties. Turn the swag over to the back while the glue sets so it doesn’t drip to the front. If you can see table through the gap around the bow, gently bend the nearby flowers up toward it. Once I did that, the table was gone.
Step 9: Add a hanger and wire it to the lantern
Wrap a piece of 18 gauge rustic wire around the back of the swag to make a hanger. Where you put it changes how the swag hangs. If you want the bow to sit lower, put the hanger above the bow. If you want the bow higher, put the hanger below it.
My lantern has a little chimney on top, so I wrapped the rustic wire around it a couple of times and bent the end back on itself. No chimney? Wrap it around the handle.
When I sell these, I ship only the swag. I don’t send lanterns in the mail.
Step 10: Shape it around the lantern
Right now your swag is pretty, but it’s very straight. Gently bend the bottom branches so they curve toward the lantern. Anything sticking straight out or standing too tall, cut it. Don’t be afraid to give it a haircut.
Arrange your streamers so some fall to the right and some to the left. Weave one through the bottom spray if it wants to go there. Ribbon has its own personality, so let it curl where it naturally curls instead of forcing it. Finish the ends with a dovetail or an angle cut.
Step 11: Glue in filler to connect the top and bottom
This is my favorite part, because it turns two sprays into one piece. Dip the ends of your leftover greenery in the glue pot and roll the stem to break the glue string. Then tuck it between your bow loops, one on each side first.
Add your fern pieces, the leaves you saved, a few of the berries you trimmed (bring some from the top down to the bottom), and the small hydrangea bundles from Step 5 to fill any bare spots. Let the glue cool before you move anything.
If you have extra pine cones, add them for texture. I had one on one side, so I glued another on the other side to balance it out. I dip pine cones in the glue pretty heavily. I call it a South Carolina icing.
Last, look all the way around it. The only mechanics you should see are the wire holding it on the lantern.
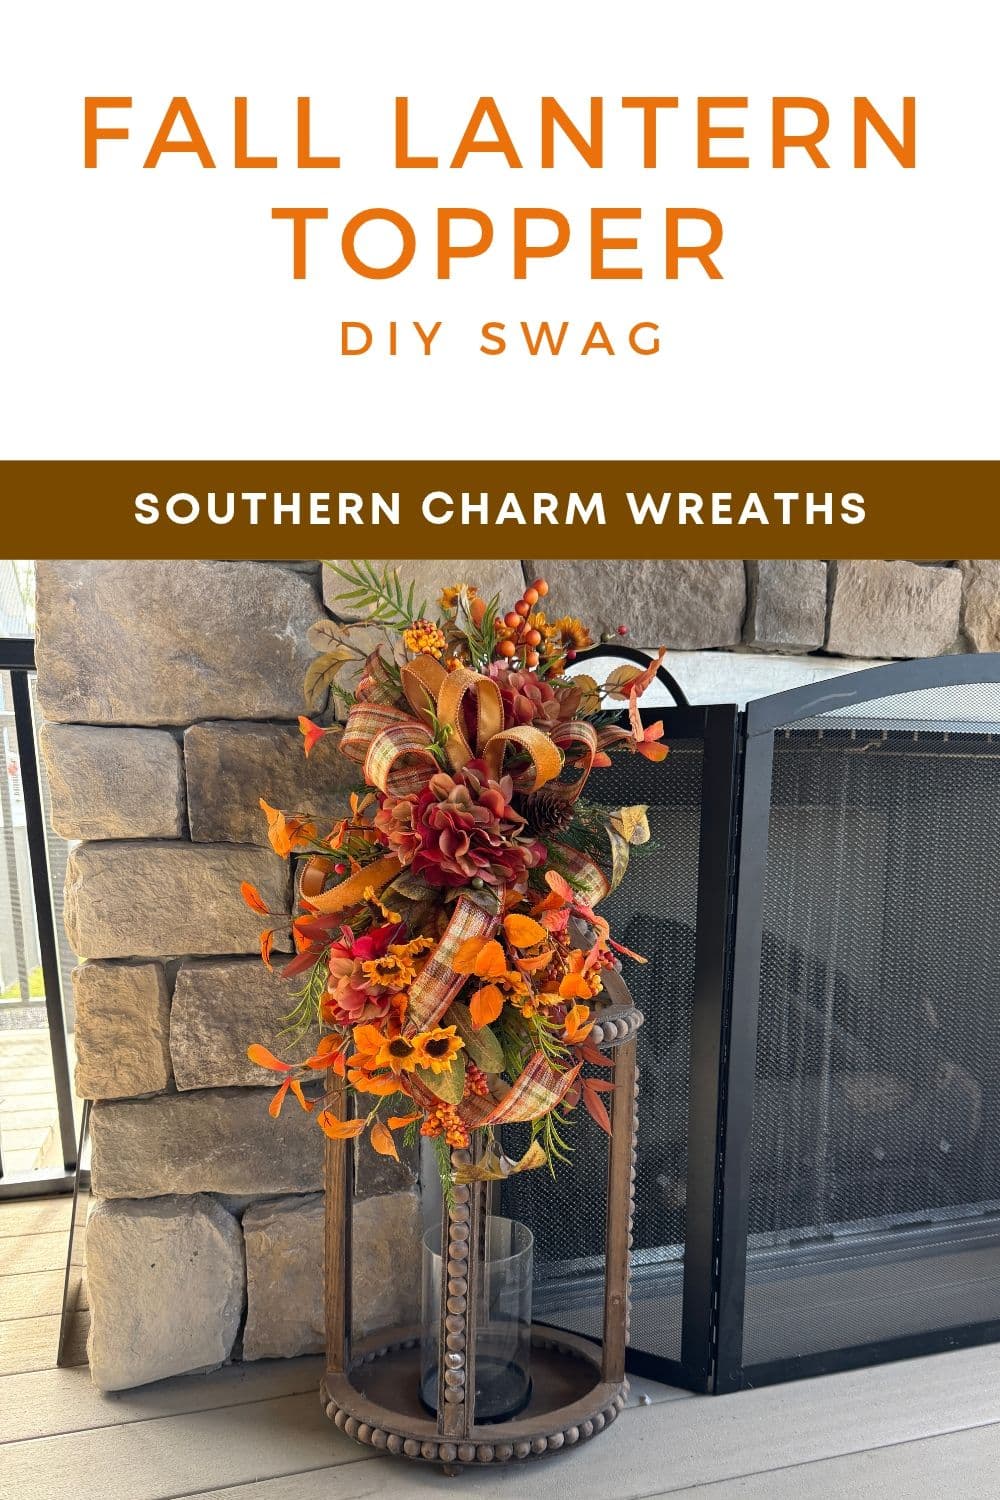
Why Does This Swag Look Like One Piece?
It comes down to three design ideas I teach inside Everbloom. Once you see them, you’ll notice them in every swag you make.
The bow is the binding point. The bow gives the look that everything is tied together and growing out from under it. It isn’t really holding anything together (the zip ties are), but your eye believes it is. It’s also the transition point. Above the bow, the stems point down toward the ground. Below the bow, they point up toward the ceiling.
Big flowers stay close to the big element. Since the bow is the largest thing on a lantern topper, the largest hydrangea goes right next to it, and the smaller heads move out toward the ends. That’s how things grow in nature, and it’s why the piece feels balanced.
Create a line for the eye to follow. I placed one hydrangea near the bow, one a little lower, and one down near the bottom. It isn’t a straight line, it’s an implied one, and it moves your eye back and forth through the whole piece. I also watch the outline on the sides. You don’t want the swag to suck in at the waist and pop back out. You want it to look like one continuous piece.
And one more thing. Don’t skip the greenery. A lot of people know it’s important but can’t quite figure out where it goes. It’s what softens the shape and connects the top to the bottom.
Where Else Can You Use a Lantern Swag?
This is the part I want you to tell your buyers about, because it’s why these sell. The swag comes right off the lantern with a snip of wire, and then you can:
- Wire it onto a grapevine wreath
- Hang it straight on a door with a wreath hanger (bend the rustic wire into a hook)
- Attach it to a 24″ Christmas swag base to make it fuller
- Wire it to the side of a mailbox
- Put one on each side of a fireplace mantle
- Lay it flat on a buffet or down the middle of the Thanksgiving table
They’re also nice for a powder room door or a small porch door where a big wreath would be too much.
Are lantern swags worth making to sell?
I think so. They’re quick, and you can make them over and over while the Hallmark movies are on. They give you a smaller price point for craft shows, and they’re a good way to use up scraps, like the pine cones that are just lying around. In my Etsy shop, these usually sell for $77 to $87, depending on what I add.
Fall Lantern Topper FAQs
What size should a lantern swag be?
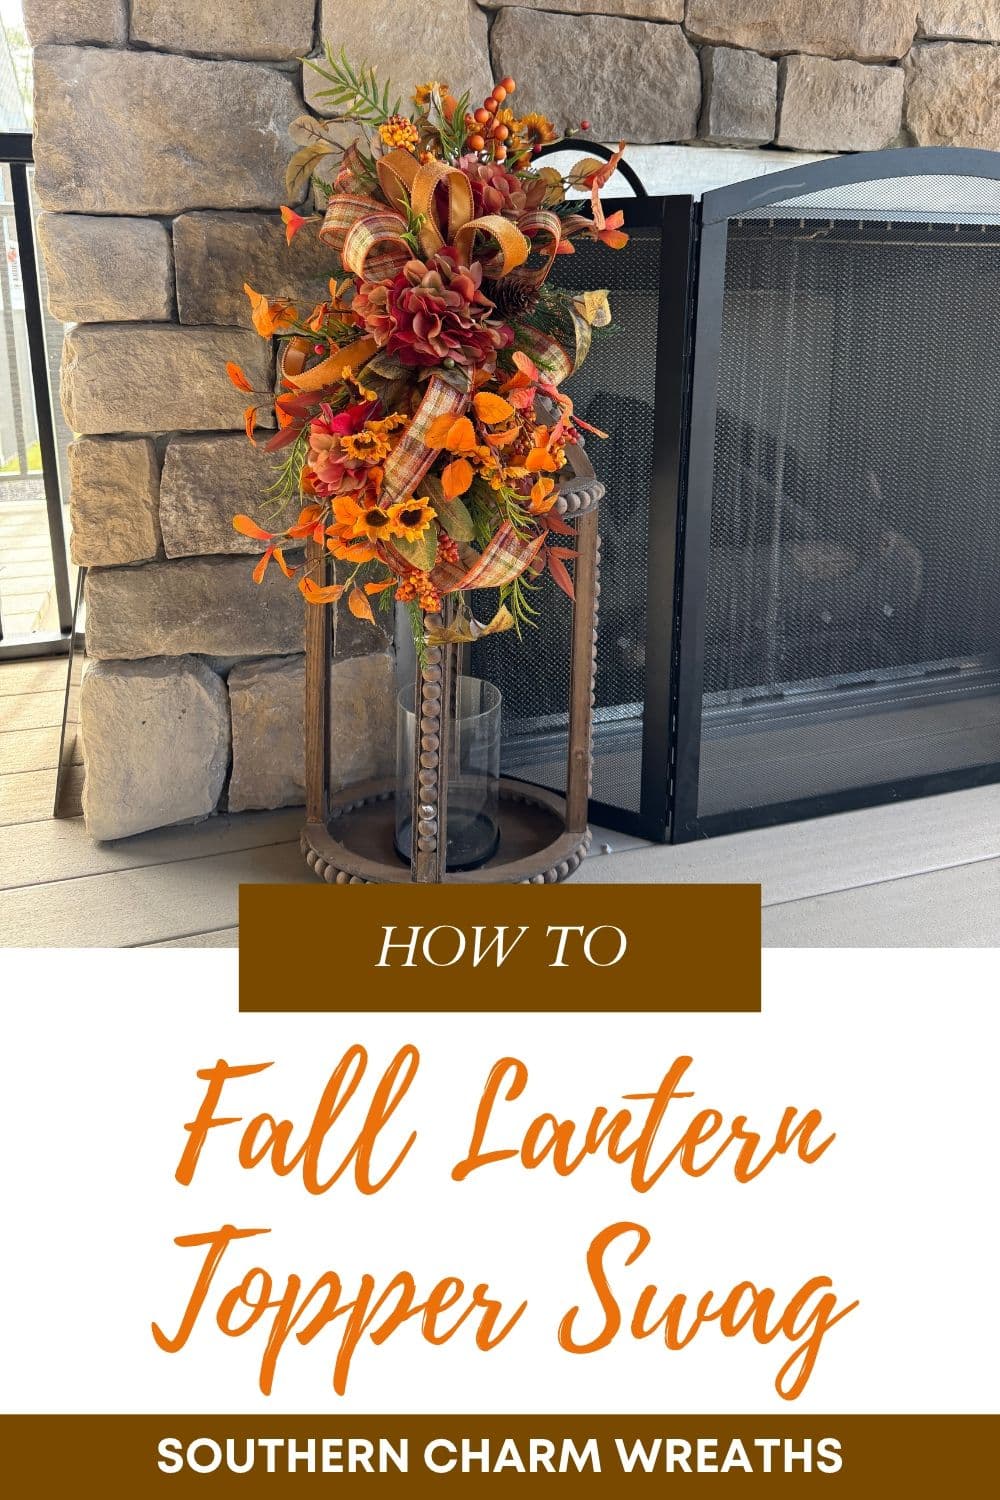
Match the swag to the size and scale of your lantern. You should still be able to see the lantern when you’re done. Mine is built on an 18″ lantern in the video, and I’m using it on a lantern almost 3 feet tall at home, so I left some longer pieces on. For a smaller lantern, trim the ends back.
Do I need floral foam to make a lantern topper?
No. The two sprays are hand tied and held together with zip ties, the bow is wired on, and the filler is hot glued into the bow loops. The whole thing attaches to the lantern with rustic wire.
What can I use if I don’t have premade sprays?
You can hand tie individual stems together the same way. Gather a longer bundle for the bottom and a shorter one for the top, zip tie each one, and then join them side by side.
What ribbon width works best?
I usually use 2.5″ ribbon. In this video I used 1.5″ plaid with a 7/8″ velvet on top, which means I had to push the two sprays closer together so the bow covered the center.
How do I hang a lantern swag on a door?
Take it off the lantern and bend the rustic wire on the back into a hook. Then hang the hook on a wreath hanger. If you get a lot of wind, wire it directly to the door so it doesn’t shift around.
Will hot glue hold up outside in wind and heat?
I live on a lake and get a lot of wind, and I haven’t had a problem with Gorilla Glue sticks, even when it gets into the hundreds. The trick is using enough glue. I dip my stems pretty heavily.
What fall colors are trending this year?
Plum is very trendy, along with a lime or chartreuse green. Plum and burgundy with chartreuse and gold would be so pretty. But always ask yourself if your buyers will buy the trend. If your customers love whimsical snowmen and Santas, they may not care about the Ralph Lauren plaid look.
Want More Help With Bows, Greenery, and Selling?
If the bow or the greenery gave you trouble, you’re not alone. When we asked what you needed help with most, bows and ribbon came back at the top of the list. That’s why I built my Bow Making Workshop.
And if you want to keep learning all year, come join me in the Everbloom Design Club. That’s where I teach scale, line, and design step by step.
Give this one a try on your next lantern, and if you make one, send me a picture. You can message me right on YouTube now. I had no idea until I saw all the little flags.
Happy Wreathing,
Julie “Giving It a Haircut” Siomacco