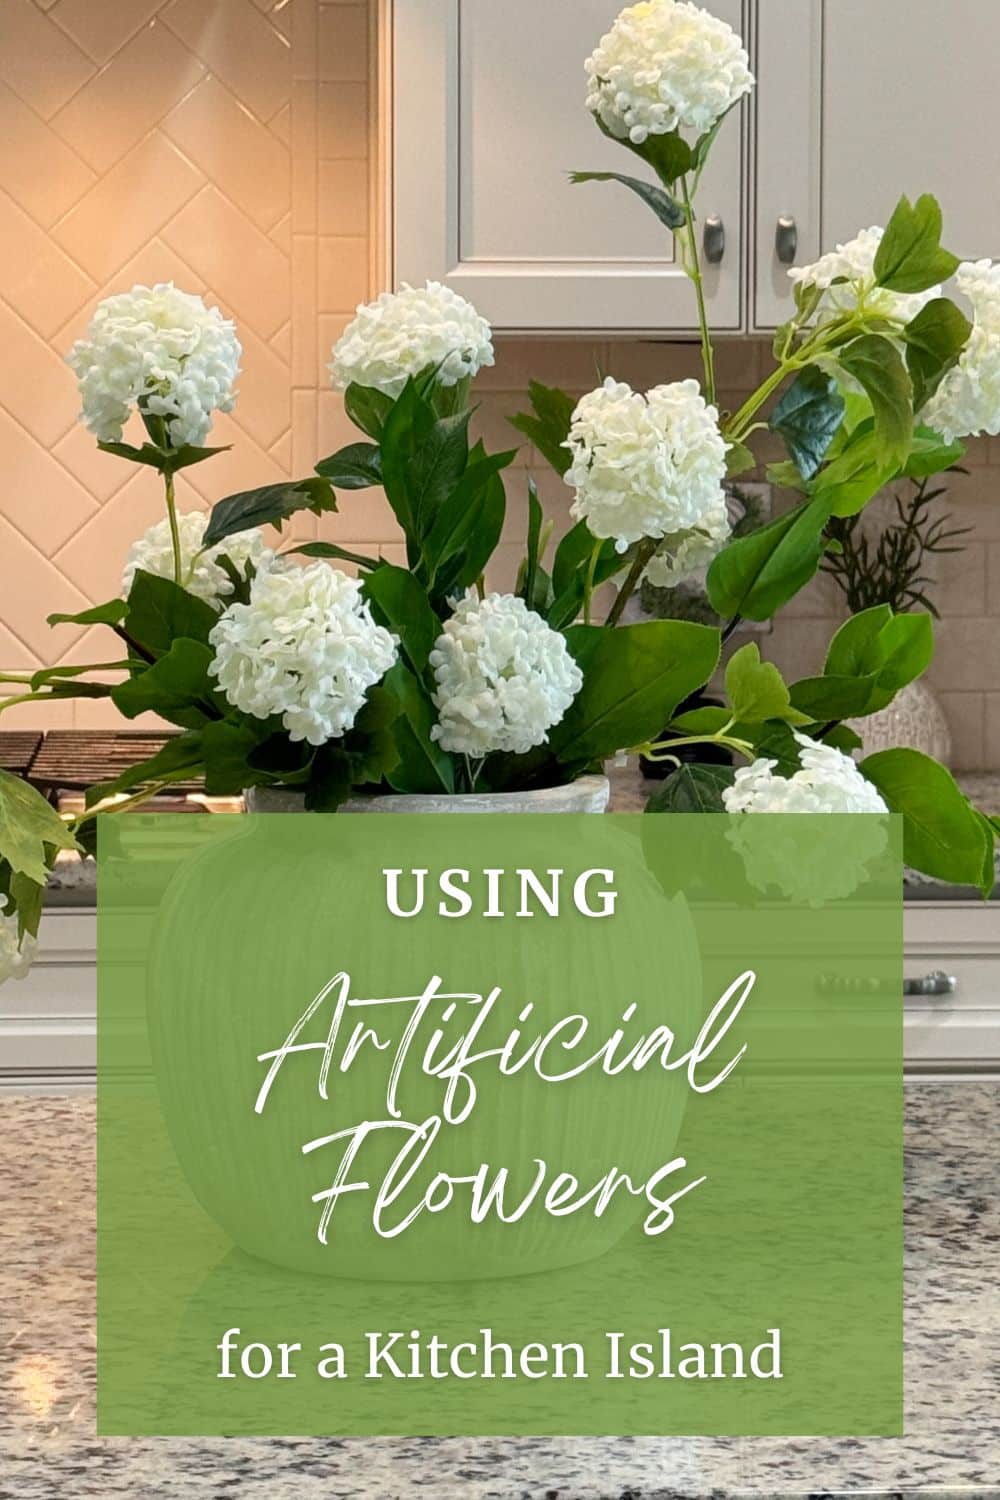
Artificial Flower Arrangement Ideas for Kitchen Counters
Today we are stepping away from the front door and into the kitchen. I want to show you a couple of artificial flower arrangement ideas to dress up your kitchen counters and island.
These little arrangements are:
- Quick to put together
- Easy to tweak over time
- Perfect for using leftover florals from your wreath projects
You do not need floral foam for these, and you do not need to be a pro designer either. We are keeping it simple and pretty.
Supplies You Will Need
You can absolutely shop your stash for this project. Here is what I used between both arrangements.
- Decorative kitchen containers
- One wide mouth container for your island
- One taller, narrower vase or pitcher for the counter
- Plastic grocery bags or a trash bag (to wad up inside the container)
- Artificial florals
- Snowball hydrangea sprays (viburnum style)
- Rose sprays for the second arrangement
- Artificial greenery
- Mixed greenery pieces (ruscus or similar)
- Basic tools
- Wire cutters
- Scissors
Optional:
- Floral foam if you really want extra security
- Clear tape if you want to create a grid over the top of a vase
How to Choose and Prepare Containers for Artificial Flower Arrangements
The container matters just as much as the flowers.
- Look at the scale of your kitchen
- Look at the scale of your island or counter
- Choose a container that feels in proportion, not tiny and not oversized
If you have a big island, choose a longer or wider vessel that can hold a low, elongated arrangement. For a corner of the counter, a taller, narrower vase or pitcher works great.
Designer tip: Think of your container as part of the décor, not just something that holds stems. Color, texture, and shape all play into the finished look.
Add “Traction” Inside The Container
For both arrangements I skip the floral foam and use plastic bags instead.
- Take a trash bag or a few grocery bags.
- Wad them up loosely.
- Drop them down into the container.
- Press them a bit to get extra air out so they sit firmly.
This gives your stems a little friction so they are not sliding all over the place. It also fills space so you are not using as many florals to get a full look.
Designer tip: This trick is perfect when your container is deep or narrow and foam would wobble around or be hard to secure.
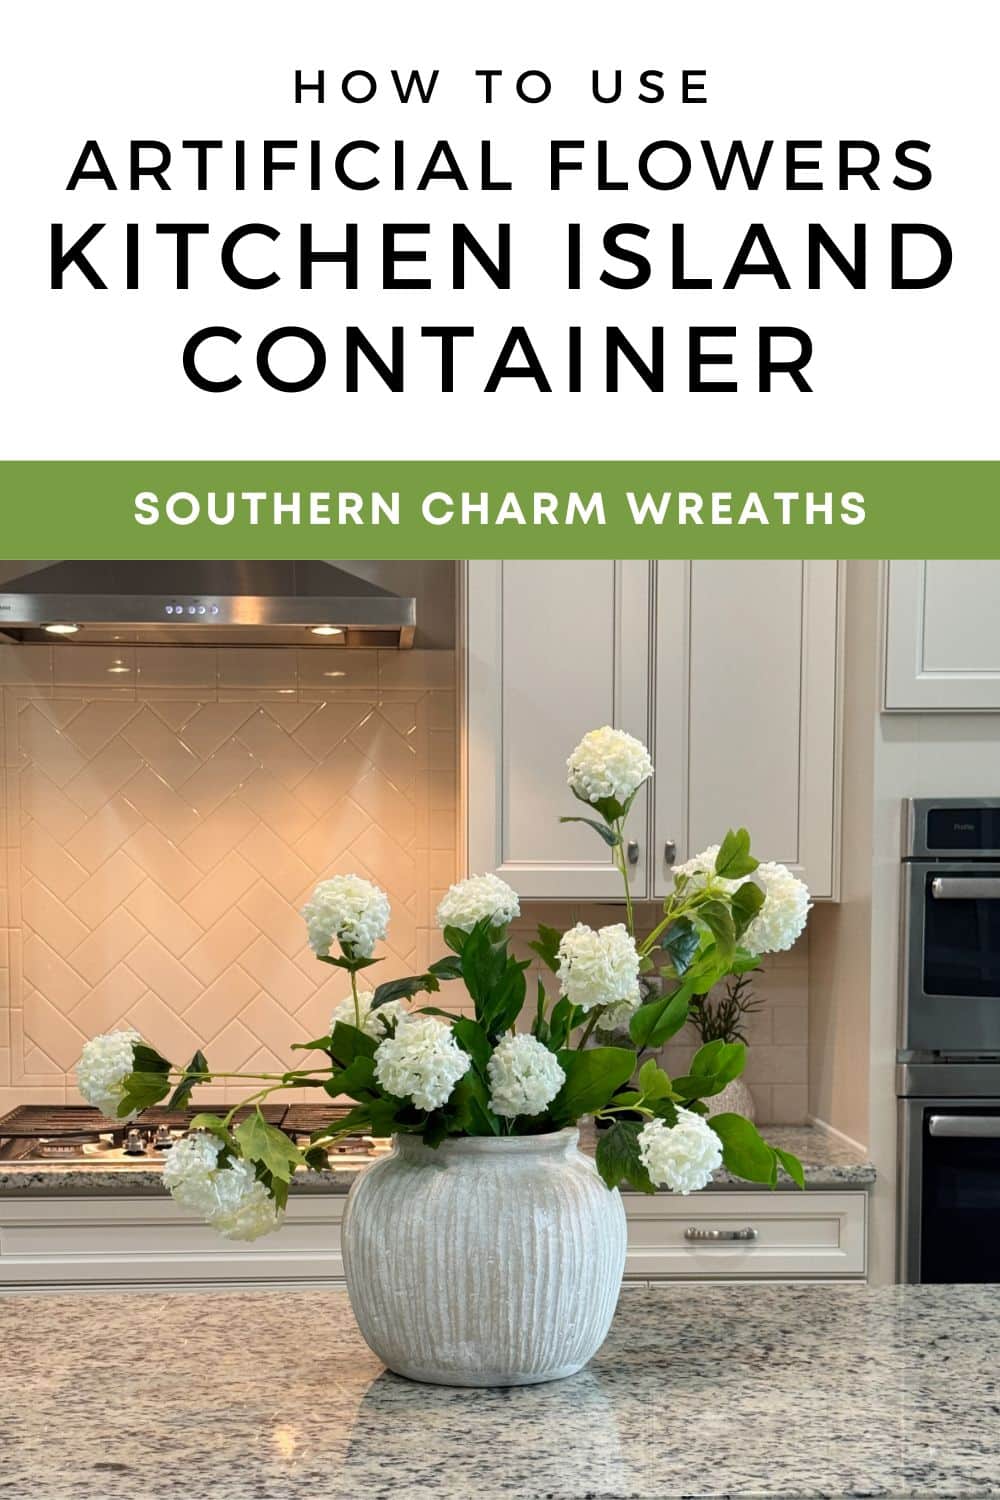
Snowball Hydrangeas in a Wide Container

For the first design, I am using snowball hydrangea sprays in a wide mouth container for the kitchen island.
1. Prep and shape your stems
- Remove all the tags.
- Check each stem for bent or crushed spots.
- Gently shape the flowers and leaves so they look natural and not smashed flat.
Take your time here. You are already halfway to a pretty arrangement just by shaping.
Design tip: Nothing in nature is perfectly straight. Give your stems a little bend and curve so they feel more realistic.
2. Decide on your overall shape
Before you start sticking stems in, pause and look at the container.
Ask yourself:
- Do I want this low and long
- Do I want some height on one side
- Where will the “front” be
For this one, we are doing:
- One stem lower and draping in one direction
- One stem a bit taller going in the opposite direction
- A third stem more central to fill the middle
3. Bend or cut the stems to fit
With a wide container, bending is your friend.
- Hold the stem next to the container to judge the height.
- Bend the bottom of the stem so it fits inside without the flowers sticking way up.
- For stems you know you will not need long later, you can cut them with wire cutters instead.
I like to bend when I can because it gives me more flexibility to reuse those florals in a wreath or another project later.
4. Place the first two directional stems
- Insert your first hydrangea low and off to one side. Let it drape slightly over the edge.
- Insert your second hydrangea a little taller, leaning in the opposite direction.
You should see a loose “S” shape or gentle movement between the two, not a stiff, straight line.
5. Add the center hydrangea
- Cut or bend one more stem a bit shorter.
- Place it toward the center of the container to connect the two ends.
You want everything to feel like one graceful shape, not three separate chunks.
6. Add Greenery To Fill And Support
Now we bring in greenery to support the flowers and hide any mechanics.
- Shape the greenery just like you did the florals.
- Insert pieces in and around the hydrangea stems.
- Make sure you are not seeing the bare ends or the plastic bag inside.
- Let some greenery tuck in low and some reach out a bit.
The greenery helps hold the hydrangea stems in place and fills in any bare spots.
Design tip: Spin the container as you go. It should look good from every angle, even if you have a “front.”
7. Adjust The Drape And Asymmetry
Once everything is in, step back and look.
- Do some snowballs need a little more droop
- Does one side feel too heavy
- Do you need to pull one stem up or push it down
Gently bend individual stems to get that natural “weight” of the flowers. Snowball blooms tend to droop as they grow, so do not be afraid to let a few heads hang a bit lower.
Greenery and Roses in a Tall Kitchen Vase
For the second option, we are using a taller, narrower container where foam would be trickier.
1. Add your plastic bag base
Just like before:
- Wad up a trash bag.
- Press it down inside the vase.
You want enough in there to create resistance for the stems, without filling the whole thing.
2. Start with greenery
With tall containers, it works well to build the shape in greenery first, then tuck in your roses.
- Shape your greenery stems.
- Insert one or two pieces to create a loose outline.
- Let one piece drape to the side and maybe a bit forward.
- Keep it asymmetrical, not perfectly even.
You are building a “roadmap” that the roses will follow.
3. Choose your front
Turn your vase around in your hands and decide which side you like best as the front. This will help you know where to place your biggest blooms.
4. Add the roses
- Cut individual rose stems off the spray.
- Start with one or two roses right at the front, in the middle.
- Follow the flow of the greenery.
- If the greenery goes low, tuck a rose low.
- If the greenery lifts up on one side, add a rose that joins that line.
The roses are heavier than the greenery, so avoid placing all of them on the very ends of long, thin stems. That causes drooping that looks awkward instead of natural.
If something sticks out too far:
- Pull it out.
- Trim the stem a bit shorter.
- Place it back in closer to the container.
5. Fill any gaps with leftover greenery
Remember those little pieces you trimmed off earlier
- Use them to fill any holes where you can see down into the vase.
- Tuck them around the base of the roses.
- Make sure you are not seeing the “guts” of the arrangement.
Again, rotate the vase and check all sides.
You want:
- A clear front where you see the roses nicely
- A pretty back that still feels finished
- An overall shape that is asymmetrical and relaxed
Living With Your Kitchen Arrangements
The fun part about container arrangements like this is that they are not glued in or locked down.
You can:
- Tweak stems as you walk by
- Add a few more flowers later
- Swap roses for another color when the season changes
- Take the stems out completely and reuse them in a wreath
If something bugs you tomorrow, move it. It is that simple.
Design tip: Think of these as “everyday decorating.” They are not meant to be perfect. They are meant to give your kitchen a little life and softness.
How to Transition These Artificial Flower Arrangements for Different Seasons
You can take these same steps and change the look for any season.
- Spring: Snowballs, tulips, soft greenery
- Summer: Daisies, wildflowers, airy greenery
- Fall: Mini sunflowers, berries, richer greenery
- Christmas: Evergreen picks, red berries, a few ornament picks
Use whatever you already have in your stash. These are great projects for leftover stems from wreath making or past arrangements.
Ready To Try It In Your Own Kitchen
There you have it. Two simple, pretty kitchen arrangements using artificial flowers and containers you can grab on Amazon or in your favorite home store.
You learned how to:
- Choose the right container for your space
- Use plastic bags for traction instead of foam
- Shape stems so they look more natural
- Build asymmetrical designs that feel relaxed and real
Now it is your turn.
Go grab a container from your kitchen, pull a few florals from your stash, and play. You do not have to be perfect, you just have to start.
And tell me in the comments: What are you going to put in your kitchen containers?
Watch the video now!