How to Make a Designer Easter Egg Topiary Like the Pros
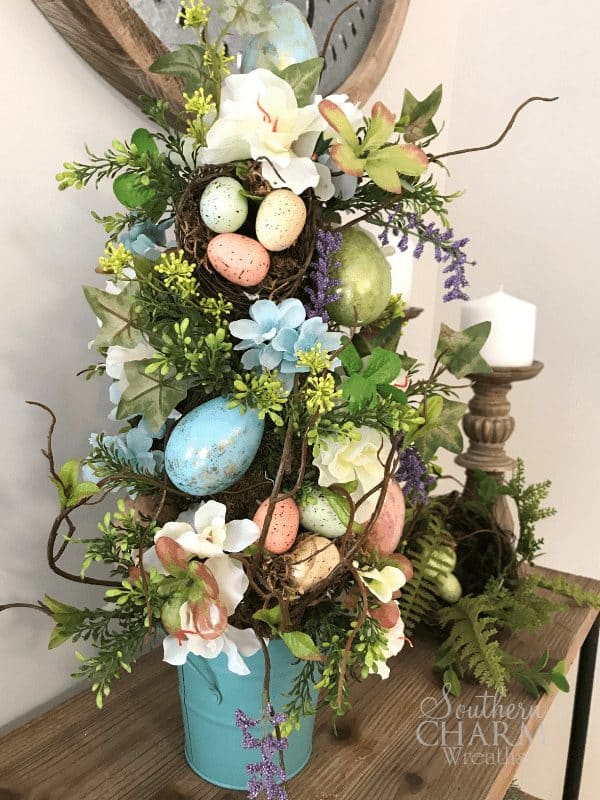
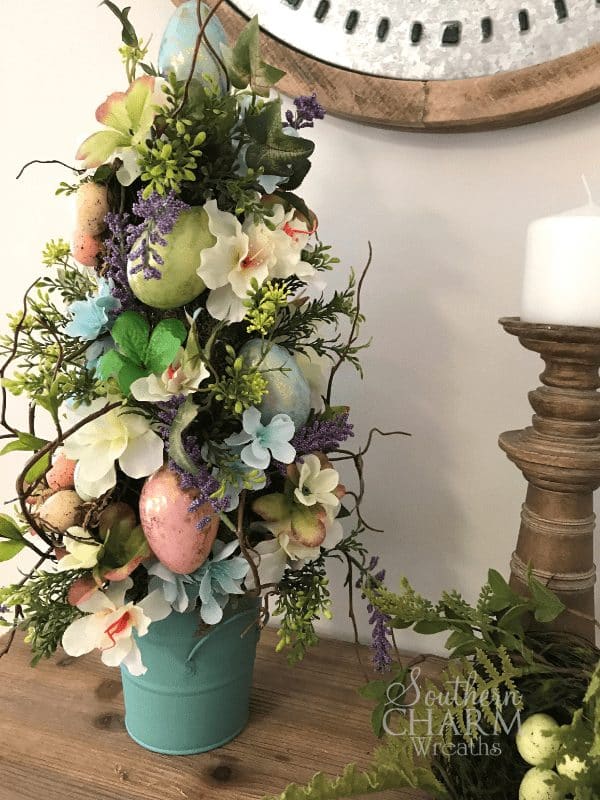
Today I’m excited to teach you how to make a Designer Easter Egg Topiary Like the Pros! This is the perfect Easter centerpiece or hostess gift. Change the colors and theme and make one for another holiday as well! This post contains some affiliate links for your convenience. Click here to read my full disclosure policy.
How to Make a Designer Easter Egg Topiary Tree Like the Pros
In today’s video, we’re making a Designer Easter Egg Topiary! This is the perfect dose of Spring for your home. Plus it’s super flexible – use whatever flowers you love in whatever color theme you would like. Here’s how:
Supplies
- Styrofoam Cone – 3 7/8 in x 11 7/8 in (Hobby Lobby)
- Gold Flake Eggs (Hobby Lobby)
-
Azalea Bush (Michaels)
-
Boxwood (Select Artificial)
-
Purple Vine (Carolina Pottery)
- Sheet Moss (local florist)
-
Blue Flowers (Michael’s)
-
Blue Metal Bucket (Carolina Pottery)
[Tweet “How to Make a Designer Easter Egg Topiary Like the Pros”]
How to Make a Designer Easter Egg Topiary Like the Pros
- I started with a small bucket for my base and filled it with a Styrofoam block. You can use an urn or different type of base if you would like. Tip: To cut the block to the shape you need, use a serrated knife (carefully!) and gradually shape it until it is the right size.
- Add hot glue to the inside bottom of the bucket and then add the Styrofoam block so that it’s secure.
- Next prep the Easter eggs. For the top egg, use a drill to make the existing hole a little bit bigger. For the eggs that will go on the side of the topiary, you will drill a hole in the side of the egg. Note: The hole should be about the size of a floral pick.
- Cut the wood picks shorter so the eggs will be close to the topiary and not sticking out too far. Insert hot glue into the hole in the egg and then insert the wood pick. Set aside to dry.
- Now it’s time to attach your sheet moss to the Styrofoam. Simply tear off a piece of moss and attach it with floral pins until the cone is covered.
- Push two wood picks down in the center of the Styrofoam that is in the bucket. Add hot glue all around it. Then stick the topiary cone on top of it. This will ensure you have a good stable base. Note: You can add some moss around the base if the Styrofoam in the bucket is showing.
- To add the Easter eggs, start with the top and the egg you put the wooden pick in the bottom of. Add a bit of hot glue to the pick and then insert in the top of the topiary.
- Continue adding eggs by adding a bit of glue to the end and base of the wood picks and insert the eggs into the topiary at an angle wherever you would like.
- Next, I added the nests. Again, the position is up to you! Trim the pick if needed and add glue before inserting into the topiary. Note: In the video, you will see I used my Steelpix Machine to help some of the stems insert but do not worry if you don’t have one!
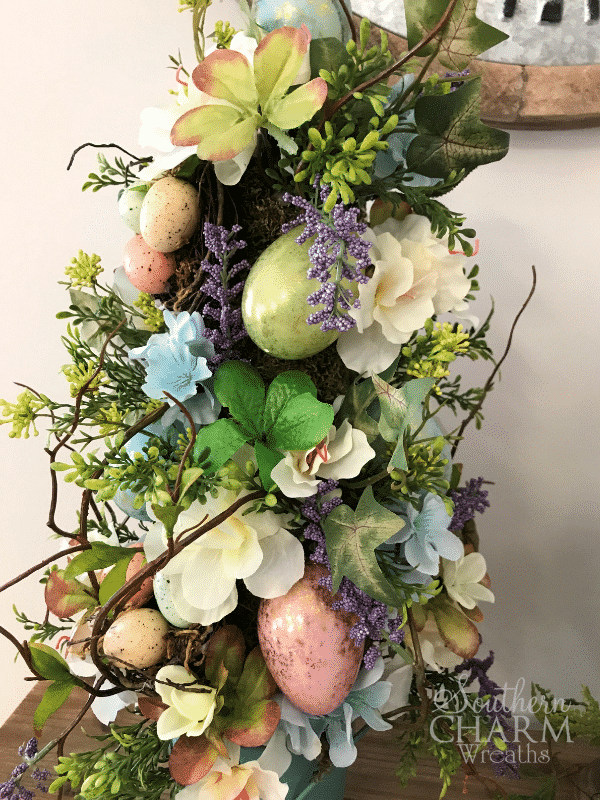
- After the eggs, start adding your silk flowers. I used an assortment of Spring flowers like azaleas and trimmed the flowers from the stem, added hot glue and inserted them to fill in the topiary.
- To fill in the topiary even further, I added greenery like silk ivy and boxwood. Cut the stems, add hot glue and insert into the topiary just like you did the flowers. Note: Be aware as you go that you aren’t losing the cone shape. You don’t want to finish your topiary and realize it looks like a bush!
- Lastly, I wanted to add grapevine and trail it around the topiary but it was too stiff and not working properly. Instead, I used the woody stems off a bush of purple flowers I purchased. Insert them as you did the others and then allow it to wrap around the topiary and attach with floral picks. Note: Do not pull it tight, allow it to go around loosely.
- Once your topiary is filled in and you love it, you’re done!
How to Make a Designer Easter Egg Topiary Like the Pros Video…
I hope you enjoyed this Designer Easter Egg Topiary tutorial. You could easily adapt this for other holidays and seasons! Let me know if you enjoyed this and don’t forget to join me on Facebook Live

If you enjoyed this and want to learn more on how to get started with wreath making, try my Wreath Making 101 Workshop!
Happy Wreathing,
Julie
If you enjoyed this post, you might also like:
How to Make an Easter Bunny Deco Mesh Wreath
How to Make a Silk Flower Easter Gnome Wreath
How to Make an Elegant Wedding Wreath for the Front Door


Thank you!!! Just beautiful topiary, definitely going to try this!
Love your videos but in the last two I have noticed that your voice has gone in and out. Any reason why or am I the only one who is having this problem?