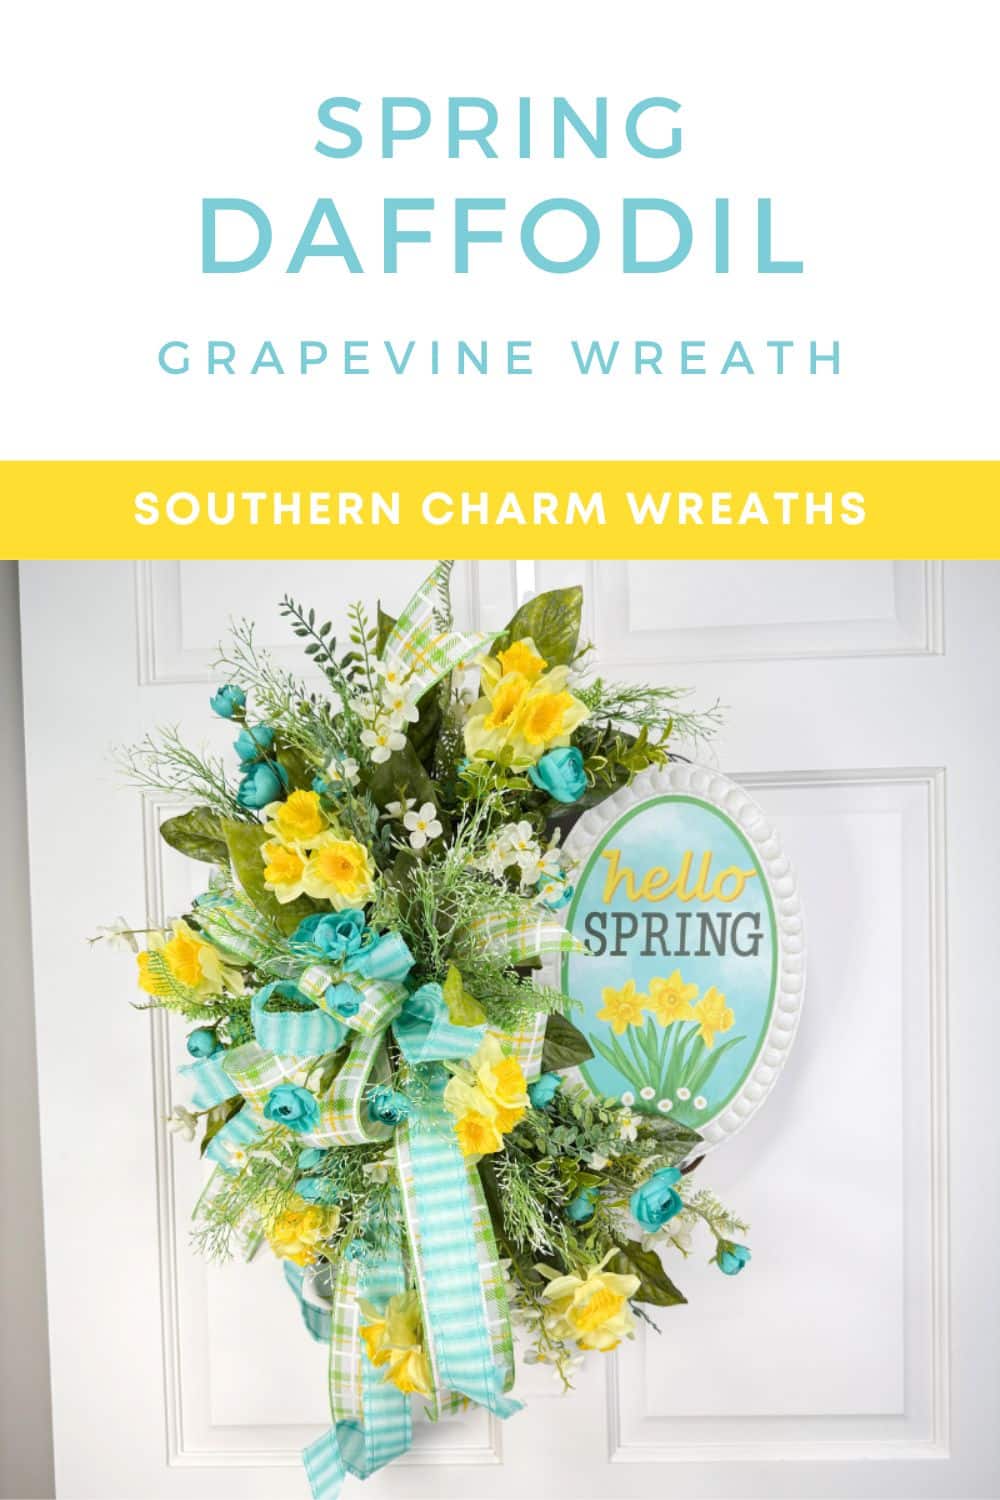
How to Make a Spring Daffodil Grapevine Wreath
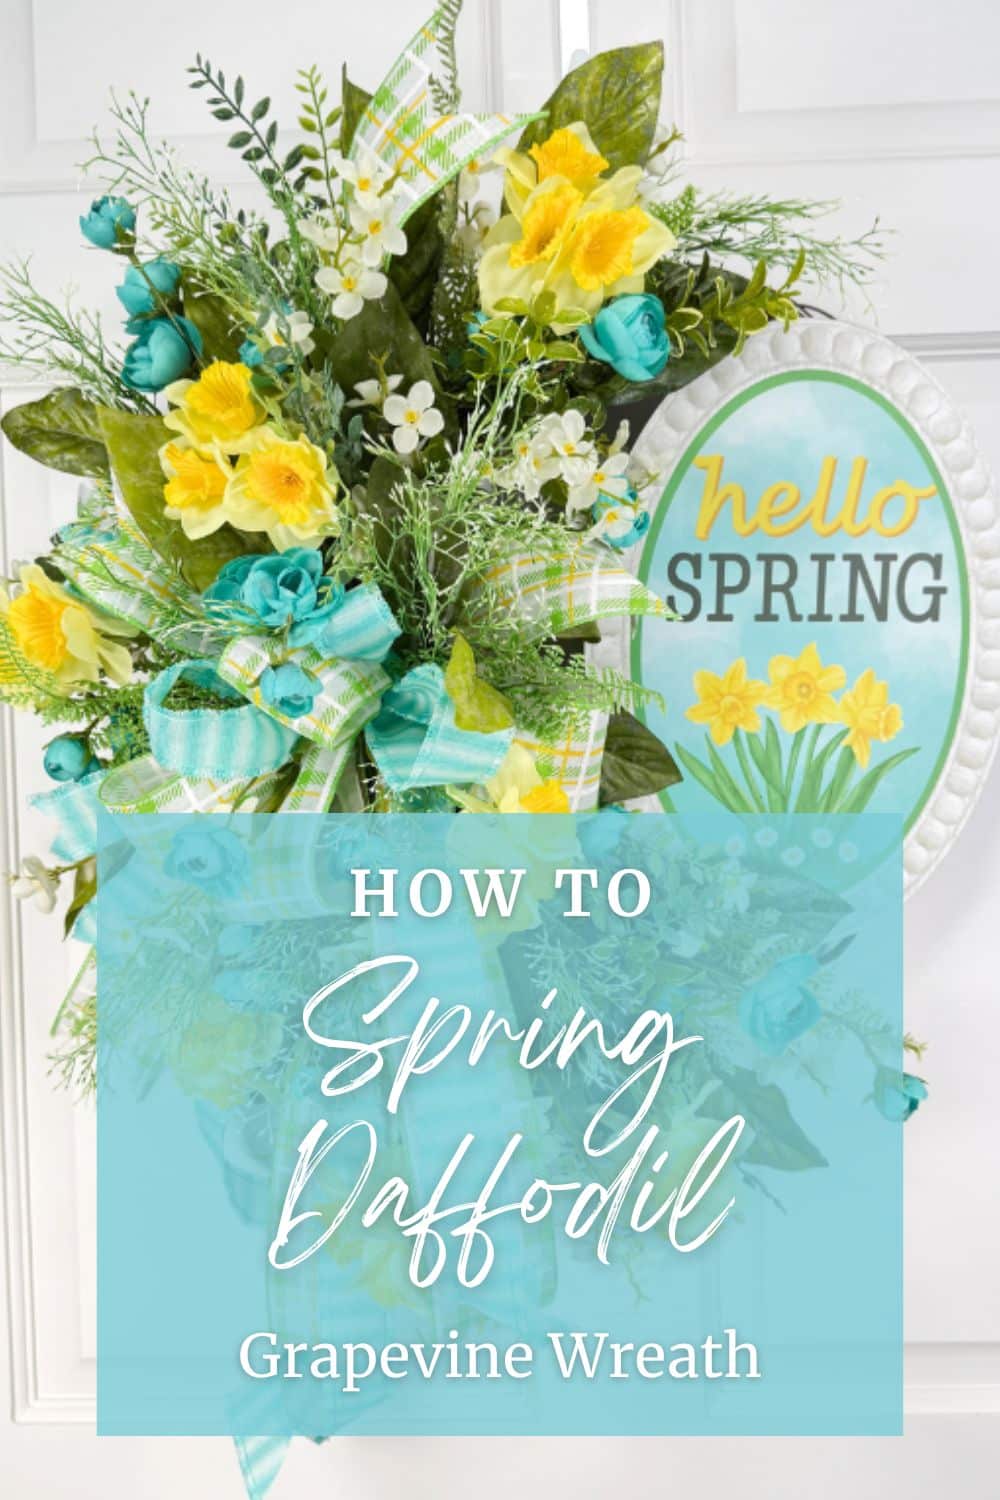
That’s why today, I want to share this Spring Daffodil Grapevine Wreath tutorial with you. There’s just something about bright yellow daffodils and fresh greenery that brings the joy of spring right to your front door.
Supplies You’ll Need
Here’s what I used to create this Spring Daffodil Grapevine Wreath:
Base & Greenery
✔️ 14-inch grapevine wreath
✔️ Faux daffodils (yellow)
✔️ Turquoise silk roses
✔️ Small white floral accents
✔️ Assorted greenery sprays
Ribbon & Bow
✔️ 2.5-inch plaid ribbon (blue, yellow, and white)
✔️ 1.5-inch solid turquoise ribbon
✔️ 1.5-inch yellow and white check ribbon
Sign & Tools
✔️ Spring sign (“Hello Spring” oval metal sign)
✔️ Hot glue gun & glue sticks
✔️ Wire cutters & floral wire
✔️ Staple gun (for sign attachment)
How to Make a Spring Daffodil Grapevine Wreath
Step 1: Prep the Wreath Base
Start with a grapevine wreath as your base. This provides a sturdy foundation to secure your flowers and greenery. Give it a quick shake to remove any loose debris or leaves.
Step 2: Attach the Spring Sign
I love adding seasonal signs to wreaths because they make the design feel complete.
1️⃣ Flip the “Hello Spring” sign over and attach floral wire to the back using a staple gun and glue for extra security.
2️⃣ Position the sign slightly off-center to allow for more visual movement in the wreath.
3️⃣ Use the wire to attach it firmly to the grapevine base.
Step 3: Layer in the Greenery
To create a full and natural look, add your greenery first.
✔️ Start with longer stems, placing them at an angle to create a flowing, organic shape.
✔️ Use hot glue and floral wire to attach the stems securely to the grapevine.
✔️ Mix in different textures of greenery to create depth and movement in the design.
Step 4: Add Daffodils & Flowers
Next, it’s time for the show-stopping florals!
✔️ Place yellow daffodils near the bottom and sides of the wreath, slightly cascading for a balanced effect.
✔️ Nestle in turquoise roses to complement the yellow and bring in a fresh color contrast.
✔️ Fill gaps with small white floral picks to add a delicate touch.
🎯 Pro Tip: Work in odd numbers for a natural, balanced look. Groups of three or five tend to be more visually appealing.
Step 5: Make & Attach the Bow
A big, beautiful bow brings everything together!
✔️ Make a 3-loop bow using the 2.5-inch plaid ribbon as the base.
✔️ Layer in the 1.5-inch turquoise and yellow check ribbon for contrast.
✔️ Secure the bow with floral wire and attach it near the bottom left side of the wreath for a stylish focal point.
Step 6: Final Touches & Adjustments
✔️ Step back and check for empty spaces—fill them in with extra greenery or flowers.
✔️ Fluff out the bow loops and ribbon tails for a polished finish.
✔️ Give everything a firm press to ensure it’s securely attached.
Your Spring Wreath is Ready! 🌸
That’s it! You’ve just made a gorgeous Spring Daffodil Grapevine Wreath that’s perfect for welcoming the new season.
This design is great for selling at craft fairs, adding to your Etsy shop, or gifting to a loved one. The mix of yellow daffodils, soft blue accents, and cheerful spring vibes makes it an eye-catching front door statement piece.
Remember, just like flowers in a garden, we all bloom in our own time and our own way. 🌿🌸 Embrace your uniqueness and create something that brings YOU joy!
If you loved this tutorial and want more step-by-step Spring floral designs, make sure to check out our Spring Arrangements Self-Paced Masterclass!

📌 Pin This for Later!
It’s beautiful!!!! Good work as always!!!
Love this color wreath is beautiful,
Thank you