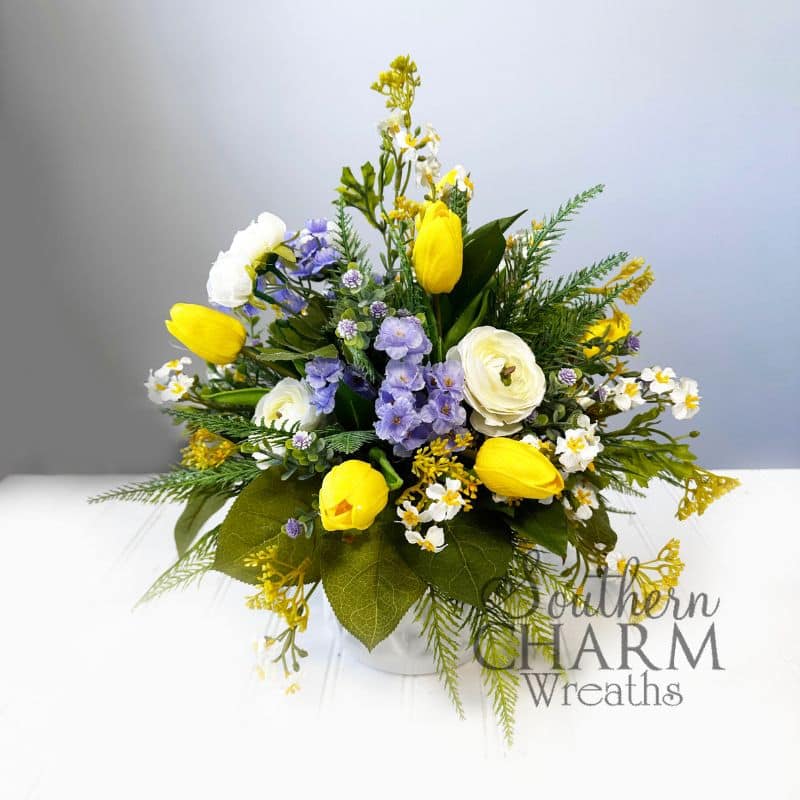
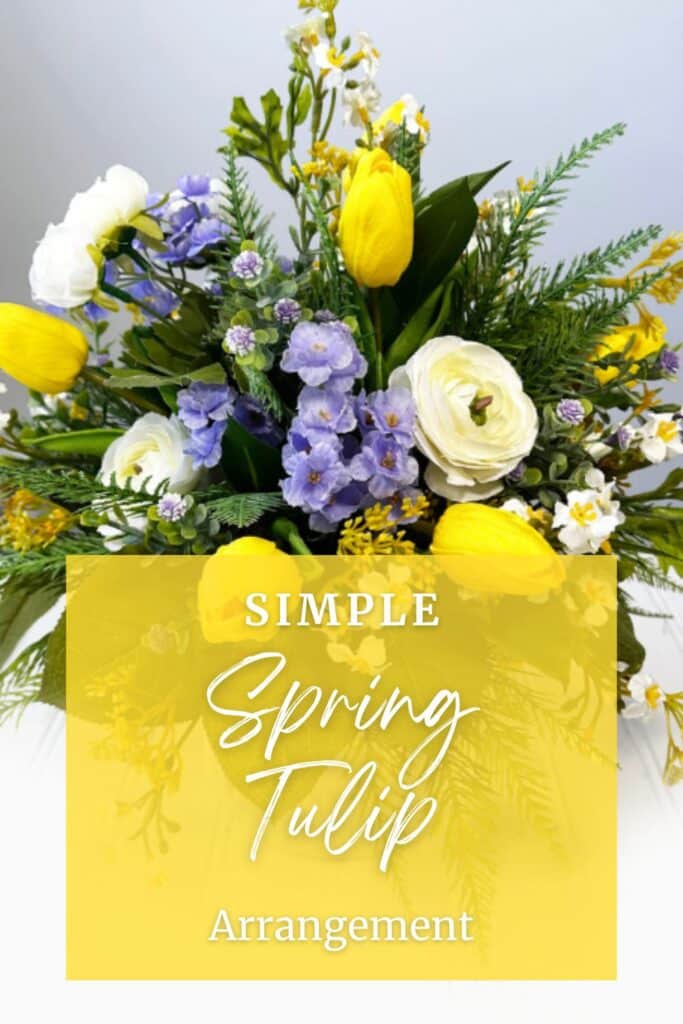
Easy DIY Tulip Arrangement for Spring
Hey y’all! Laurie Anne here, the community manager for Southern Charm Wreaths and a design coach in our Wreath of the Month Club. Today, I’m excited to share a super simple, spring-inspired tulip arrangement. If you’ve been itching for fresh pops of color around your home, this one’s for you—no matter your skill level!

Why You’ll Love This Tulip Arrangement
- Bright & Cheery: Pops of yellow tulips and purple fillers will instantly liven up any space.
- Beginner-Friendly “Recipe”: Follow my step-by-step approach (I’ll show you exactly where each stem goes).
- Re-Usable Container: Build it once, then switch out the florals if you want something new next season.
“It doesn’t have to be perfect—just have fun and follow the recipe!” – Laurie Anne
Materials & Supplies
- Container (4″ wide) – Perfect for a coffee table, entryway, or kitchen island.
- Brown Paper – To fill the bottom so you don’t use as much foam.
- Styrofoam Block – Trim it to fit snugly above the paper.
- Moss & U-Pins – Cover the foam for a clean, professional look.
- Hot Glue Gun – For extra security when inserting stems.
- Floral Wire or Steel Picks – Helps reinforce flimsier stems.
- Needle-Nose Pliers – To push stems deeper into foam if needed.
Florals & Greenery
- Yellow Tulips (Main Focal Flowers)
- White Ranunculus (Larger & smaller “baby” blooms)
- Purple Forget-Me-Nots (Filler florals)
- Additional Fillers (Tiny purple sprays or other small accents)
- Greenery
- Shikibu (Great coverage, excellent for arrangements)
- Leather Leaf Fern (Softens the look)
- Optional Extra Greenery (For additional texture)
Watch the Full Video Tutorial
For the complete step-by-step in real time (plus some friendly chit-chat!), watch the full tutorial below. You’ll see exactly how I layer greenery and florals for a balanced look—y’all, it’s simpler than you think!
Step-by-Step Tutorial
1. Prep the Container
- Fill with Brown Paper: Crumple paper into the bottom, about three-quarters full.
- Cut & Insert Styrofoam: Measure and trim foam to fit. Fill gaps with any leftover scraps.
- Cover with Moss: Use a light layer of moss on top of the foam, securing with U-pins (shaped like a “U”). Give it a quick “haircut” around the edges so no stray moss hangs over.
Pro Tip: “Don’t pack the moss too thick or it’ll be harder to insert stems.” – Laurie Anne
2. Build a Greenery Base
- Start in the Center: Insert your tallest piece of shikibu greenery in the middle.
- Make an X: Add four more pieces around the sides, forming an X pattern at lower heights. This is your foundation.
- Repeat with Leather Leaf Fern: Tuck in pieces around the same X pattern to soften the look, creating a full, lush base.
3. Add Your Focal Tulips
- Center Tulip First: Insert a tall yellow tulip in the middle.
- Mirror the Sides: Place tulips around in pairs—“What you do to one side, do to the other!”
- Vary the Heights: Keep them at slightly different levels for a natural feel. Bend the stems gently to add movement.
4. Tuck in White Ranunculus
- Fill the Holes: Look for “holes” in your arrangement—spots where you see only greenery and no pop of color.
- Alternate Big & Small Blooms: Insert larger ranunculus in bigger gaps, then smaller buds in tighter spaces.
- Stay Balanced: Place blooms evenly around the X shape.
5. Accent with Purple Florals
- Forget-Me-Nots: Insert clusters between the tulips and ranunculus. Purple and yellow contrast beautifully.
- Tiny Purple Fillers: Cut them down and tuck in wherever you see blank spots or want more color.
- Keep the Recipe: Continue working in an X pattern, ensuring each side gets that same pop of color.
6. “Collar” the Arrangement
- Fill the Bottom Edges: Make sure the container’s top rim is covered with greenery and small blooms for a professional finish.
- Check All Angles: Step back, spin your container around, and fill in any sparse edges.

Design Tips & Tricks
- “Recipe” Mindset: Think of each arrangement like a recipe. You begin with a greenery base, add focal flowers, then sprinkle in accents.
- Varied Height & Texture: Mixing different greenery (like Shikibu and leather leaf fern) plus multiple filler florals creates dimension and keeps the arrangement interesting.
- Play with Stems: Bend your tulips or ranunculus gently to add realistic movement.
Frequently Asked Questions
Q: Can I use the same recipe with different florals?
Absolutely! This X-pattern approach works for any season. Swap out tulips for poinsettias at Christmas or sunflowers in summer.
Q: What if I don’t have a steel-pick machine?
Simple floral picks work just as well! The goal is to reinforce floppy stems.
Q: Is the Wreath of the Month Club just about wreaths?
Not at all! We explore swags, arrangements, centerpieces, garlands, you name it. If it involves florals, we teach it.
Join Our Design Membership
Ready to dive deeper? In the Wreath of the Month Club (soon to get a glow up to Everbloom Design Club), we share tons of detailed tutorials—live and recorded—so you can master everything from wreaths to whimsical centerpieces. We’d love to have you!
Join the waitlist so you’ll be first to know when we open it up to new members.
Wrap Up
Y’all, I hope you’re feeling inspired to welcome spring with a cheerful tulip arrangement. Don’t forget:
- Keep it fun.
- Embrace the “recipe.”
- Step back periodically to check balance.
When you’re done, you’ve got a stunning piece that’s perfect for a kitchen table or entryway console. If you recreate this design, be sure to share photos and tag us at Southern Charm Wreaths. We love celebrating your crafty wins!
Thanks for stopping by, and remember: be blessed—and be somebody else’s blessing!

#replay Good morning, Laurie Anne – I am finally beginning to think exactly like you. When the tulip arrangement was being made, I felt another fern needed to be added to the middle. Then you said “I need to add another fern right here in the middle.” Then there was a spot that I felt needed more color and you said “I need more color right here.” So after years of watching you and Julie (and the rest of the gang), the knowledge has finally sunk into my brain and stayed!! So excited!! Thank you for your amazing coaching/teaching talent!