DIY Gnome Christmas Wreath on Grapevine
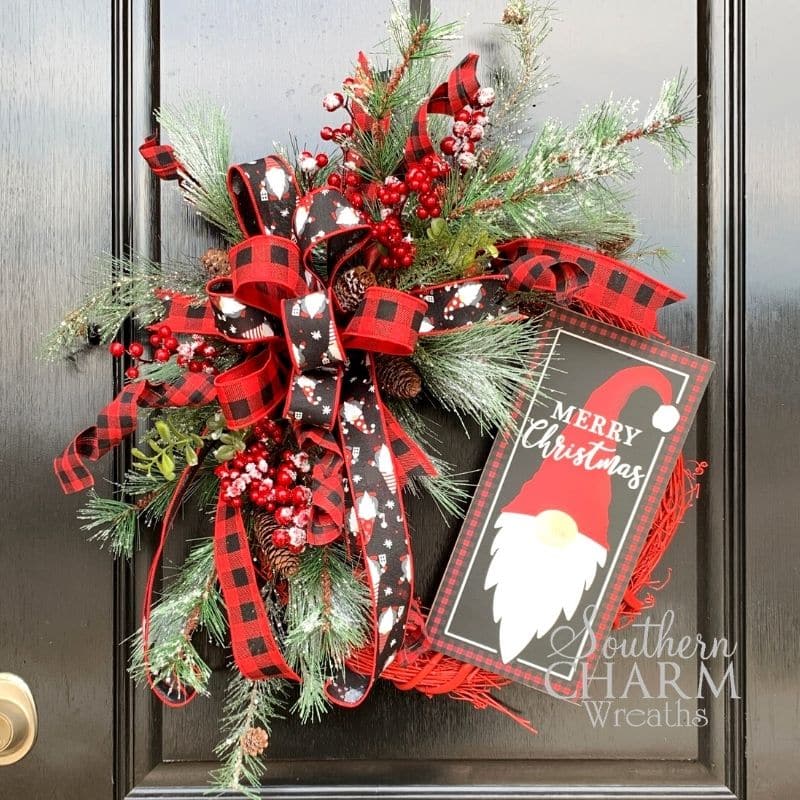
This DIY Christmas Gnome wreath is a perfect Christmas project for beginner wreath makers. We use premade greenery sprays instead of stems so that we don’t have to make too many decisions on the colors and arrangement.

And look how cute it turns out! Proof that we don’t always need to overthink everything to make a beautiful wreath! In fact, I’m going to teach you how to make this exact wreath in just three easy steps.
Ready to get started?
This post may contain affiliate links for your convenience. Click here to read my full disclosure policy.
Supplies for this Wreath
Red Grapevine wreath
Gnome Christmas sign
Winter berry and greenery spray
Buffalo plaid spiral spray
Two 1.5” ribbons
Scissors
Staple gun
Staples
Hot glue gun
Hot glue pan (optional)
Craft Mat
Wooden Picks or SteelPix Machine
I got most of the supplies for this project from one of my favorite shops, Greenery Market. Check out their great selection of wreathmaking supplies here!
How to Make a DIY Gnome Christmas Wreath
Prepare and attach gnome sign
Staple a piece of wire to the top and bottom of your sign. You may need to fold up a little piece of ribbon underneath to give it some bulk if you have a thin sign, that way the staple doesn’t pop through the front.
If it doesn’t feel as secure as you’d like, dab a bit of hot glue over top and let it dry.
Twist each write tightly around the grapevine wreath to secure the sign in place.
Make and Attach Bow
With your first ribbon, make four 12” loops with two long tails. Then, with the second ribbon, make three 12” loops with two long tails. Now, back to the first ribbon, make one loop for the center with two short tails.
You should end up with eight loops and six tails total.
Now rearrange the loops and tails until they look how you want them, before securing with a piece of florist wire.
Use the ends of that wire to attach the bow to your grapevine.
Finally, trim dovetails into ribbon tails.
Attach Greenery and Trim to your Wreath
Next, cut down the stems of your greenery sprays to make them a little shorter. Hot glue them in place on your wreath so that the stem ends are hidden underneath the center of the bow.
Trim the buffalo plaid spirals into individual stems and add a pick to the end. Then hot glue around your bow and greenery to add a touch of whimsy. (This is a gnome theme, after all!)
If your wreath is looking like it needs just a little finishing touch, go back in and add a couple ribbon streamers with the ends underneath the arrangement so that they appear to be part of the actual bow.
And that’s all there is to it!
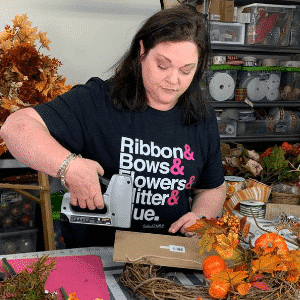
If you want to see me make this wreath in real time and learn all my professional tips and tricks along the way, just watch the video tutorial below and then let’s get to wreath making!
DIY Gnome Christmas Wreath Video Tutorial
If you enjoyed this and want to learn to wreath the professional way,
try our Wreath Making 101 Workshop!

Happy Wreathing,
Julie
If you enjoyed this post, you might also like:
How to Make a Deco Mesh Christmas Wreath
DIY Silk Flower Nutcracker Christmas Wreath
DIY Whimsical Elf Christmas Wreath on Grapevine
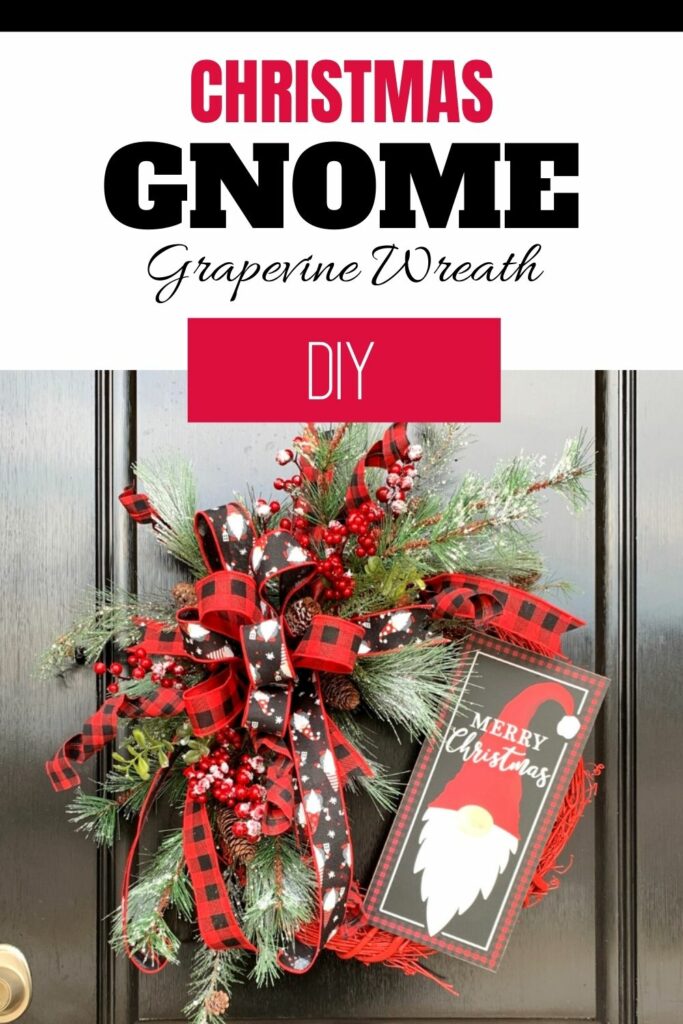
Liked this Gnome Wreath Tutorial? Pin it for later!


Where do you buy your supplies?
Can artwork in signs be used to recreate a notecard to sell? I want to make notecards with my wreaths pictured on
them to re-sell. It must be ok but checking to be sure. Some of the wreaths have signs on them created by some one else.
Thanks ,Lisa
I do not believe so no, so I would choose a wreath design without a sign.
Thank you for sharing. I still have trouble with my bows. So anytime I see instructions I paid attention.