Summer Silk Flower Arrangement
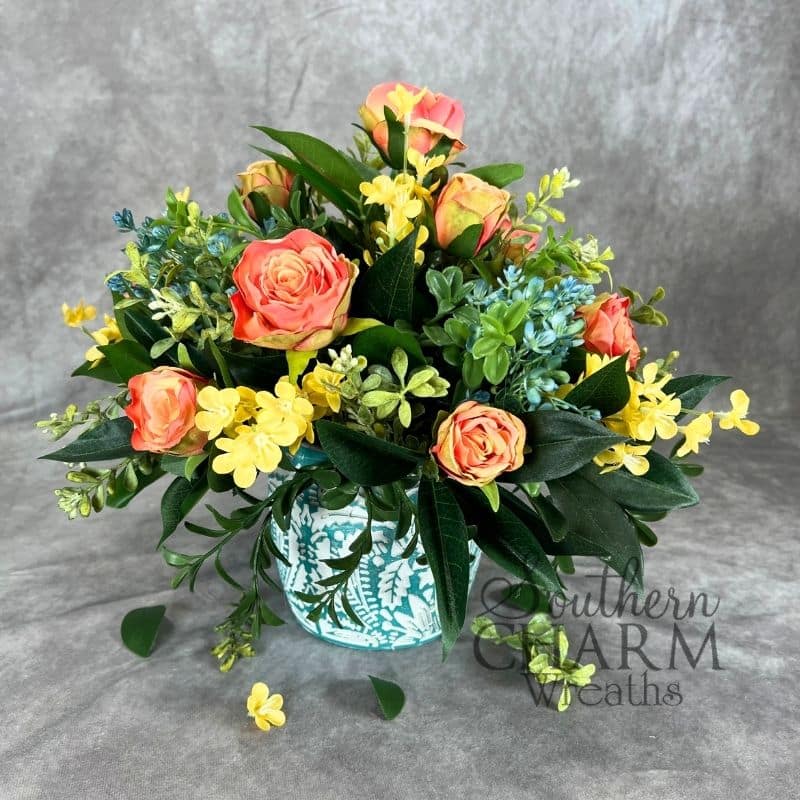
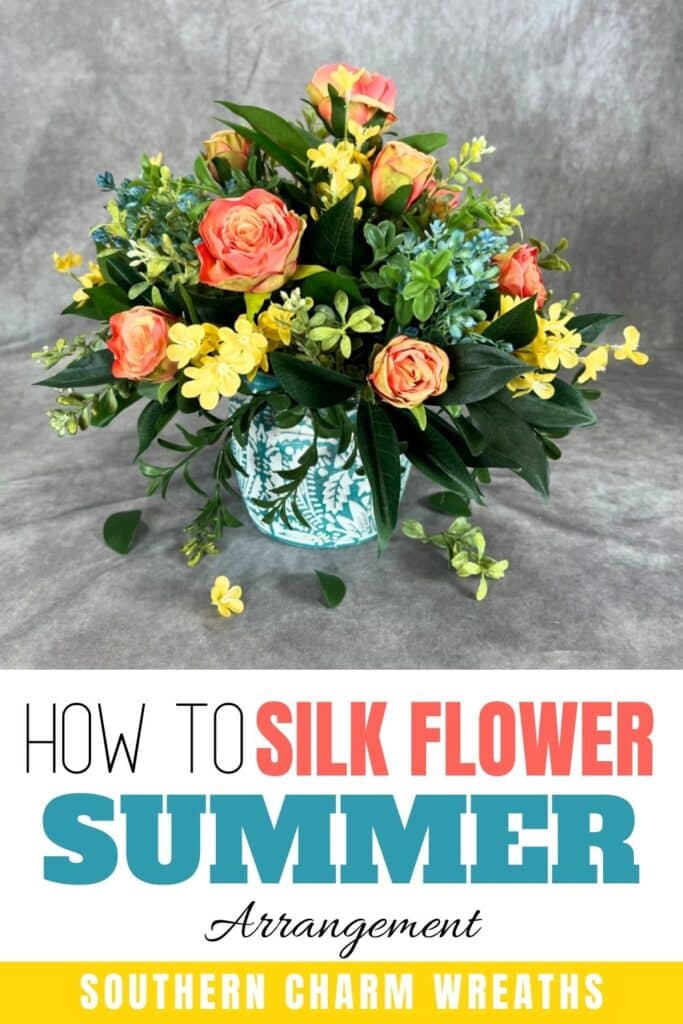
This summer silk flower arrangement welcomes soft, sunny days with light blue hydrangeas, pastel peach roses, and cheerful yellow flowers. It’ll add a little bit of joy to any space.

DIY summer silk flower arrangement
While pastels and spring are pretty much synonymous, you can bring these soft shades into the summer months with this summer silk flower arrangement.
This project is small yet mighty, with gorgeous pastel blue hydrangeas complimented with sunshiney peaches and yellows.
It looks darling on a desk, a nightstand, or on a mantel – gift it for a small, yet impactful gesture of your appreciation.
This post may contain affiliate links for your convenience. Click here to read my full disclosure policy.

Supplies for this project
You’ll need:
- 5-inch ceramic container
- Desert foam
- Decorative moss
- Hot glue
- Clippers
- Artificial flowers
- Light blue hydrangeas
- Peach rose sprays
- Yellow filler flowers
- Greenery
- Chikoo leaf
- Boxwood
How to make a summer silk flower arrangement: Step-by-step tutorial
1. Prep your container
Begin by preparing your 5-inch ceramic container. Add a round of desert foam, filling your container; if it’s snug enough, there’s no need to hot glue it down.
Then, add a layer of decorative moss to the top. Don’t glue this moss down; it’ll stay put as you begin adding greenery and flowers to the arrangement.
2. Green your base
Begin forming your arrangement by “greening the base.” This means setting the foundation and forming your shape through the greenery.
Use your chikoo leaf to determine the height and width of your arrangement, sticking ends into your foam and adding a little bit of hot glue to secure.
3. Add textured greenery
Next, add small clippings of boxwood to your arrangement, evenly dispersing it throughout and gluing to secure it.
This is going to add a fluffy, feathery texture to your final product.
4. Incorporate florals
Now for the real star of the show – flowers!
Begin by trimming three bunches of hydrangeas, clipping off the leaves, and evenly dispersing them through the arrangement; glue to secure.
Then, trim your rose sprays, opening up the petals and manipulating the stems; these are your focal flowers.
Add your sprays to the arrangement, sticking the ends through the foam with a little bit of glue added.
Don’t be afraid to manipulate your flowers as you go to get your desired effect.
Finally, include small clippings of yellow filler flowers in your arrangement, gluing to secure. This is going to add more texture, light, and balance to the finished product.
5. Finishing touches
Your final steps are to make sure everything looks even, filled in, and gorgeous!
You can fill in any gaps with additional springs of boxwood. Fluff up your greenery, make sure your flowers are sitting perfectly, and you’re done.
Watch the video: How to make a summer silk flower arrangement
If you enjoyed this post, you might also like:
Like this post? Pin it for later!


Great job as usual. Look forward to another demonstration. You are fantastic.
Beautiful! Always enjoy you amd your projects 😘
I love your center piece creation . Love your container, choice of greenery’s & floral colors & choices . Gorgeous .