Simple 5 Loop Bow Technique
Learn how to make a 5 loop bow to add to wreaths, swags, table arrangements, and more. This is a wreath-making basic every crafter should know!
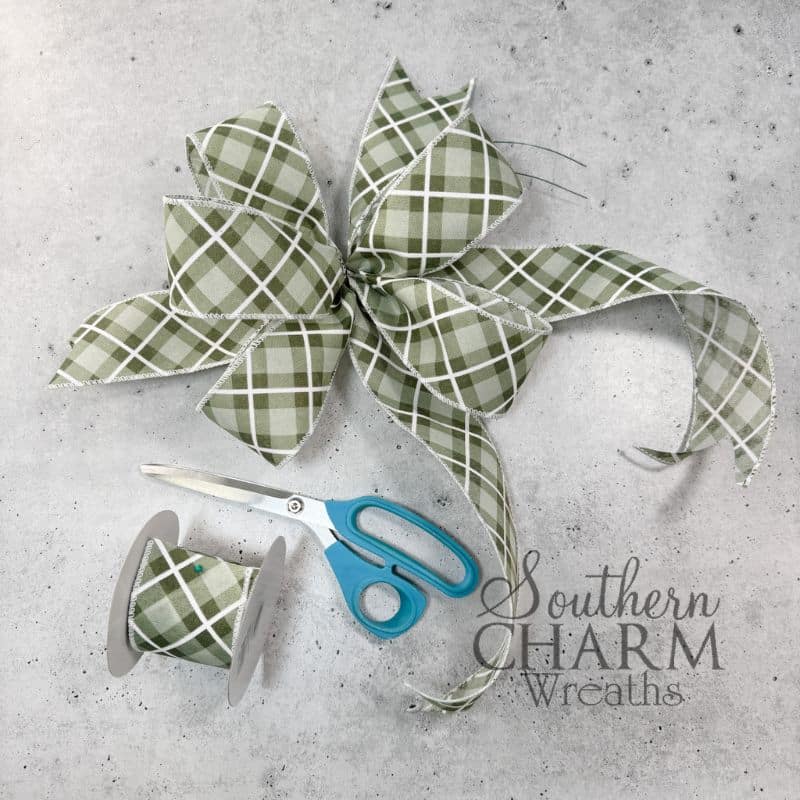
Easy 5 loop bow
Today, I’m sharing how to make a 5 loop bow to elevate any and all of your designs. We’ll be using just one ribbon variety for a simple yet beautiful bow.
Adjust this 5 loop technique for any project and any season, from a summer arrangement to a Christmas wreath bow.
This post may contain affiliate links for your convenience. Click here to read my full disclosure policy.

Supplies for this project
You’ll need:
- Silk wired ribbon
- Cutting mat
- Florist wire
- Scissors
- Wire cutter
How to make a 5 loop bow
1. Tie your first loop
Begin by measuring an 8” streamer. At 8”, pinch and pleat between your two finger pads. Measure 12” on your mat. Where your finger rests at 12”, bring the ribbon towards your original pleat to form a 6” loop.
Pinch, pleat, and twist to bring the good side of the ribbon to the front.
Make sure not to grip too tightly or you’ll get a hand cramp!
2. Repeat the process
Using the same ribbon, measure another 12” on the mat, mark with your finger, and bring the ribbon toward the center point again. Pinch, pleat, and twist 180 degrees.
Use your dominant hand to form the loops and your non-dominant hand to hold the bow. Repeat for a third, fourth, and fifth loop. If you see your ribbon shifting closer to your palm, that’s ok! Finish by trimming an 8” streamer.
3. Add a streamer + adjust your 5 loop bow
To add another streamer, trim a long piece of ribbon, pinch, and pleat it into the bow. You should have three loops on one side of your thumb and two loops on the other.
Find the loop that’s trying to force itself to the front, and bring it to the center of your bow.
4. Secure your ties
Fluff your loops, make sure they’re evenly spaced, then turn your hand over.
Grab a cut of florist wire, lift your pointer finger, and slip the florist wire through. Rotate your hand so that the wire rounds the center of your bow.
You should have two wire ends – ensure the wire is shimmied right down to the center, typically directly under your thumb. Pull the legs to get them as even as possible, though they don’t need to be perfect.
Take the wire legs in one hand, pulling the bow towards your belly and the wire away as you twist the legs three times. With that, your 5 loop bow is secured and ready to add to your design!
Watch the video: How to make a 5 loop bow
If you enjoyed this post, you might also like:
- How to Spray Paint a Metal Container for Floral Arrangements
- How to Choose Ribbon Colors And Patterns For Multi-Ribbon Bow Making
- DIY Ribbon Wreath Hanger
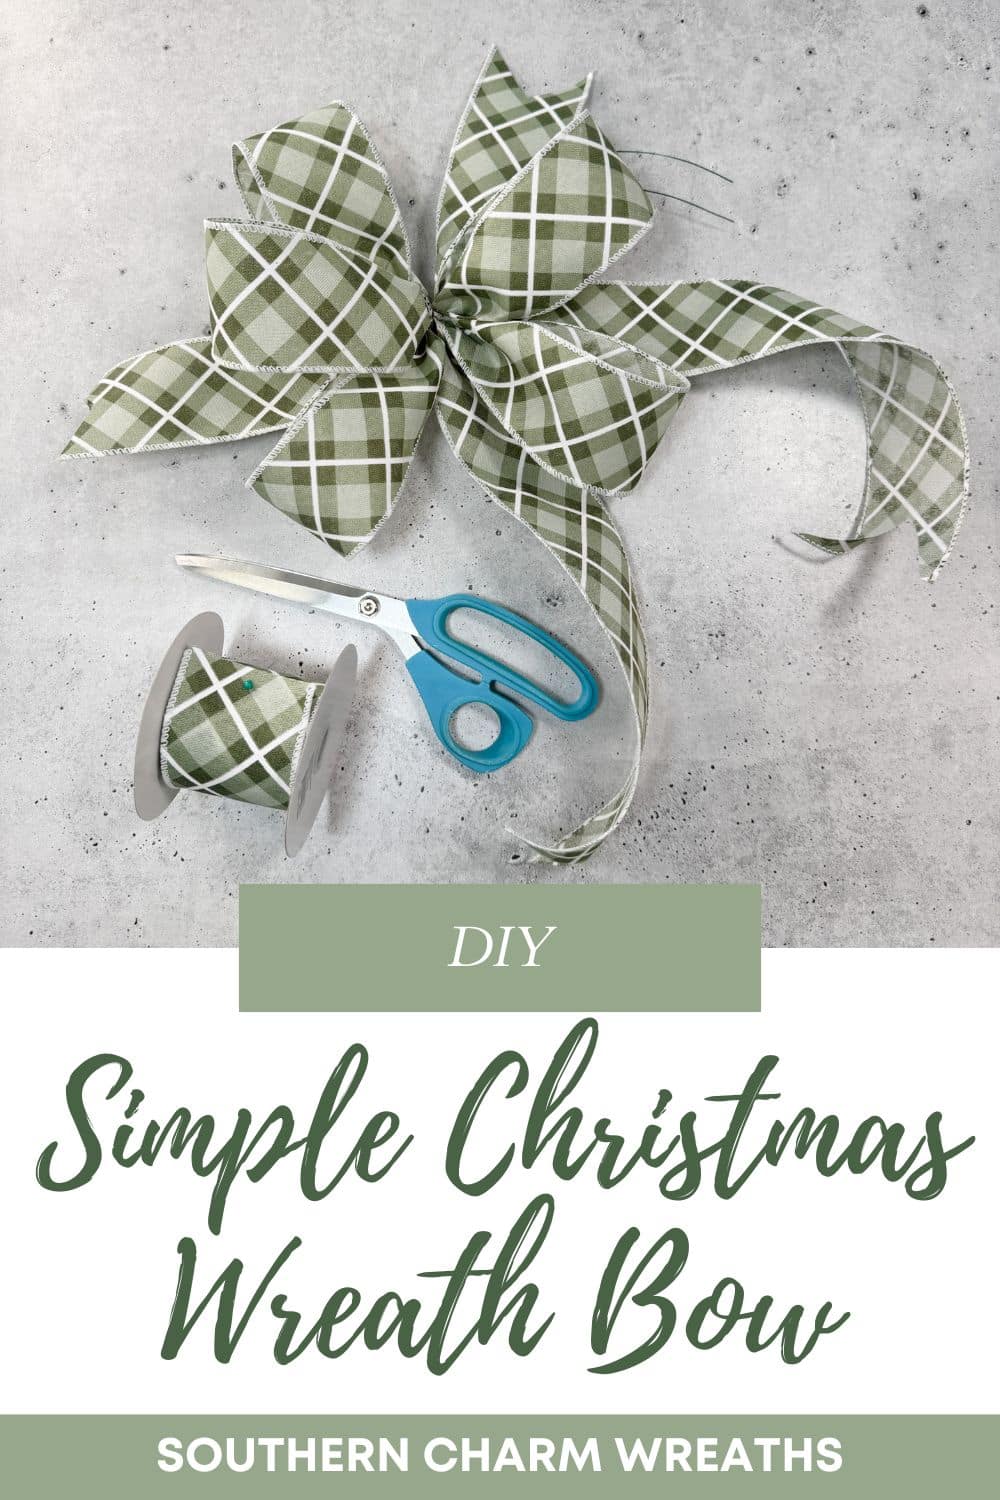
Like this post? Pin it for later!
Thank you Julie. I need to get back to basics. I haven’t made a bow yet that I am proud of or wiling to share. I’ll be practicing the 5 loop technique with one ribbon!
I enjoy your tutorials and all the coaches’ expertise! You are all truly inspiring!
Faith M Durham
U are the best teacher. Simply crystal clear instructions!
Thank you!