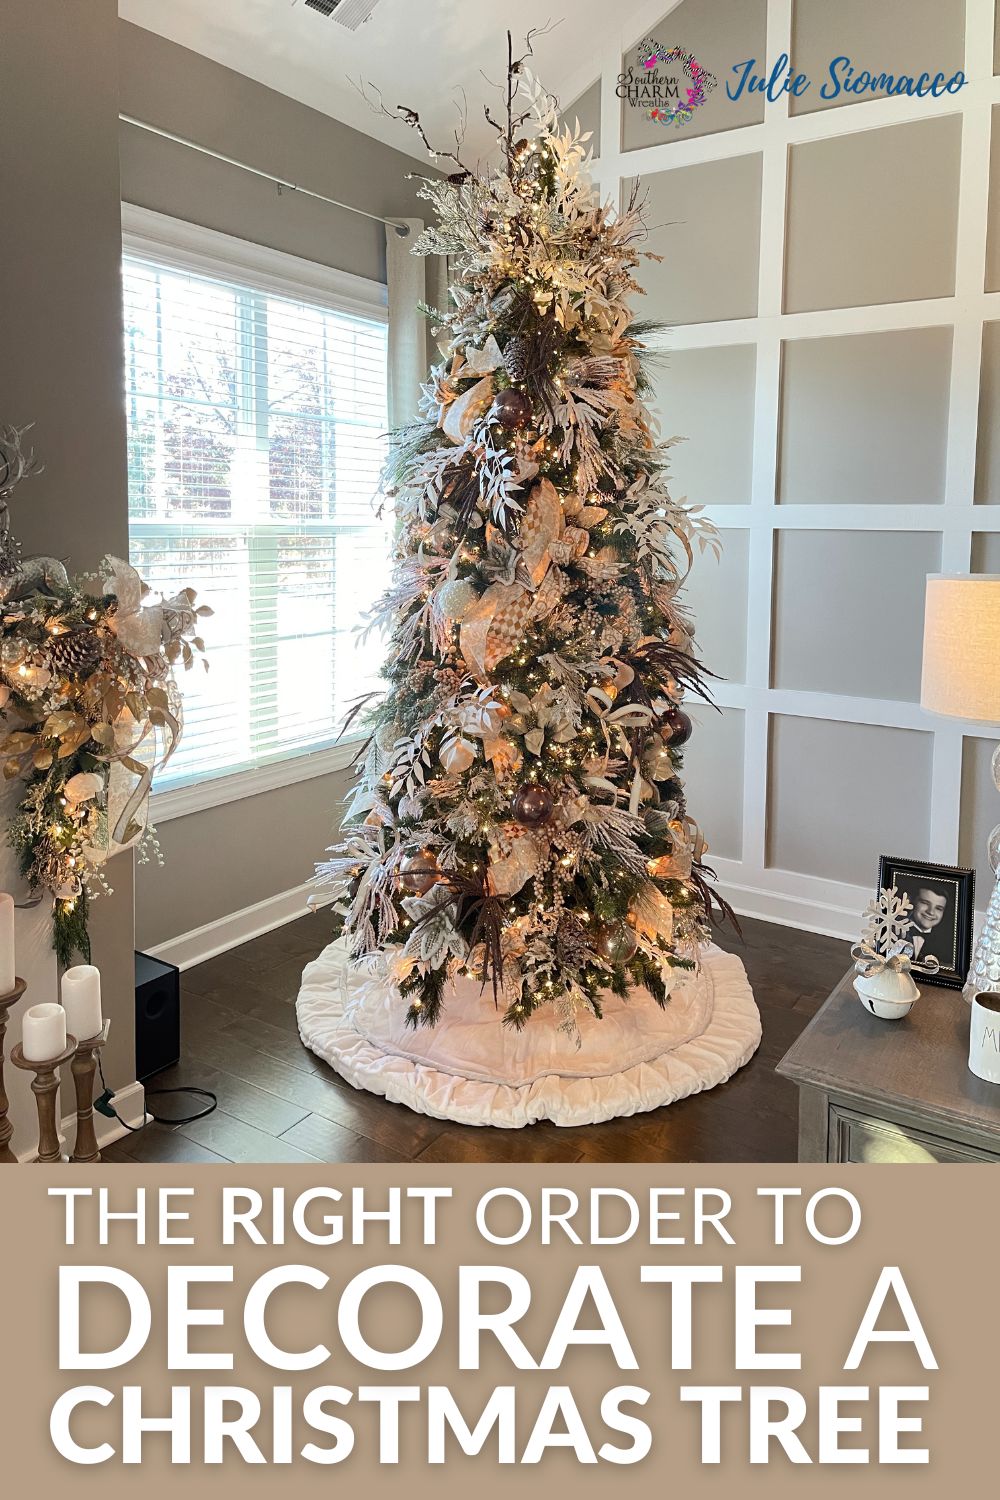
What is the Right Order to Decorate a Christmas Tree?
One of the most magical parts of the holiday season is gathering the family to decorate a Christmas tree. But if you’ve ever found yourself halfway through the process and unsure of what to do next, you’re not alone!
The key to a beautifully decorated tree is following the right order. This step-by-step guide will help you go from a bare tree to a festive masterpiece, all while keeping the process smooth and stress-free.
How to Decorate a Christmas Tree in the Right Order
Let’s break it down into simple steps so you can create the Christmas tree of your dreams.
1. Choose a Tree That Fits Your Space
Before you even think about decorations, you need the right tree. Whether you’re using a real or artificial tree, make sure you measure the height and width of the space where it will sit. You don’t want your tree crammed into a corner or towering too tall for your ceilings. Look for a tree that balances well with your room.
For those using artificial trees, consider whether you want a pre-lit tree or one without lights. Either option works—just make sure it fits your vision and your space.
2. Decide on a Theme or Style
Choosing a theme or style early on will help guide your decisions for every decoration that follows. Do you want a classic Christmas look with reds and greens, or maybe something more modern and minimalist? Perhaps you love the idea of a whimsical, woodland theme with lots of natural elements like pinecones and burlap ribbons.
Once you’ve nailed down your theme, stick with it as you gather your decorations, colors, and other elements to ensure your tree has a cohesive look.
3. Gather Your Elements & Understand the Importance of Quantities
Before diving into the decorating process, gather everything you plan to use. This includes your lights, ornaments, ribbon, florals, signs, and anything else you want to include.
When it comes to decorations, quantity matters. You want to make sure you have enough to fully decorate the tree without it looking too sparse. If you’re unsure about how much ribbon or how many ornaments you’ll need, there are plenty of guides that can help based on the size of your tree.
4. Protect Your Floors & Set Up the Tree
Before you set up the tree, take a moment to protect the area underneath it. Use a tree skirt or place a large sheet underneath to catch any falling needles or glitter from ornaments. This makes clean-up easier later on.
Once your floors are protected, set up your tree. If it’s a real tree, make sure it’s in a sturdy stand with enough water. If it’s artificial, take your time fluffing the branches (more on that below).
5. Fluff the Tree
This step can’t be skipped if you want a full, lush tree. Whether your tree is real or artificial, spend time spreading and fluffing each branch to make it look fuller. This gives your tree a fuller, more polished look and creates space for your decorations to sit naturally.
Pro tip: Bend the back branches slightly upwards to cover the trunk of the tree. It’s a small detail, but it makes a big difference!
6. Add Your Lights (Including Extra Lights to a Pre-Lit Tree)
Next up—lights! If you have a pre-lit tree, you can still add extra lights for a fuller, brighter glow. Using an extension cord down the center of the tree can help avoid too many wires hanging down.
Start by placing lights deep within the tree, working from the inside out. This adds depth and makes the tree look like it’s glowing from within. Make sure to wrap the lights around each branch for an even distribution of light. Read more
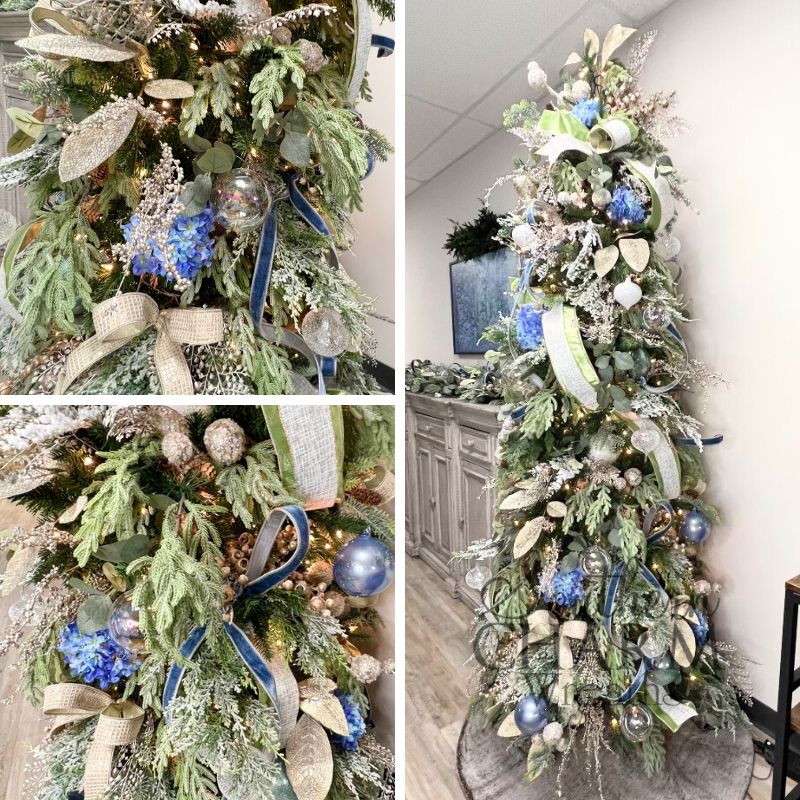
7. Add Additional Greenery
To add texture and dimension, consider adding extra greenery to your tree. Think pine sprays, eucalyptus branches, or even frosted branches for a winter wonderland effect. Tucking in extra greenery between the branches gives your tree a lush, designer look.
8. Add the Tree Topper (Optional)
Some prefer to add the tree topper early in the process, while others like to wait until the tree is fully decorated. It’s up to you! Whether you’re using a classic star, a large bow, or a whimsical creation made from floral picks, make sure your topper ties in with the theme you’ve chosen.
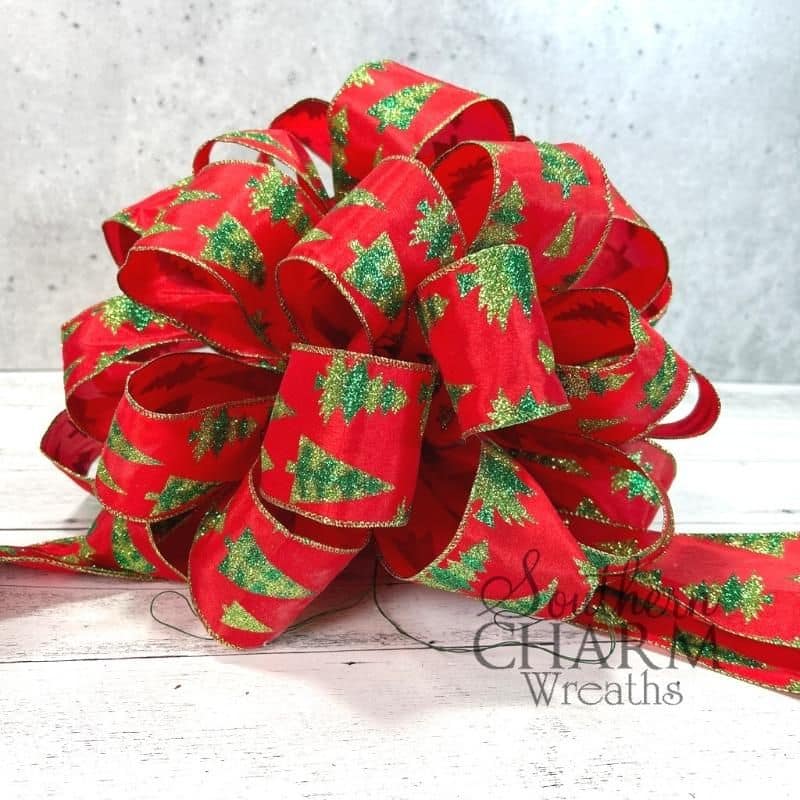
9. Add Ribbon or Garlands
Now it’s time to add your ribbon or garlands. Start at the top of the tree and work your way down. You can weave ribbon into the branches, cascade it in loops, or even layer different types of ribbon for added texture.
If you’re using garlands, make sure they are evenly distributed and don’t overwhelm the tree. The key is to enhance the look, not hide the beautiful greenery.

10. Add Any Animation
If your theme includes any animation—like moving ornaments, twinkling lights, or spinning decorations—now is the time to place them. Make sure they’re positioned where they’ll be seen and admired.
11. Add Large Signs
Large signs can make a bold statement on your tree. Whether it’s a “Merry Christmas” banner or a themed wooden sign, position these items where they can stand out without blocking too much of the tree. Use wire or strong ribbon to securely attach them.
12. Add Silk Flowers (Largest to Smallest)
Start with the largest flowers first. These are your focal points, and they help create balance and structure in your tree. Once those are in place, fill in with smaller flowers, working from the inside of the tree outwards. This layering effect gives the tree more depth and dimension.
13. Add Textured Pieces
Add texture to your tree by incorporating unique elements like pinecones, berries, or textured ornaments. These items add interest and break up the visual flow, making your tree look more dynamic.
14. Add Shatterproof Ornaments
Next up are your shatterproof ornaments. These are perfect for larger trees or homes with kids and pets because they’re durable and safe. Place these ornaments strategically around the tree, making sure to balance the size and colors evenly.
15. Add Glass Ornaments
Once your shatterproof ornaments are in place, it’s time to add the glass ones. These are often more delicate, so handle with care. Glass ornaments bring a touch of elegance to your tree and can be used to add sparkle and shine.
16. Finishing Touches (Ribbon Streamers, Tinsel, and Tree Skirt)
Now for the final touches! Add ribbon streamers cascading down the tree, tinsel for a bit of shimmer, and finally, the tree skirt to complete the look. The skirt should complement your tree’s theme and tie everything together.
By following these steps in the right order, you’ll not only make the decorating process easier, but you’ll also end up with a beautifully balanced and festive Christmas tree. The key is to plan ahead, gather your materials, and enjoy the creative process. After all, the joy of decorating is part of what makes the holiday season so special.
If you want even more expert tips on holiday decorating, check out our Christmas Tree Decorating Masterclass for in-depth tutorials and professional guidance. Happy decorating!
I’m going to save this and share it. Thanks, Julie!