How to Make a Beaded Winter Hoop Wreath
Follow along with this beaded winter hoop wreath tutorial, complete with gorgeous layers of textured greenery. This is a great project for beginners and anyone looking to use up scraps from previous creations.

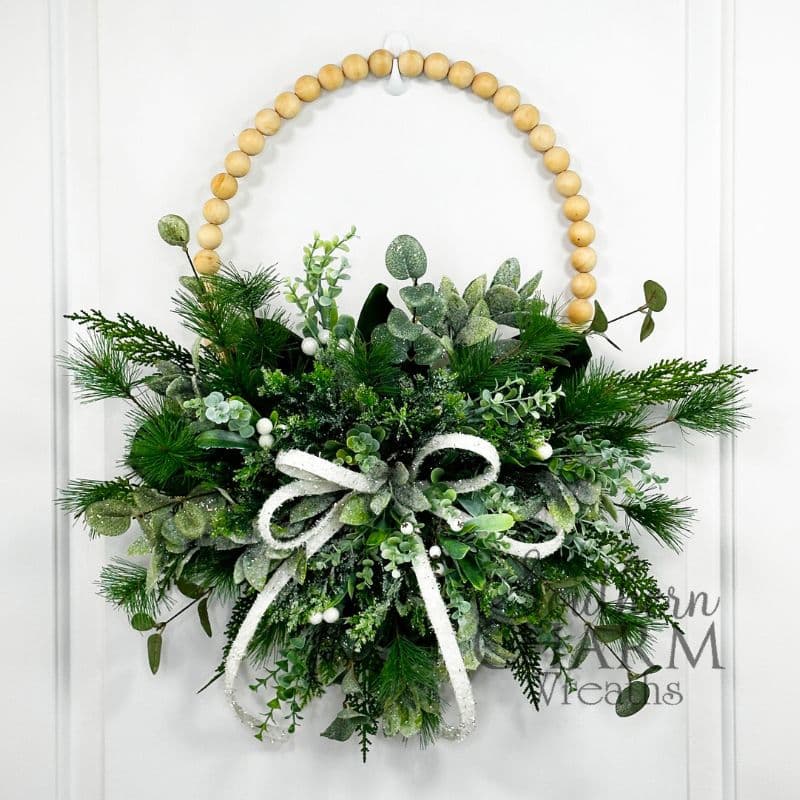
Beaded winter hoop wreath
Today’s design is a gorgeous wintery creation made with frosted cedar, glittering pine, and even more dynamic greenery.
This beaded hoop wreath doesn’t have any floral additions, meaning greenery is the true star of the show. And because the design features just one bunch of greenery, it’s perfect for using up greenery scraps from past projects.
So gather your greenery bits, and let’s get crafting!
This post may contain affiliate links for your convenience. Click here to read my full disclosure policy.

Supplies for this project
You’ll need:
- Neutral beaded wreath form
- Spanish moss
- Magnolia leaf
- Glittered pine
- Frosted cedar
- Eucalyptus with white berries
- Glittered eucalyptus
- Dark green cedar
- White tinsel ribbon
- Steel picks or wooden florist picks
- Wire cutters
- Scissors
- Hot glue
- Styrofoam
- Zip ties
- Florist U pins
How to make a beaded winter hoop wreath
1. Prep the wreath base
First, we’re going to prep our beaded base so that we can easily add greenery.
Zip-tie a 4” piece of styrofoam to the top center of your wreath base. Use two zip ties for security, then add hot glue between the wooden beads to prevent movement.
Then, cover the styrofoam at all angles using Spanish moss, U pins, and hot glue to secure it. Trim excess moss as needed.
2. Establish the form with greenery
Add a magnolia leaf to each corner of your styrofoam, securing them in an X-shape with steel picks and hot glue. Then, add magnolia leaves to the top and bottom of the styrofoam.
Next, include a large spray of glittering pine on each side of the design and secure them with hot glue. Finish with a couple of smaller clippings at the top and bottom of the arrangement.
3. Add your center bow
Tie a quick bow using a white tinsel ribbon with two loops on either side. Zip-tie the center to secure the bow. Then, use two U pins to secure the bow to the center of the design.
4. Fill in with greenery
With our form established, we will start filling in with greenery, building outwards to add texture and dimension.
Begin with frosted cedar, placing clippings in between your pine greenery. Secure all pieces with hot glue, using steel picks for shorter stems as necessary.
Continue this process with sprays of eucalyptus and white berries, then glittered eucalyptus. We’re aiming for a full design.
Finally, fill in any last holes with dark green cedar. This deeper shade will give the design the dimension it needs.
5. Finish your breaded winter hoop wreath
To finish your wreath, fill in any last holes with additional clippings of greenery.
Add a few extra white berries to help draw the eyes and even out the design.
And with a final fluff, your winter hoop wreath is complete!
Watch the video: How to make a beaded winter hoop wreath
If you enjoyed this post, you might also like:
- How To Flock Faux Flowers For Winter Arrangements
- Burlap Winter Snowflake Wreath
- DIY Snowman Winter Wreath For Winter
Like this post? Pin it for later!

