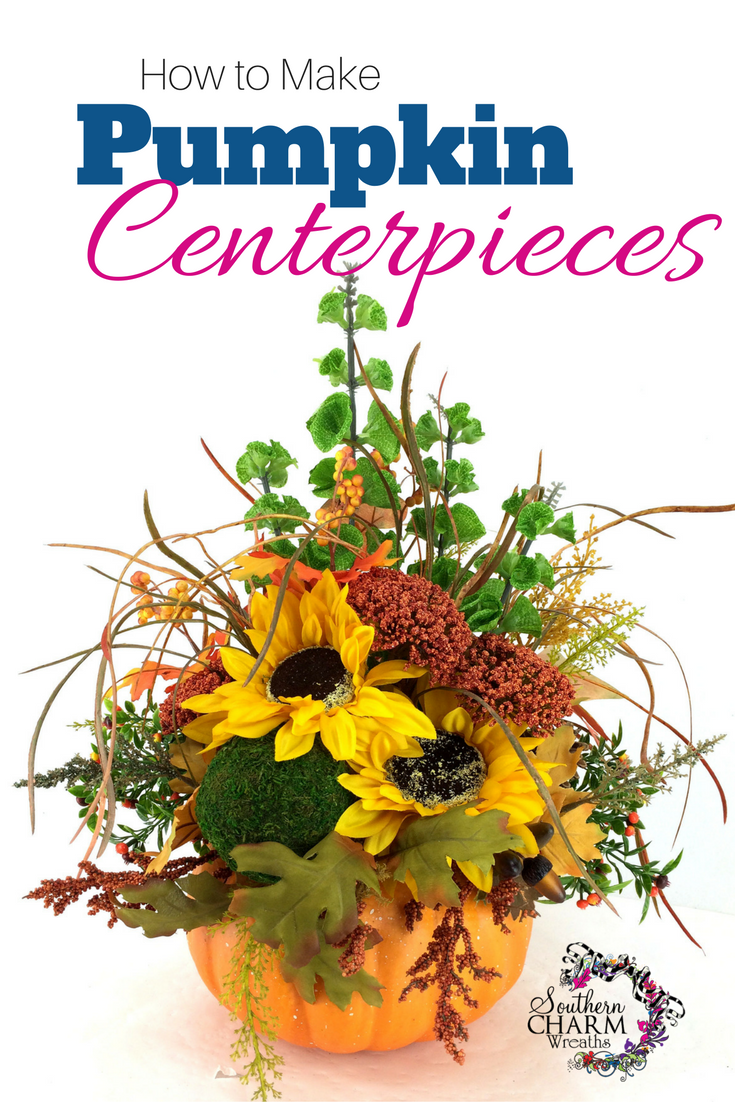
How to Make Pumpkin Centerpieces
Learn how to make these adorable pumpkin centerpieces, crafted with bright sunflowers, fall leaves, and dried grass for a textured look. This design is the perfect addition to any fall table, countertop, or mantel.
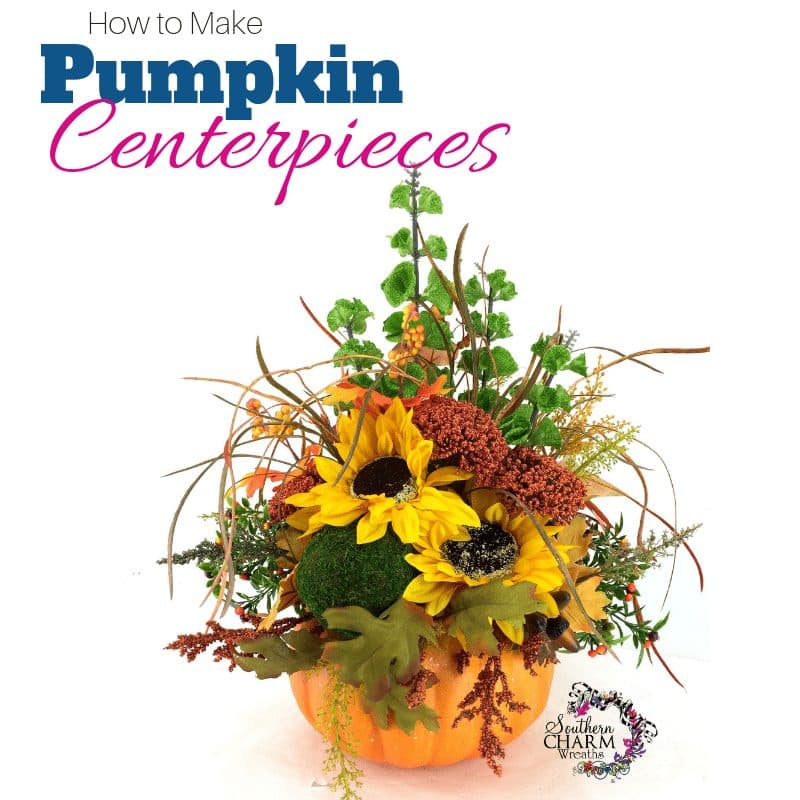
DIY fall pumpkin table decor
It’s starting to feel like Fall, y’all – cooler weather, football, and now a pumpkin centerpiece! Seriously, there’s pumpkin everything now – coffee, tea, cookies, bread – so why not some creative pumpkin table decor?
In today’s tutorial, I’m sharing everything you need to make pumpkin centerpieces for your home or shop (yes, I’m still using items from my awesome Carolina Pottery shopping trip).
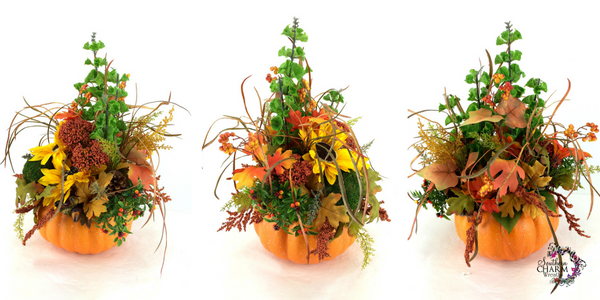
These centerpieces look incredible on a Thanksgiving tablescape, are a top seller at the craft fair, and are one of my favorite ways to decorate for Fall. So, let’s learn how to make your own!
This post may contain affiliate links for your convenience. Click here to read my full disclosure policy.

Supplies for this project
You’ll need:
- 9.5” x 6.5” styrofoam pumpkin
- Faux sunflowers
- Bells of Ireland greenery
- Fall berry bush
- Rust yarrow
- Pinecones
- Acorns
- Fall grass
- Moss ball
- Rust berry stems
- Wooden florist picks
- Green tape
- Hot glue
- Wire cutters
How to make pumpkin centerpieces
1. Add focal sunflowers
Our first step is to add sunflowers to our pumpkin base. Use a Styrofoam pumpkin (9.5″ x 6.5″) for this project instead of a hollow one, so the stems will have something to stick to.
Trim the sunflower stems at any angle so that the end will easily pierce the pumpkin. Place two sunflowers near the front top of the pumpkin on slightly different plains.
If this is your first time doing this project, use a foam block first (instead of the pumpkin) to practice the placement of your stems.
If stems seem too “loosey goosey” once you stick them in the foam, or you have to reposition too many times, or you plan on shipping your pumpkin centerpieces, you can add a little hot glue to the stem.
One Facebook LIVE watcher asked after the broadcast ended what to do if your pumpkin centerpieces get too top-heavy. What I would do is to adhere a 4×4 ceramic tile to the bottom for a base. This will give it more weight. I would use E6000 glue to adhere the tile instead of hot glue.
Make sure to follow the directions and be careful, as the glue tends to come out fast. You can then put Vaseline around the tip of the cap so that when you put the cap back on, it will come off easier with your next use.
You will need to place a heavy book on top of the pumpkin until it dries, usually for 24 hours. If you have any glue that leaks out, cover it with moss or leftover silk flower leaves.
2. Establish shape
Next, we’re going to add height to the design by adding 3-4 stems of Bells of Ireland behind your sunflowers, each at a slightly different height. Before gluing your stems, make sure of your placement first, and then glue.
Not sure how tall to make the arrangement? A good rule of thumb is that the height of the tallest stems should be equal to the height of the pumpkin, or taller.
Then, establish a horizontal line using a fall bush with orange and red berries. Hot glue clippings to either side of the arrangement.
3. Include fall foliage
Glue clippings of rust-colored yarrow throughout your base, adding them around your sunflowers for a rich contrast.
Pepper in pinecones around the base of the design. When adding small pine cones or other items as filler, and they don’t have a pick, simply add a dollop of hot glue to the bottom. You know, girl, hot glue fixes everything!
Then, trim a fall leaf bush and evenly distribute clippings throughout your base. Don’t be afraid to experiment, adding and removing elements as you design.
Fill in around the back of the centerpiece with shorter pieces of fall leaves and berries.
4. Add your moss ball
For an interesting addition, place a moss ball between your focal sunflowers, securing it with a florist pick and hot glue for maximum hold.
5. Fill in with seasonal texture
Never throw your scraps away! You can always use the extra pieces for filler on other projects.
Add clippings of fall grass throughout for a wispy effect.
Blend your moss ball into the design with more clippings of fall greenery and rust berry stems.
If you need longer stems, you can use florist picks or green tape to secure trimmed stems to their ends. Remember to cover your mechanics with a bit of moss. The goal is for this centerpiece to look beautiful from all angles.
And with a final fluff, your pumpkin table decor is complete!
I hope you enjoyed this tutorial! Make sure to comment below and tell me if you like it! That way, I know to keep making more tutorials like this. And be sure to share your own pumpkin centerpiece creations on my Facebook Page. What is your favorite part of Fall?
Watch the video: How to make pumpkin centerpieces
If you enjoyed this post, you might also like:
- Silk Flower Fall Lantern Topper
- Fall Cream Faux Sunflower Grapevine Wreath
- How To Fall Floral Wreath on Evergreen Base
Like this post? Pin it for later!
loved your video on the pumpkin center piece but I had trouble hearing you, love your designs.
LOve this pumpkin centerpiece!!! Great tips as always
I love your fall center piece. I think I am going to try and make one for myself. Thanks for sharing
Hi Julie
Love it
Your are so creative
Maybe one day you can have a two day course in your hometown
So glad I am part of your group
Your Pumpkin idea is great and very clever about the ceramic tile if it gets to heavy, glue it.
One thing you didn’t mention (or forgot) that to put felt circles on the bottom of the ceramic
tile, not to scratch the surface it sets on.
Thank you for you great ideas
Thank you. I did forget that.
Love the pumpkin center piece. You always have great ideas. Thanks so much for sharing your talent.
Love the pumpkin center piece,but I love all of your tutorials.Your wreaths are beautiful!!!! Thanks Barb
thanks for making everything look so easy. That actually motivates me! I am ordering a wreath Easel from Etsy, where you suggested. It will really help me to work on them.
Thanks again for all your help. Sometimes it is hard to hear you. Just thought I would mention this since someone already did!. I always make sure my speakers are at 100%.
Love your videos! I’m going to have to try this!
Love your video! I am going to try to do a pumpkin centerpiece.
This was great help. Thanks so much
I love pumpkin center piece
Really pretty; lots of movement. I use clean rocks or make some weights from Quikcrete to make the base heavier.