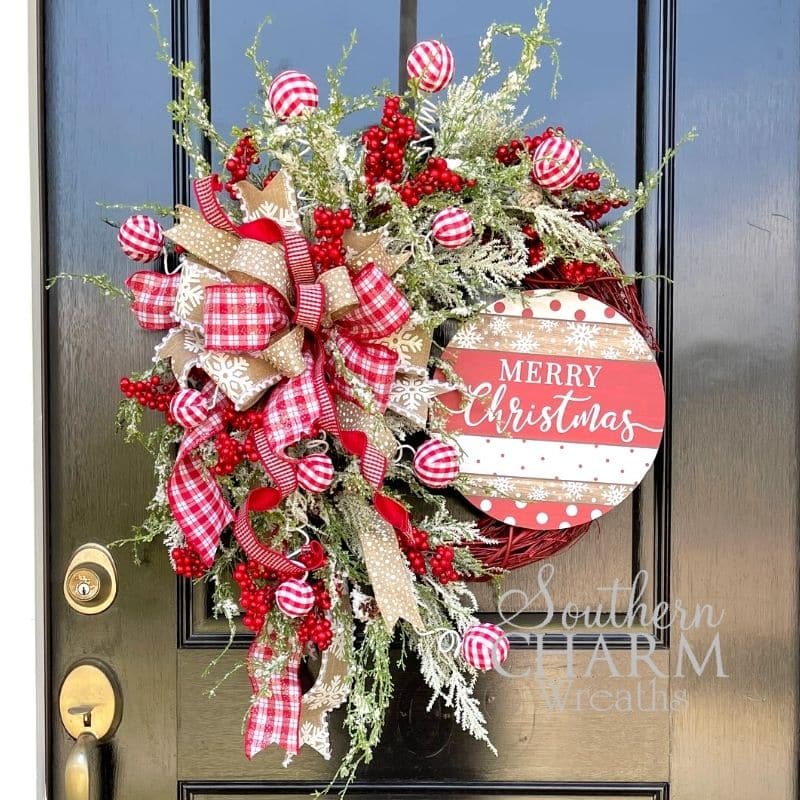
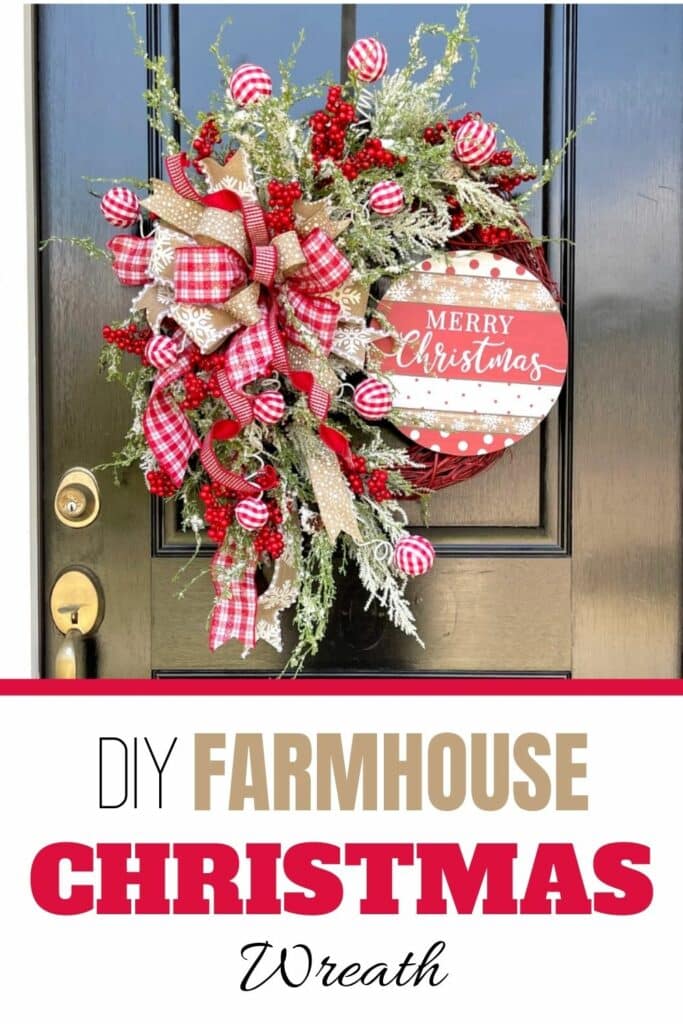
DIY Farmhouse Christmas Wreath on Grapevine
Follow this simple tutorial and you’ll make a DIY farmhouse Christmas wreath on a grapevine base. This wreath is rustic and beautiful with lots of cozy charm.

How To Make A DIY Farmhouse Christmas Wreath
The colors red and white remind me of snowflakes, candy canes, and wrapped presents – basically everything I love about Christmas! This wreath is perfectly at home in a cottage or farmhouse, with some outdoor elements and lots of fun textures and prints.
I guess you could say I went a little extra with this wreath. If you are looking for a stunning multi-layered wreath that will turn heads and get comments, then this is the perfect one for you!
For this design, I painted my grapevine wreath red. That step is entirely optional, but I think it makes the entire design better go together and it makes the colors all pop!
Follow along, I’ve got all the details about how to make this wreath. Plus, if are a visual learner, watch my video and make it along with me.
This post may contain affiliate links for your convenience. Click here to read my full disclosure policy.

Supplies for This Project:
- Red Paint (to paint the grapevine wreath)
- Grapevine Wreath
- Round Merry Christmas Sign
- 22 gauge Florist Wire
- 2 1/2-inch wired ribbons
- 1 1/2-inch wired ribbon
- 1-inch ribbon
- U-Shaped Wire Floral Pins
- Flocking
- Wire Cutters
- Greenery
- Winter Berry Picks
- Glue Pan
How To Make A Farmhouse Christmas Wreath: Step-By-Step Tutorial
1. Attach The Sign
Since the sign is the focal point of the wreath, you want to attach it first before you do anything else. I stapled some florist wire to the back of the sign. This makes it a lot easier to attach to the grapevine wreath.
Decide where you want to place the sign. Do you want it off-center? Or do you want it in the middle of the wreath? There is no wrong answer. As the focal point, this decision will change all your other decisions.
2. Make The Bow
The bow is the 2nd place that draws everyone’s eyes. You can make your bow as thick and layered or as simple as you want.
I’m going to share the measurements of the tails and loops of my bows, but you don’t have to measure your bows. I give this information out just cause there is a beginner bow maker reading or watching. It helps everyone not be so intimidated by the process.
I started with the 2 1/2-inch wired snowflake ribbon. Pinch and pleat the ribbon between two fingers on your non-dominate hand. Then, measure 12 inches and loop it away from you and pinch that with your same two fingers. This is the start of your bow’s first loop. Since you folded it in half this is now a 6-inch loop.
Repeat this process two more times so that you have three loops. Trim it and keep this bow in your hand.
Then, I did the same thing with the 2 1/2-inch wired red and white plaid ribbon. Make 3 more loops that are 6-inches each.
Shape your bow as you go. Place the ribbon tails behind your loops so that the loops are on the top.
Then, use a 1 1/2-inch (#9) wired ribbon. I used a neutral color for this one. Make another 3 loops that are 6-inches each, just like the first two.
Finally, pull in the 1-inch wired red and white ribbon. Make just one loop. Curl the tail of the smallest wired ribbon. This gives the design depth.
Tie all the loops and layers of your bow together with a 22-gauge florist wire. If the florist wire feels slippery and you need something with a thicker texture to grab onto, you can use florist tape or pipe cleaners. I have found that florist wire feeds better through a grapevine wreath.
3. Add Greenery
Now it’s time to add the greenery. To do this, you will define the line of vision.
When you define your line, you are going to establish the way people’s eyes are going to travel across your wreath’s design. This also determines where you will place the floral picks, flocking, and greenery.
I started by gluing snowy flocking behind the top of the red bow. Then, I added some more at the bottom. Both of them draw the eyes from the bow to the large red sign.
Keep layering with more greenery and flocking until it is as thick as you want it.
The bow is the binding point. It looks like it is holding everything together. So, anything above your bow goes in one direction and anything below your bow goes in the opposite direction.
Keep layering and adding more flocking until you either reach the sign or it is as full as you want it to be.
4. Insert Red Berries
To bring in a little red, add a few berry picks. If you have some red flowers and you want to add them to your wreath, hold them up before you glue them and see if you like how it looks. Pay close attention to the shade of red and whether it adds to the design or overpowers it.
I personally liked how the berries added a smaller amount of color than the large flowers, so I used those instead.
Since I am not a fan of the green on the bottom, I trimmed it off of the stem. I just divided them up and glued them in individually around the wreath.
5. Use Supplies From Other Seasons
You can stop here if you like how it turned out! I almost stopped in my video. However, I saw some round red and white plaid balls that added a whimsical charm to the wreath, so I glued them in around the greenery.
Watch The Video: How To Make a Farmhouse Christmas Wreath
If you enjoyed this post, you might also like:
- DIY Gnome Christmas Wreath on Grapevine
- Rustic Reindeer Christmas Wreath
- O Holy Night Blue Christmas Wreath


Julie,
Are you having the wreath kits anymore? I love everything you do, I’ve been away from my wreathing for some time now and trying to get back into it. Husband has had many health issues.
Thanks for what you do.
Hey Cherryl – We offer kits and bundles as a perk for our Wreath of the Month Club members. If you are interested in learning more, please visit http://www.learntowreath.com!
I am a WOTMC member. Is there a way to get the name/vendor of the greenery items used in this wreath?
We only provide supply lists for the Featured Trainings in the Wreath of the Month Club.