Easy Wreath Making Hacks For Fall The Pros Don’t Tell You
Want to save time when making wreaths for your shop? Try this easy wreath making hack this fall season (or any season really)! You’ll be able to make more wreaths even quicker and still create beautiful wreaths everyone can enjoy. Bonus: This pro hack can help you sell at craft shows or on your Etsy shop.
Pro Wreath-Making Hack For Crafters
Did you know that there is actually a simpler (and timesaving) method when it comes to making multiple wreaths?
Do you want to know my secret? Okay, I’ll tell you… Start building your wreath with a pre-made one.
Isn’t that cheating? Nope!
In fact, this one hack is what florists and industry professionals use. Lots of pros don’t tell you that they use pre-made wreaths to speed up their crafting time.
I call this working smarter, not harder.
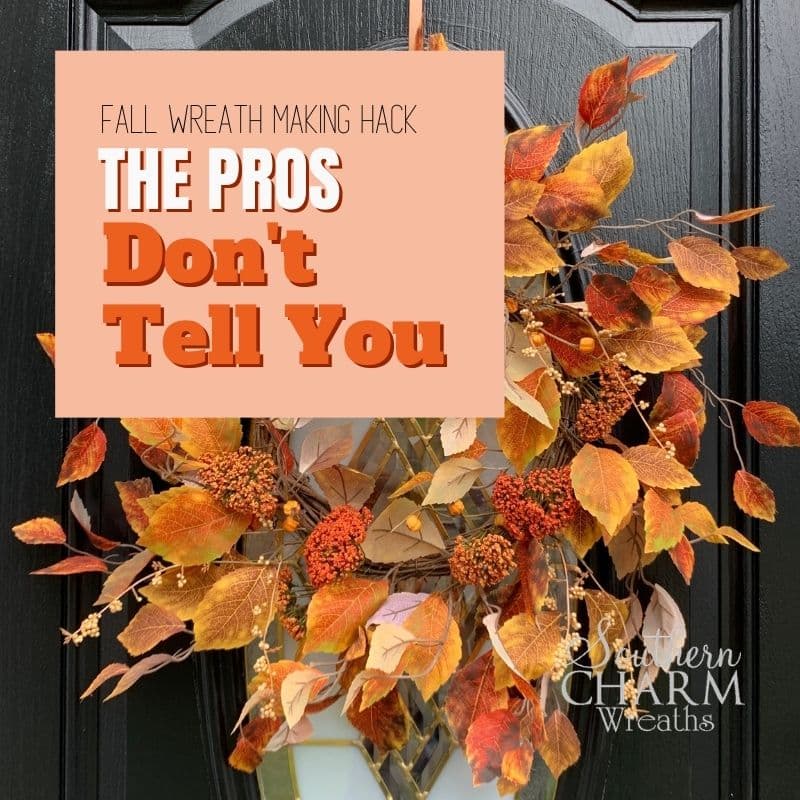
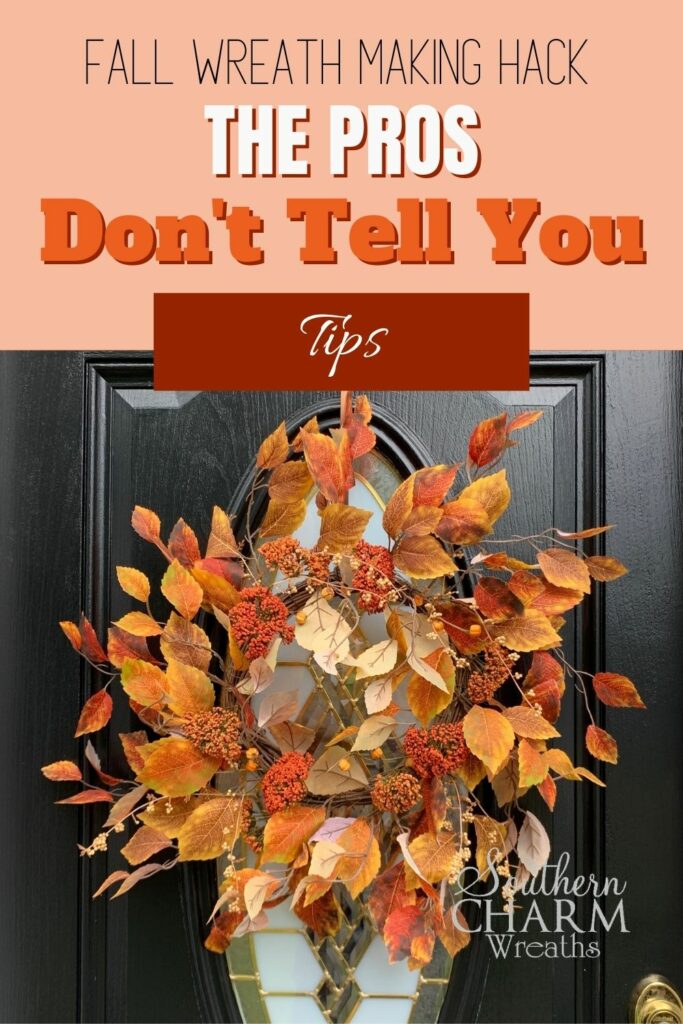
When you buy a basic pre-made wreath, you don’t have to spend time gluing the leaves on it. You still have room to add florals and a sign. I call this “semi-homemade” and it saves me a ton of crafting time, especially when I have a craft show coming up.
Here’s how to jazz up a pre-made wreath that will save you tons of time.
Start With A Pre-Made Sample
Buy a basic wreath with just a few pieces of greenery added around it. You can find these at almost any craft store near you. I’ve seen them at Hobby Lobby, Michael’s – even on Amazon!
I like to buy a pre-made wreath that uses wires to attach the leaves. This way, I can move the leaves around the base and fluff it easier.
Fluff The Greenery
When you first buy your wreath, it is most likely going to be very flat. I recommend pulling on the green leaves and fluffing them around.
This is why I look for wreaths with leaves attached by wires. The wires are easier to maneuver and pull out to create dimension and make it come to life.
Add Florals
This is the fun part!
When choosing your floral arrangement, choose flowers that match up with your color scheme. You can pick out colors that coordinate perfectly with the colors in your piece or pick out colors that contrast with the leaves.
Start clipping those flowers and hot-glue them to your wreath. Make sure to add some flowers to the inside of the base as well as the outside.
Hang the Wreath Vertically
I always recommend hanging up your wreath vertically because it prevents the attached decor and florals from falling off as you glue them on.
If you do all your crafting on a flat table, things fall and get out of place as soon as you hang it up. When you put it up vertically on an easel or on a kitchen cabinet, you can visually get a feel for how it looks, and the objects you glue will stay put.
Easy Wreath Making Hacks: Final Thoughts
Work smarter, not harder.
It’s okay to find little shortcuts that save you time in the prep stages. You can still create a completely custom and unique piece from a pre-made base. Lots of florists and other wreath-making pros use this tip, too!
Make sure to use this time-saving hack for other wreath projects in other seasons as well.
If you enjoyed this and want to learn to wreath the professional way, join me in our exclusive Wreath Making of the Month Club!
You do beautiful work. I would enjoy learning from you
I’ve said it before, and I’ll repeat it here. I am a self-taught “Wreath-Maker” I started making when I was in my teens. I received lots of compliments but didn’t allow it to help me to continue making. Fast forward, 30 years later, I’m married, my husband buys a wreath form for every window-13, I tie bows, he hangs them. For the next 3 yrs. they just sat in the closet, I then decided to make a wreath for each door. My daughter-in-law, daughter and 2 friends asked for one each! I was amazed! I started looking for help, I knew I didn’t know enough, found Julie and Southern Charm and the rest as they say is history. I followed you on YouTube when I couldn’t spare the funds to join you. I’ve learned a lot and am still learning. Now I am preparing to launch my business. It is truly paying off and I am thankful that you made yourself available to share and teach. Thank you!