
How To Fluff An Artificial Wreath – Christmas Wreath Tip
If you’ve ever pulled a brand new evergreen wreath out of the box, hung it on the door, and thought “why does this look so thin?”, I promise it’s not the wreath. It’s this one step almost nobody tells you about before you start decorating.
I covered this quickly in my 5 Wreath Bases guide, but it’s worth its own post because it’s the single biggest difference between a wreath that looks homemade and one that looks like it came from a boutique.
This page contains affiliate links for your convenience. Click here to read my full disclosure policy.
What This Wreath Base Is Actually Called
You’ll see this same base sold under a few different names, so don’t let that confuse you when you’re shopping:
- Evergreen Wreath Base
- PVC Wreath
- Christmas Wreath
They’re all the same thing. And yes, it’s usually sold around the holidays, but I use this base all year long. It’s genuinely one of my favorites to keep on hand.
What You Can Actually Make with a Christmas Wreath
Because these get marketed as “Christmas wreaths,” people assume that’s all they’re good for. Not true. I’ve built:
- Spring Wreaths
- Everyday Wreaths
- Christmas Wreaths
- Fall Wreaths
- Easter Wreaths
Right on top of an evergreen base. It’s also just easier to work with than grapevine if you’re newer to wreath making, since you’re not fighting a dense, uneven surface to get your stems in.
What to Look for Before You Buy One
Before you even get to fluffing, the wreath you buy matters. Here’s what I look at every time.
Needle Count and Length
This is the biggest one. If a wreath has fewer than about 150 needle tips, it’s going to look sparse no matter how well you fluff it, because there just isn’t enough material there to work with. More needles also means more places for your hot glue to actually grab onto when you start adding stems.
I also prefer a 3 to 4 inch needle tip over anything shorter. Craft stores like Michael’s and Hobby Lobby tend to carry shorter needle wreaths, which is fine in a pinch, but if I’m buying in bulk I go with a wholesale supplier instead: Sim’s Pottery, Carolina Pottery, Trendy Tree, The Wreath Shop, Greenery Market, or General Wholesale are all ones I’ve used and trust.
Flat vs. Elevated
Flip the wreath over and look at the frame. Some have a single wire ring, and some have two rings, one smaller than the other, set at different depths. That second style is called an elevated wreath, and it’s the one I reach for when I want a really full, dimensional finished piece. The two rings push the needles outward instead of letting them all sit flat.
Either style will work. I just want you to know what you’re looking at when you’re comparing options.
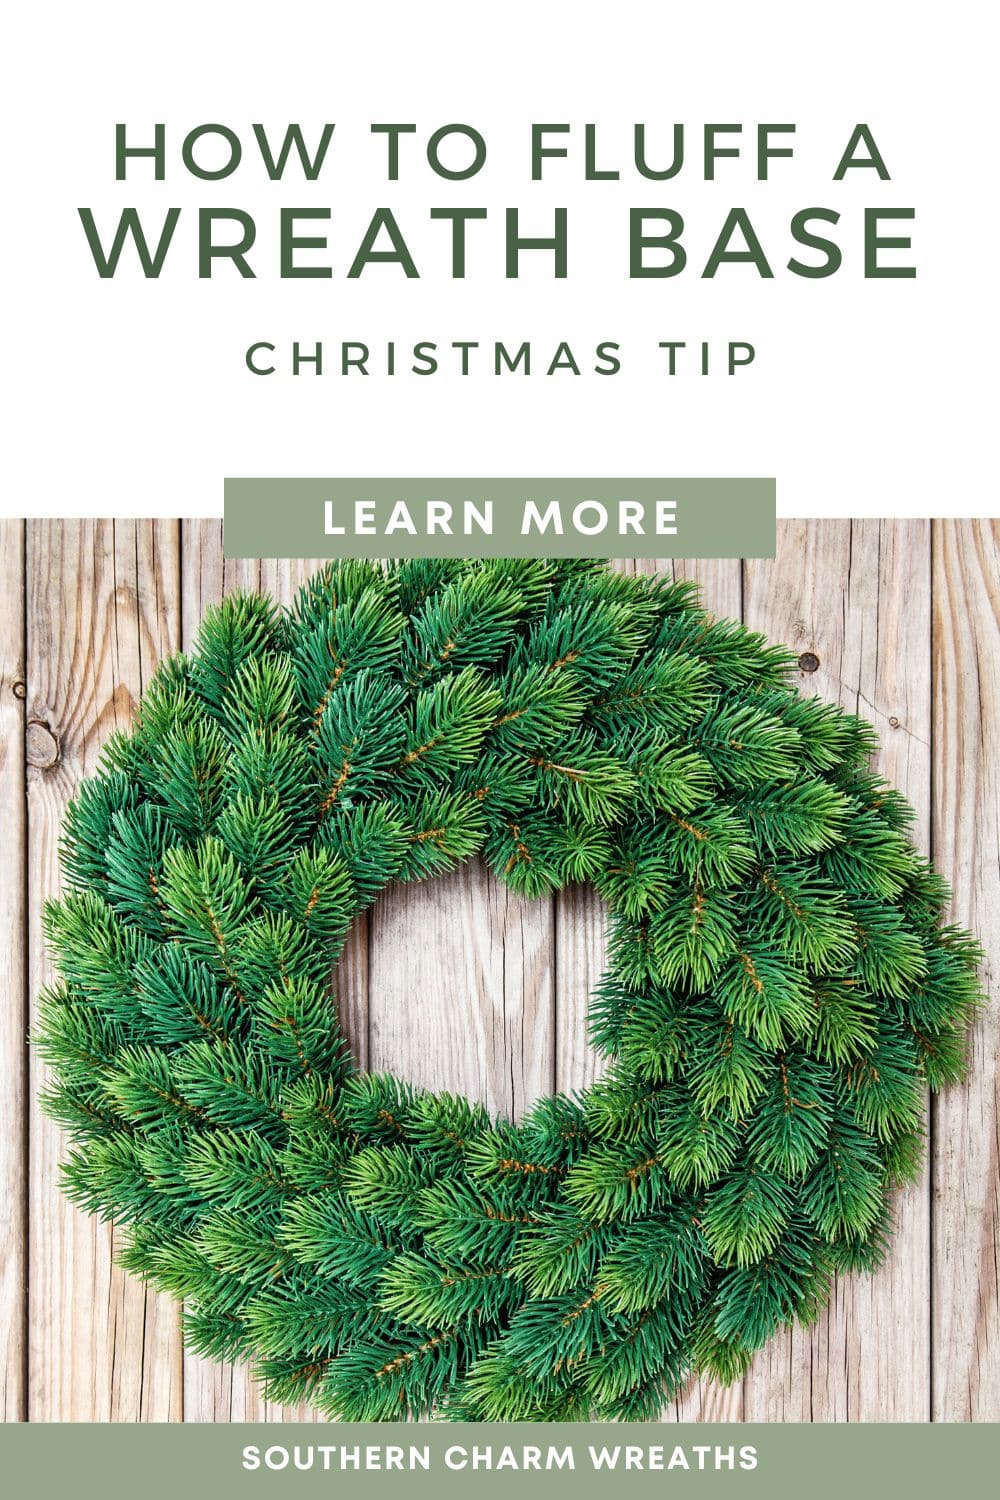
How To Fluff an Artificial Wreath
Here’s the part you came for. Once you’ve got your wreath, this is all it takes.
Pull Out Each Needle Stem
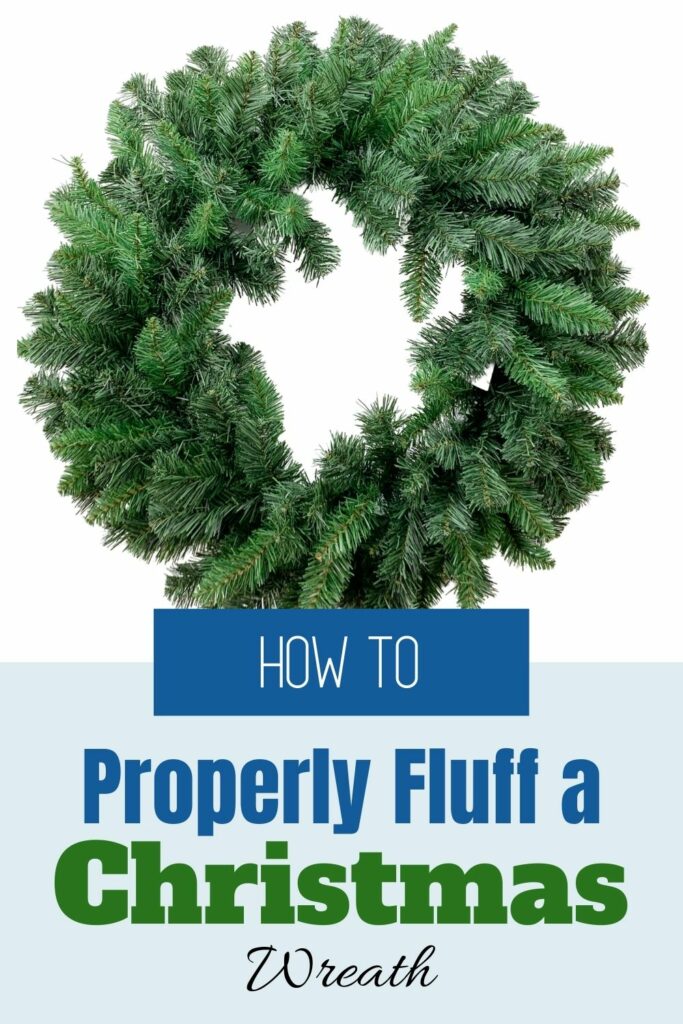
Go stem by stem around the entire wreath. Pull each needle branch up and out, away from the center, and give it a little shape as you go. Don’t rush through this. I know it’s tempting to skip ahead to the fun part, decorating, but every stem you skip is a bare spot waiting to happen.
The one thing to watch for: don’t pull so hard or so far that you start exposing the bare wire frame underneath. You want lift, not gaps. There’s a balance, and you’ll feel it once you get a few wreaths in.
Use an Elevated Wreath
If you bought an elevated wreath, you’ll notice this step goes even further, since the two rings are already doing some of the work for you before you touch a single needle.
Watch the Video: How to Fluff an Artificial Wreath
If you’d rather see this in action, here’s the video. I walk through fluffing a wreath from start to finish so you can see exactly how much lift you’re going for.
New Here?
If you found this post because you’re just getting started with wreath making, this is actually one of five different bases I cover in 5 Different Wreath Bases (And How to Pick the Right One for Your Next Wreath). It walks through which base to reach for depending on what you’re building, plus the mistakes I see beginners make with each one.
What to Do Once Your Wreath Is Fluffed
Once your base is properly fluffed, you’re ready to start layering on ribbon, greenery, and florals. A couple of posts that pick up right where this one leaves off:
- How to Clean Up a Grapevine Wreath, if you’re working with grapevine instead of evergreen for your next project
- Where to Find the Best Ribbon, Greenery, and Silk Flowers, so what you add on top looks as good as the base underneath it
Want to Go Further?
If you’re ready to stop guessing your way through wreath making and actually learn the process step by step, I’d love to have you inside the Everbloom Design Club®. It’s where I teach members how to build wreaths for every season, month after month.
Happy Wreathing, Julie
Yes, I like the tutorials.
Thank for all your helpful tips !! I hope to be as talented as you are !!
Thank you so much for sharing your wonderful tutorials with us!!! I’ve learned so much from you!!!
Thank you for the helpful instruction and info regarding number and length of the stems.
Love everything you do and I appreciate you so much. I watch every video you post so I can learn to nr a better creator. You inspire me to work work work and try things I dont even think I can do. Thank you so much for all that you do.
Where would I find an elevated wreath and how can I tell it’s elevated?
Two wire rings and the middle ring is taller than the ring on the back
What size wreath do you typically use? I’m using the red barn and it’s also a gift.
Thank you for all you’re doing!
24”
I love that you do this. I use the wreaths especially at Christmas.
Thank you so much.
I love all of your creations! you work is beautiful!!! I learn so much from your videos. A huge THANK YOU!!!
I love your videos. I am very interested in joining your wreath of the month club
Awesome. Join us here http://www.learntowreath.com
How to join wreath classes
Join us here http://www.learntowreath.com
I love tutorials! I’m interested in joining the wreath of the month club
Awesome! I would love to work with you. Got to learntowreath.com for more information.
Thank you…this is perfect and so helpful!
Wow this video was so helpful. Thanks so much.
I love the tutorials. I’m a beginner, so these are perfect for me.
Where do you sign up for the monthly wreath club.?
Hey Donna – You can learn more and join the waiting list for the Wreath of the Month Club at learntowreath.com.
Thank you for taking time to clearly teach and advise. Now I don’t feel alone.
Need info about wreath making club
Hey Joan – You can learn more about the Wreath of the Month Club at http://www.learntowreath.com.
Thank you for helping my wreaths to not look so skinny!
Love what you do
Thank you Julie! Very much needed info. I would not have done as well without watching what you did and having the information for buying is so important!
I love the tutorials