How to Make a Beautiful Mother’s Day Wreath
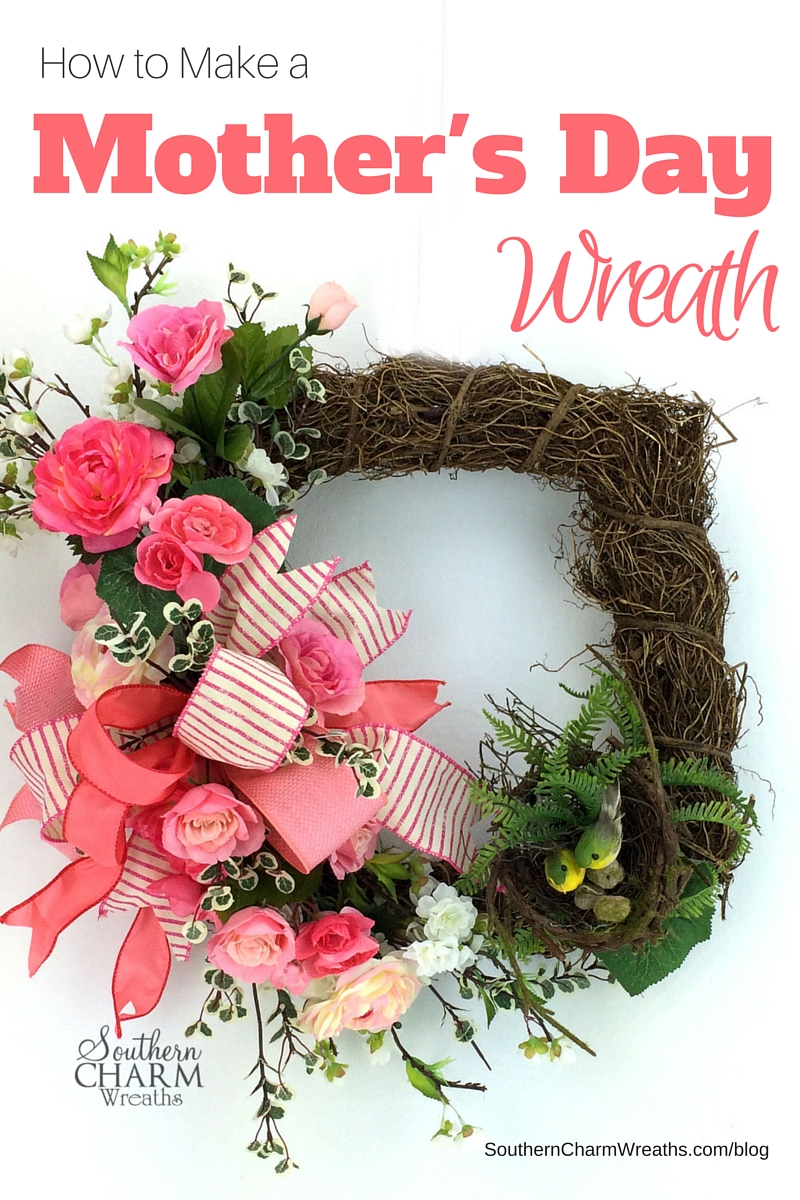
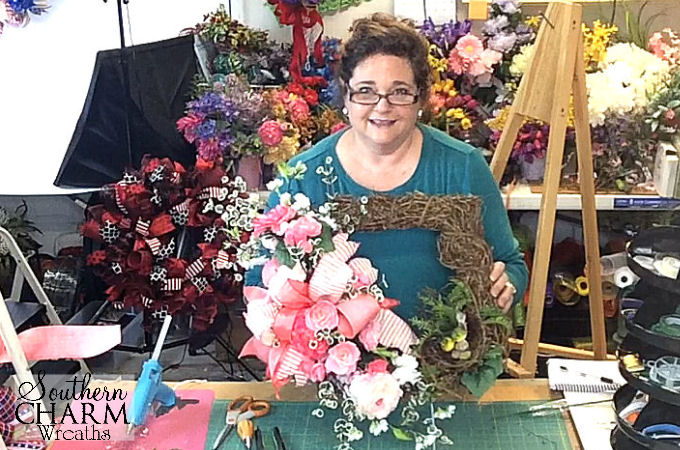
Now that the craft stores are discounting spring flowers and Mother’s Day is just around the corner, I thought I would share with you how to make a beautiful Mother’s Day wreath. This wreath is full of spring flowers, has a soft whimsical bow, and a sweet bird’s nest all secured to a grapevine wreath base, adding lots of texture and interest. Won’t mom be tickled pink with a handmade wreath full of spring goodness? Please note, this post contains some affiliate links for your convenience. Click here to read my full disclosure policy.
Mother’s are so special in our lives, they are typically the glue that holds the family together, always the one we call first whether we want to share good news or bad. Not only do they raise us, but they help us along the way as we learn to parent our own children. Your mom will will appreciate anything you give her but I can’t help thinking they cherish handmade gifts even more, I know I do.
I’m sure your mother deserves a very special, handmade wreath by you! This year, I want to show you how to make a beautiful Mother’s Day wreath using spring flowers and ribbon. Feel free to change up the the flowers and colors to something you know your mother or grandmother will like. For example, my ‘mamaw’ loves pansies and her favorite color is purple, so for her I would make a wreath by adding in a few pansies instead of the Impatience and switching the flower colors to incorporate purple. And if your mom has already past, then what a great way to help remember her by designing a wreath with her flower and colors in mind but hanging it on your own door. You will be reminded of her every time you see it.
[Tweet “How to make a spring Mother’s Day Wreath for mom or grandma!”]
When it comes to wreath making, it is harder to grasp the concept when instructions are written in word format, so not only will I tell you how to make a beautiful Mother’s Day wreath but I will show you all the steps in the video found at the end of this post.
How to Make a Beautiful Mother’s Day Wreath
Supplies
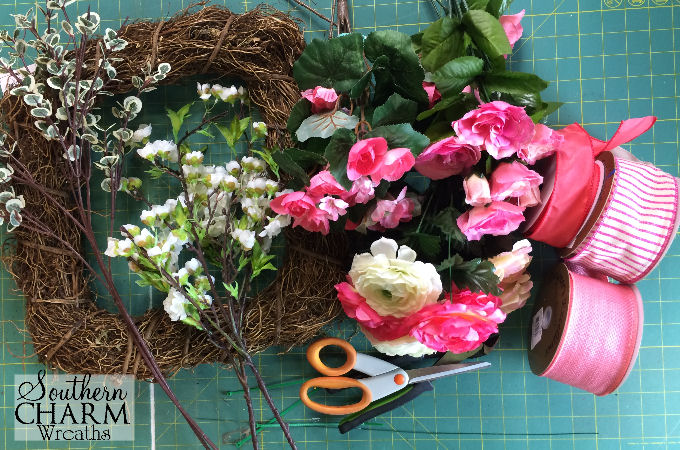
Flowers are from Michaels
1 Flower bush containing medium sized flowers 3″ diameter (used Peony)
1 Flower bush containing small sized flowers (used Roses)
1 Flower bush containing small sized flowers (used Begonias)
2 stems of greenery
2 sprays of white flowers
Mechanics
Floral Wire
Rustic Wire for hanger
Zip Ties
Hot Glue Gun
Hot Glue Sticks
Wire Cutters
Scissor
16-18″ Grapevine Wreath Base
Ribbon
3- 30″ Streamers using 2.5″ wired Coral Ribbon
2-30″ Streamers using 1.5″ wired Ribbon melon color
But you could also use this Mother’s Day Ribbon
Other
Bird’s Nest, Initial or small sign
Step 1 Assemble the Floral Spray
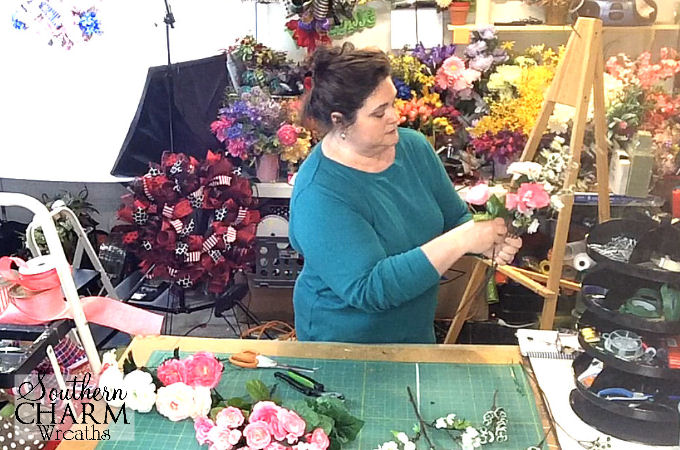
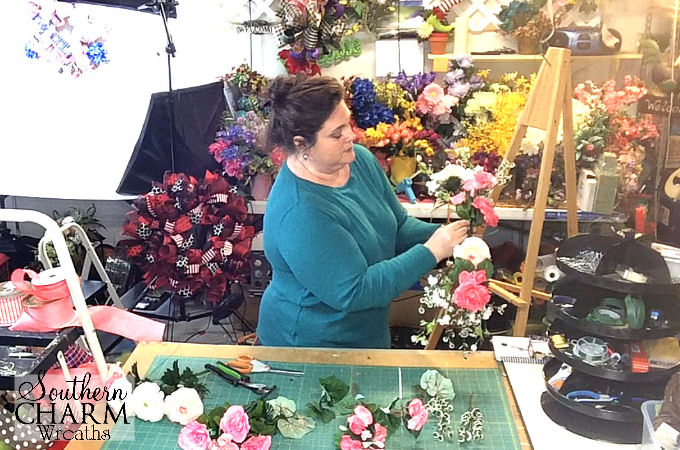
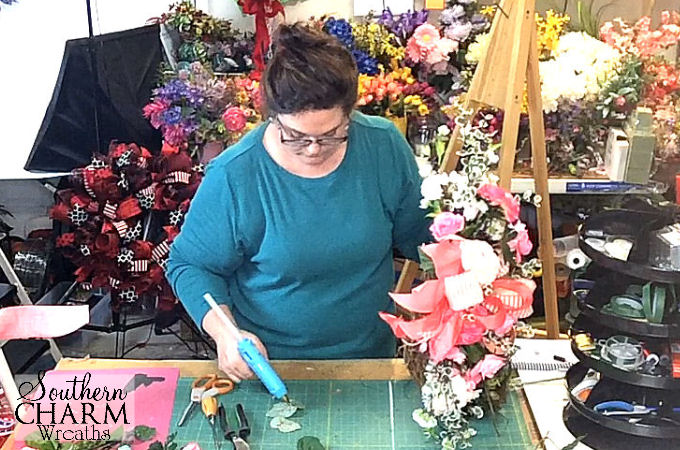
Cut the stems off of the bushes but make sure you keep them as long as possible. Assemble the first side of the floral spray by layering silk flowers on top of each other, making sure to stagger the heights. First gather in your hand a piece of greenery (feel free to trim branches off of the greenery if they are to spread out), then layer on top of the greenery one of the white floral sprays making sure to stagger it. Add in one medium flower close to the top and then another medium flower close to the bottom near your hand. Fill in the space between the medium flowers with some of the smaller flowers making sure to stagger each stem back and forth. Once you have one side of the floral spray the way you like it, hold it up to the wreath to make sure it is a good length for your wreath. Once you are satisfied with the position of flowers and length of spray, use a zip tie to zip tie the stems together.
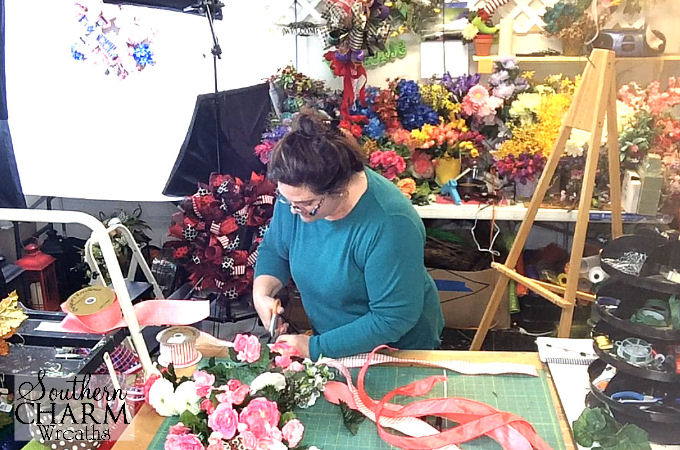
Assemble the other side of the floral spray the same way you made the first side. Again keep in mind you want to add flowers in layers as well as stagger them so that they are not just in a straight line. Also keep in mind, you want to form a line with your floral spray so if any stems stick out too far, you can either trip them or move them in. Once you are satisfied with the second side of the floral spray, use two zip ties to secure in place.
Step 2 Make the Bow
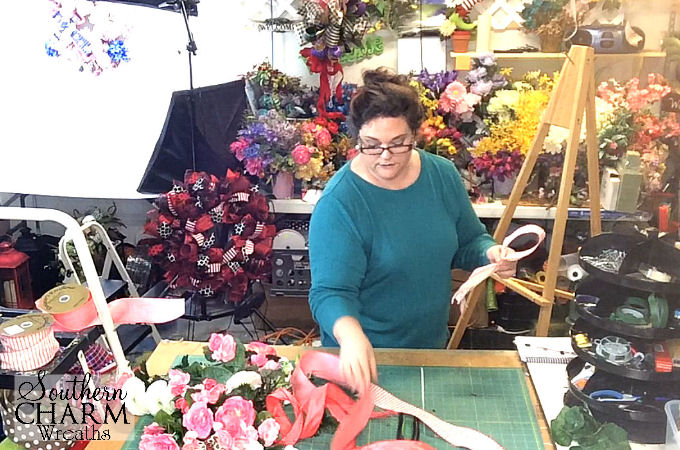
Before we discuss the bow, let’s talk about the ribbon. You can easily use the same ribbon for all 5 pieces or you can use one style of the 2.5″ ribbon and one style for the 1.5″ ribbon. I chose to use 3 different styles in the same color shades to add more whimsy, do not feel you need to mix it up as much as I did in my instructions. Cut 30″ streamers of each ribbon style with a total of 5 streamers.
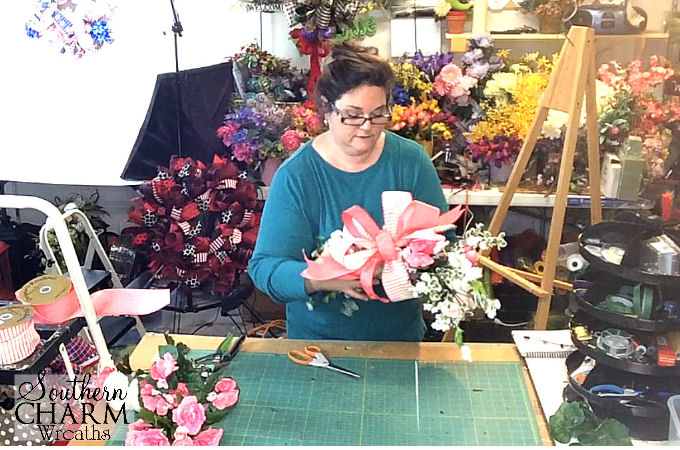
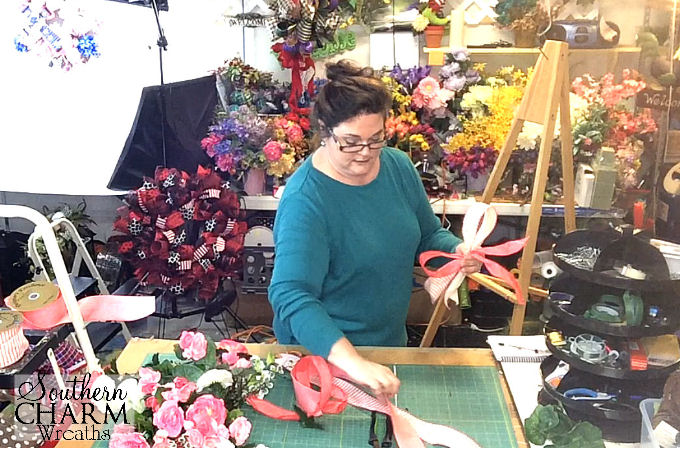
Measure out approx 8-9″ and pinch, then measure out from that pinched area 12″ and fold the ribbon backwards pinching at the 12″ mark, this is your first bow loop. Twist the ribbon tail so that the printed side of both loop tails are facing upwards. So you should have one loop above your hand and the two tails hanging below your hand.
To make your second loop, reverse the direction used to make the first bow loop. Measure in 8″ and pinch the ribbon in the same hand holding loop 1 but this time the tails will be above your hand. Measure out 12″ and fold the ribbon backwards pinching at the 12″ mark making a 6″ loop. Twist the ribbon tail so that the printed side of both loop tails are facing upwards. You should have one loop above your hand and one loop below your hand.
To make your third loop repeat loop 1 instructions.
Continue making these loops alternating between having the loops above and below your hand until all the ribbon streamers are use.
Secure with a piece of floral wire and twist.
Attach the bow using the floral wire to the center of the floral swag on top of the zip ties.
[Tweet “How to make a whimsical, funky spring wreath bow.”]
Step 3 Attach the Floral Spray
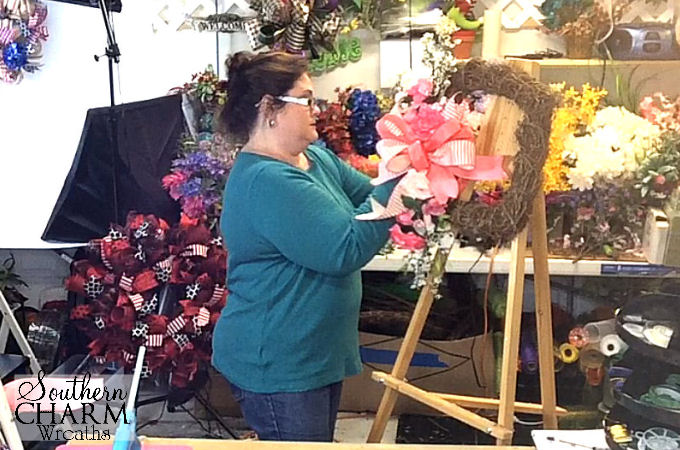
Center the swag on your wreath. Using the same wires used to secure the bow to the swag, wrap the wires around the grapevine wreath and twist together in the back. Trim the wires using wire cutters. Use 2-3 more pieces of floral wire to secure the top and bottom of the swag to the wreath so that it has more stability.
Bend and shape the flowers to flow around the bottom of the wreath. Bend the medium flowers in towards the bow to help support the bow loops. This step is what really brings the wreath to live, making the flowers look real.
Step 4 Filling in the Bow
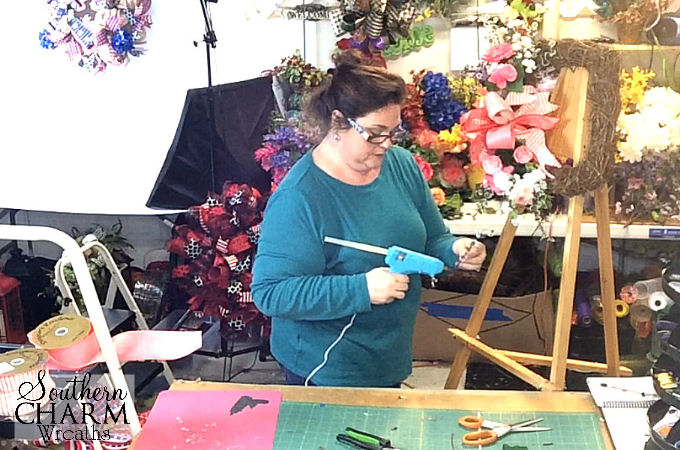
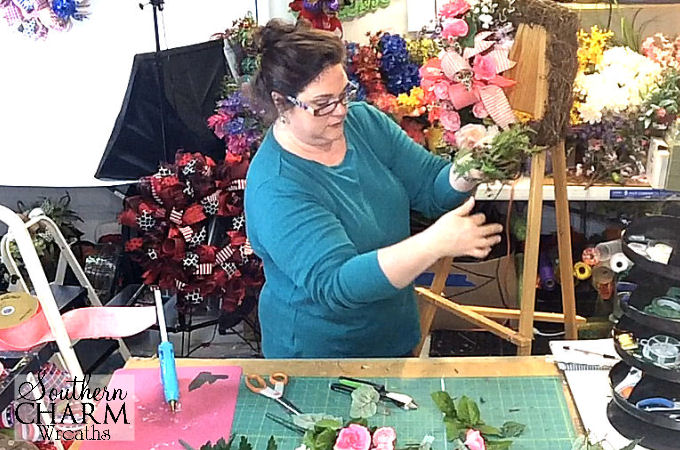
Use scraps of greenery and flowers and hot glue them in between the bow loops to fill in. The trick here is to use light weight items, attach between the ribbon loops and not have the stems come out too much further than the bow loops.
Step 5 Attaching the Bird’s Nest
Position the bird’s nest where you want. Shoot hot glue onto the wreath under the nest. Use a piece of wire to run it through the floor of the nest, out the back and into the wreath. Cover up any hot glue or floral wire with spare silk flower leaves.
Step 6 Clean up the back
Clip any floral wires short, bend and cover with leftover silk flower leaves.
This style of wreath can be made for any season, just change out the flower and ribbon colors to match the season. Now that I’ve shown you how to make a Mother’s Day wreath, will you attempt to make one? Comment below and tell me what your mom’s favorite flowers are or were and if you enjoyed this tutorial.
Click here if you would like to learn more about How to Make a Silk Flower Spring Wreath using a grapevine wreath!
Happy Wreathing,
Julie
Don’t forget, join my email list now to be notified of my next wreath making tutorial!
If you enjoyed this post, you might also like
Wreath Making – How to Choose Colors That Coordinate
How to Make a Deco Mesh Snowman Wreath
How to Make a July 4th Ribbon Wreath
How to Make a Beautiful Tulip Wreath


Gorgeous wreath! Thanks so much for continuously sharing your delicious talent!
Julie, thanks once again for sharing your talent with us. Love the wreath. Can’t wait to try this design.
I am new to you but I have really enjoyed witching you make this Mothers Day wreath. Looking forward to seeing more.
Thank you Linda! Make sure to subscribe to my email. I have a patriotic bow video coming soon.
Just beautiful, as always. Appreciate your talents and your willingness to share.
Awesome tutorial. Thank you.
Beautiful as always, Julie! Thanks for sharing!
Beautiful Mother’s day wreath! Thank you for sharing the diy!
Hi Julie
Thanks so much for the tutorial
Where can I find the coral and white striped ribbon you used?
I purchased it at Carolina Pottery.
Thank you so much for the detailed tutorial, Julie!! I love wreaths but have no clue on how to make them look pretty.
Glad you stopped by to our new #sweetinspiration party, hope you enjoy the weekend!
Love your videos !! You explain everything so well 🙂
Thank you Linda!
Hi Julie,
I love this wreath! I can’t wait to make it for my sister and niece. Thank you so much for posting these tutorials for us. It is always fun to see what new ideas you come up with.
Glad you liked it Kathy, thank you for commenting!!
Julie, I always love your tutorials and your wreaths are always stunning. I especially like how unique the square grapevine is. I’ve never seen them before. Where did you find it?
Thanks as always!
I purchased this one from Carolina Pottery.
I love this wreath and cannot wait to make one. Thanks so much for sharing your creativity with us!
Beautiful wreath. I so love your designs. You are so very talented. Sharon Steele from South Dakota