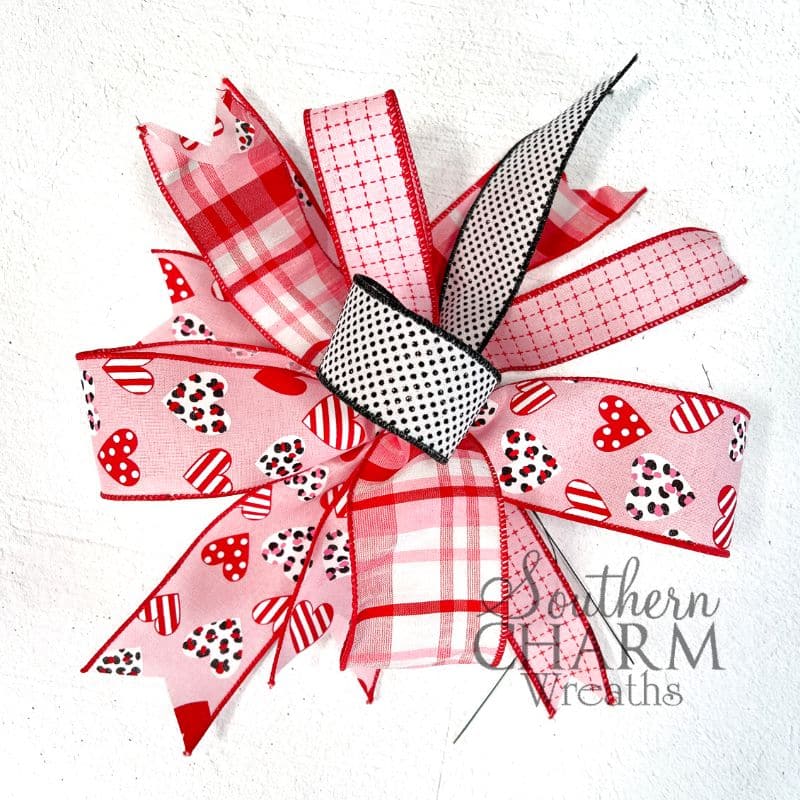
Multiple Ribbon Funky Valentine’s Day Wreath Bow
Want a versatile bow for all of your Love Day wreaths? Make my easy Valentine’s Day wreath bow using the “funky bow method.” It’s made with festive colors and full, fluffy loops for a beautiful visual impact.

Valentine’s Day wreath bow
If you’re looking for an easy, versatile bow method for your seasonal wreaths, you’ve come to the right place!
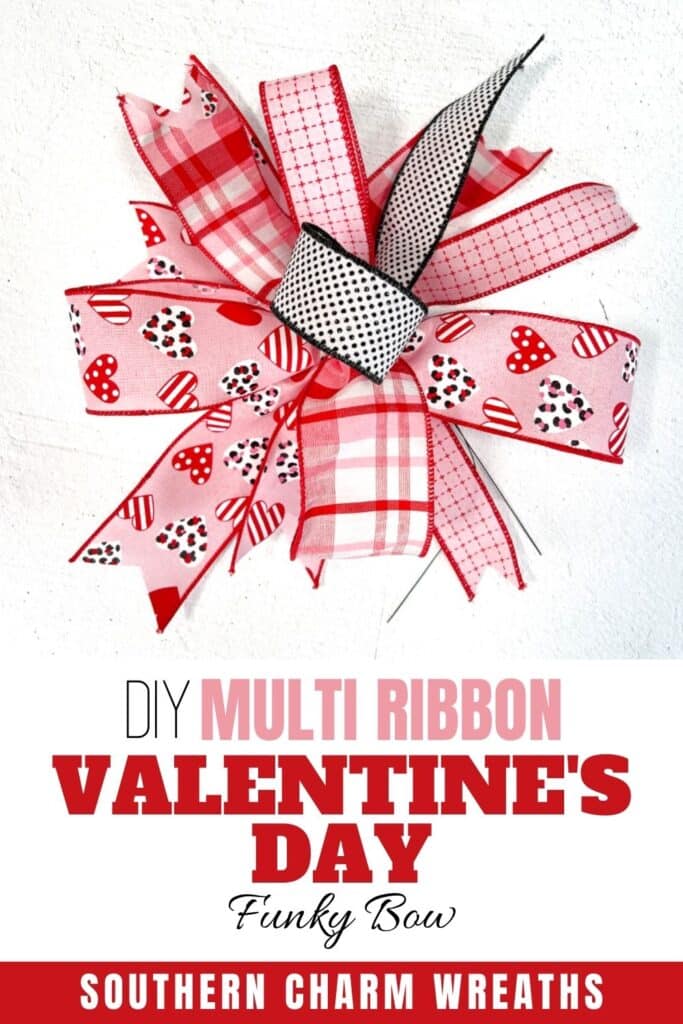
This Valentine’s Day wreath bow is perfect for the holiday; its mix of plaid, polka dots, and heart-shaped pattern makes for a really fun display. Festive shades of pink and red pop with white and black accents for a Valentine’s Day bow that’s bursting with dimension!
The best part? We make it using a basic bow method that you can customize for any of your wreath-making needs – the “funky bow method.”
With quick assembly and minimal supplies (just ribbon and wire!), this is the perfect wreath-making staple to add to your arsenal.
This post may contain affiliate links for your convenience. Click here to read my full disclosure policy.

Supplies for this project
You’ll need:
- 5 Pieces of ribbon, 27” long
- 3 Pieces – 2 ½ inches wide
- 2 Pieces- 1 ½ inches wide
- Florist wire
- Scissors
How to make a Valentine’s Day bow wreath: Step-by-step tutorial
1. Measure your ribbon
The first step is to measure your ribbon.
Cut five pieces of ribbon, each 27” long. You’ll want three 2 ½’’ ribbons and two 1 ½’’ ribbons.
2. Create your first loop
Measure out 6 inches of your first 2 ½ inch wide ribbon, pinching and pleating at the 6-inch mark.
Then, measure out 12 inches to create a 6-inch loop, and then pinch and pleat into your thumb.
Make sure that the good side of the ribbon is facing forwards.
3. Repeat twice
Complete the same steps as above with your next 2 ½ inch wide ribbon, adding it to your working bow.
Make sure everything is twisted and secured, with the loops at the top, one on each side of the thumb.
Complete these steps again for your last 2 ½ inch wide ribbon, this time completing another loop below your thumb.
4. Repeat in reverse
Finally, we’re going to use the exact same steps in reverse for both of your 1 ½ inch ribbons.
You want to do these ribbons in reverse so that you have even-lengthed streamers throughout your bow.
5. Fluff and finish your Valentine’s Day bow
Make sure all of your ribbon streamers are to the back of your bow, and all of your loops are on the top. Then, take some florist wire and secure it around the middle of your bow.
Fluff your loops, ensure everything is in position, and twist your bow to secure it tightly.
And that’s all there is to it! An easy (and beautiful) Valentine’s Day wreath bow!
Watch the video: How to make a Valentine’s Day wreath bow
If you enjoyed this post, you might also like:
- DIY Masculine Valentine’s Day Wreath
- How to Make a Deco Mesh Valentines Wreath
- DIY Multi Ribbon Bow for Valentine’s Day
Like this post? Pin it for later!


Who knew so simple to make bow could be so beautiful! Thank you!
This is beautiful. Where do you buy your wreath supplies such as ribbons and accessories?
Hey Cheryl – You can find a list of all of Julie’s favorite vendors in our Big Book of Suppliers here: https://southerncharmwreaths.com/faux-floral-suppliers