Easy DIY Spring Tulip Wreath
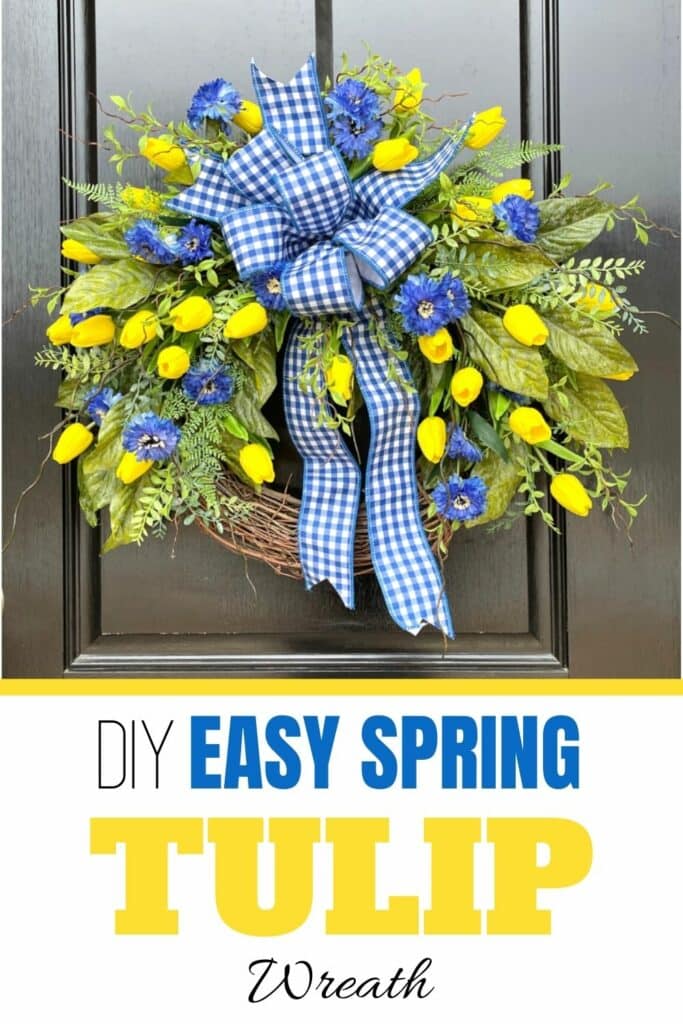
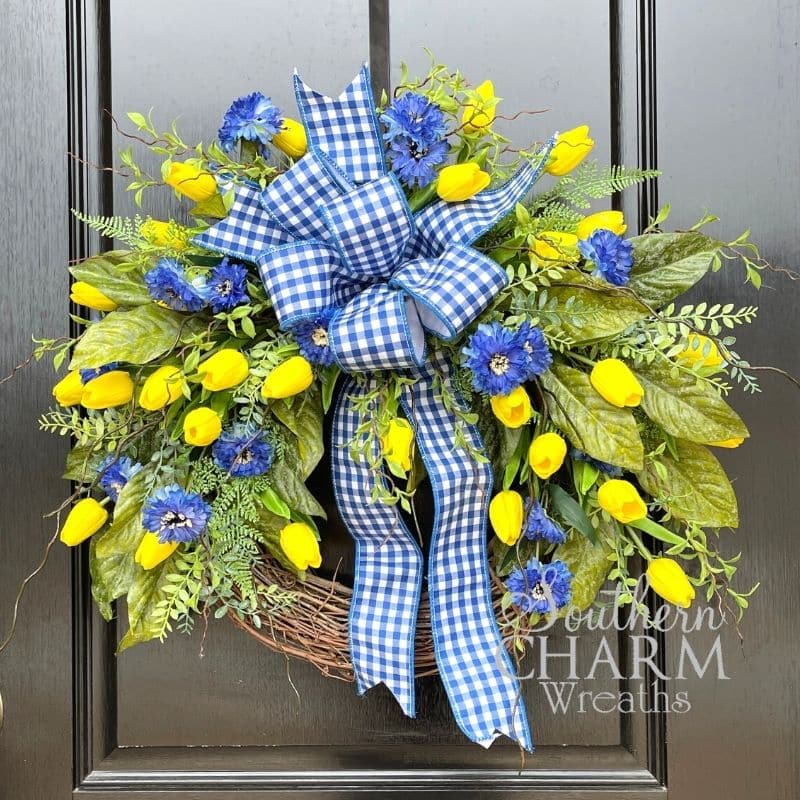
Arrange a vibrant and cheerful DIY spring tulip wreath with your favorite springtime colors – all on a rustic grapevine base. This project celebrates the sunshine and new flowers that this season always brings.
How To Make A DIY Spring Tulip Wreath
What are your favorite springtime colors? After the dreariness of winter, it’s fun to bring some bright colors to your home decor. If you love pinks and greens, then try out this spring-inspired, crescent-shaped lamb’s ear wreath.
If yellows and blues are more your styles, then this tulip wreath is the answer for you this spring! It’s bold and attention-grabbing. Plus, yellow is a very happy color, and almost everyone that looks at this wreath is going to smile.
So, grab your tools and florals, and let’s make a spring wreath!
This post may contain affiliate links for your convenience. Click here to read my full disclosure policy.

Supplies for This Project:
- Grapevine Wreath
- Yellow Tulip Picks
- 22 Gauge Florist Wire
- 2 1/2-inch Wired Ribbon
- U-Shaped Wire Floral Pins
- Magnolia Greenery Spray
- Greenery
- Wire Cutters
- Glue Pan
How To Make A DIY Spring Tulip Wreath: Step-By-Step Tutorial
1. Attach The Greenery Sprays
The magnolia sprays are the first layer of this happy wreath. Dip the stems into the glue before inserting them into the grapevine wreath base.
Place one spray on one side of the wreath pointing outward so that the leaves add movement and volume. Then, secure the spray to the wreath base with a zip tie.
Insert the stem of the second greenery spray next to the first, but with the greenery going in the opposite direction. Secure this piece with a zip tie as well.
2. Make And Add Your Bow
Now that you have the greenery sprays attached, you can see where the bow is going to go – right in between the sprays.
This bow is going to be the focal point of the wreath, and everything else will build out from it. If you don’t want to use a bow, you can place a sign here instead.
Sometimes I will make bows with more than one size of ribbon, layering the different sizes and patterns together. For this wreath, I just made a bow quickly with one type of ribbon. I used a 2 1/2-inch blue check ribbon.
If you are new to wreath bow-making, here is a super-quick tutorial:
- Pinch and pleat the ribbon between two fingers on your non-dominate hand. Then, measure 12 inches and loop it away from you and pinch that with your same two fingers. This is the start of your bow’s first loop. Since you folded it in half this is now a 6-inch loop.
- Repeat this process two more times so that you have three loops. Trim it and keep this bow in your hand.
- Shape your bow as you go. Place the ribbon tail behind your loops so that the loops are on the top.
- Tie all the loops and layers of your bow together with a 22-gauge florist wire. If the florist wire feels slippery and you need something with a thicker texture to grab onto, you can use florist tape or pipe cleaners. I found that florist wire feeds better through a grapevine wreath.
3. Insert The Tulips
Now it is time to add all those bright yellow tulips. Use wire cutters to trim them, so they are the perfect length.
Dip the end of the tulips into the glue and place them into the wreath. Start closest to the bow and begin to build away from it, towards the bottom.
I also try to keep the wreath balanced. If I add something to the top, I try to balance the design below the bow too.
That is why I call the bow the binding point. It is what holds the entire design together.
4. Add Accent Colors And Florals
At this point, you can choose to stop – sometimes simple wreaths really are the best ones. Or, you can continue adding different types of flowers to the wreath too.
Pull out the blue color from the checkered ribbon and insert some blue flowers around the bow.
Continue to add different types of flowers to your wreath until you feel like it is complete.
Watch The Video: How To Make A DIY Spring Tulip Wreath
If you enjoyed this post, you might also like:
- How To Make An Elegant Spring Cross Wreath
- How To Make A Spring Butterfly Wreath
- DIY Silk Flower Spring Wreath
Like this post? Pin it for later!


Love this.
I love this wreath !
I love this! It is “spring-y,” bright and cheery. I would love to pin it but your icon (link) doesn’t work. Facebook, Twitter and email all work. Please email me when you are able to correct it.
I love all of your wreaths and ideas. Thank you so much for sharing your beautiful work.
I love this, I will try this for a aunt she love blue
I love this wreath
Love this
I love your method of teaching I’ve learned so much by watching your videos am a wreath maker and floral designer from old school I want to start selling again so I need to learn new techniques and bring my designs up to date I love all your designs thank you so much
Outstanding!!! Love it.