O Holy Night Blue Christmas Wreath {with Video}
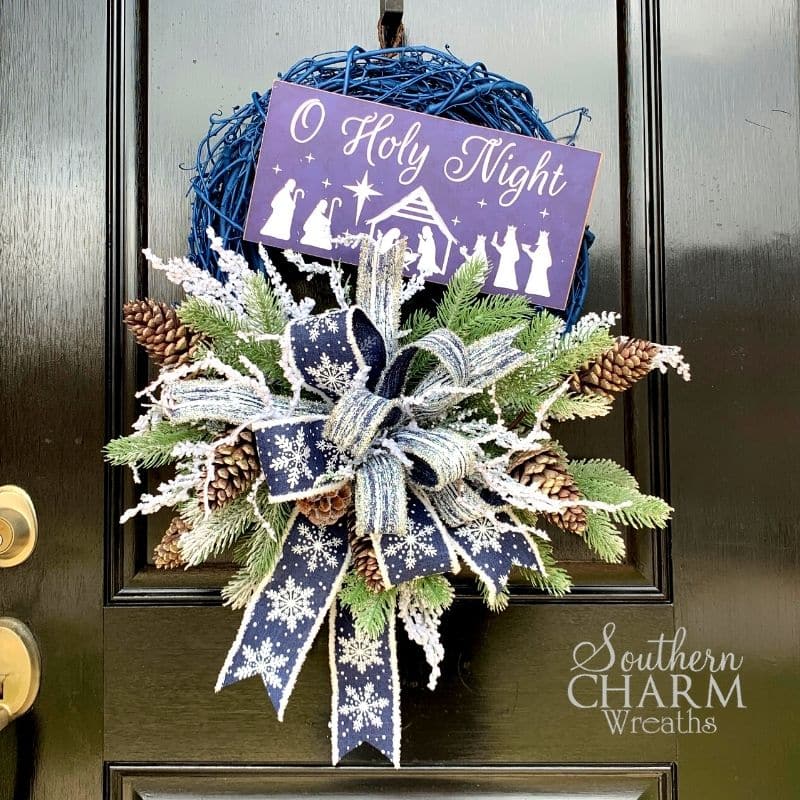
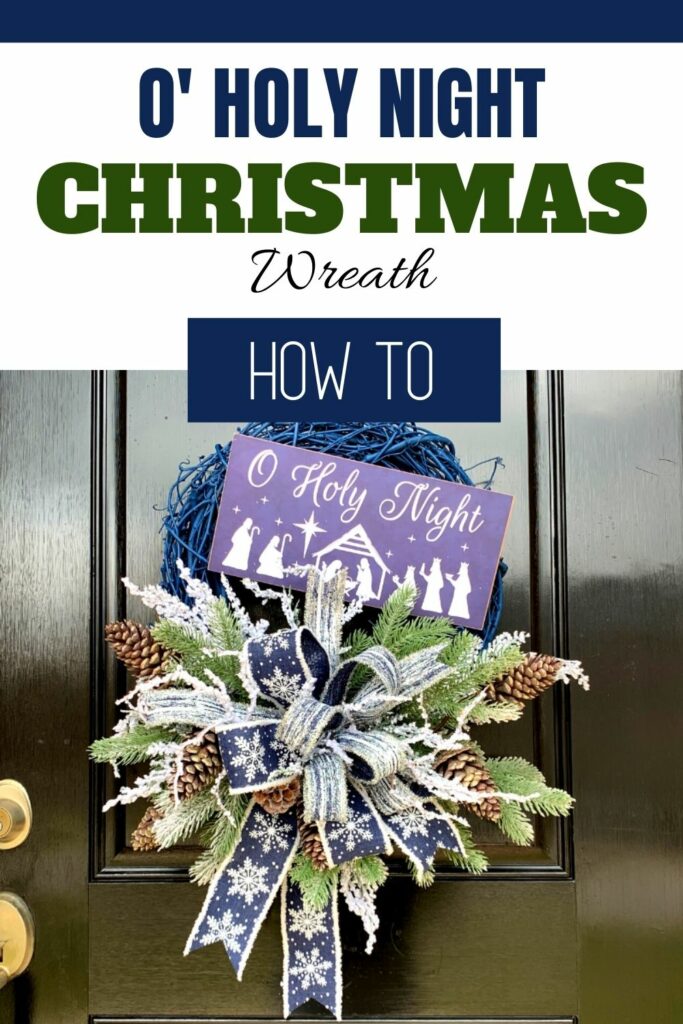
Learn how to make a stunning blue Christmas wreath out of a grapevine wreath, ribbon, and a beautiful Christmas sign.
If you enjoy decorating grapevine wreaths and want something with lots of blues, then you are going to have a lot of fun with this holiday wreath! It looks like a celebration of your favorite winter wonderland – and there are so many ways you can customize it too.

How To Make A Blue Christmas Wreath Out Of Grapevine
This blue Christmas wreath is a delightful project to make when you are home and wanting to create something beautiful. Grab some friends and make a night of it! This wreath is easy enough for you to put together during a fun craft night.
This is such an easy wreath to make that even someone who has never made a wreath before will be able to make it.
Supplies
- Grapevine Wreath
- Blue Spray Paint
- O Holy Night Sign (or Christmas sign of your choice)
- Ribbon – 1 1/2 & 2 1/2-inch wired ribbon
- 22 gauge wire
- Glue Sticks
- Greenery
- Flocking
- Pinecone pics
Step 1: Spray Paint The Grapevine Wreath
Do this step at least the day before so that your wreath has time to dry. I chose to make it match the color of my O Holy Night sign, but you can also choose to use complementary colors or paint it white (to make it look like snow). I use this brand of spray paint for all my wreaths.
Step 2: Attach The Sign To The Wreath
Staple a few pieces of 22-gauge wire to the back of the sign. If your sign came with its own hangers you will have to remove them first.
Then, use the wire to twist and attach the sign to the grapevine wreath. Twist it as tightly as you can. Then, trim the excess wire from the back of the wreath so it doesn’t scratch your door.
Step 3: Make The Bow
For this wreath, I made my bows with 3 loops. To do this, I measured a 12-inch tail, then folded them in half to form a 6-inch tall loop and twisted it in my fingers. I repeated the process 2 more times.
You can choose to either use just one ribbon or 2 or even 3 different ribbons in your bow. The more ribbons you use, the fuller the bow will be.
To give the bow visual interest, I used the same colors from the sign – navy blue and silver – in my ribbons.
Attach the ribbon to the wreath.
Step 4: Add Greenery & Flocking
Cut your evergreen greenery and flocking picks and add them around the grapevine wreath. Melt some glue sticks in a skillet and dip the ends of the greenery into the glue, then attach them to the grapevine wreath.
This is where you can be creative. Add as much or as little as you want. Add dimension to it by putting the longer pieces around the sides and putting the smaller pieces on top and towards the middle.
Step 5: Add Pinecones
Finally, if you want to make it even more three-dimensional, glue in some pinecone picks. This will give it visual interest and add some rustic flair. While the pine cones I used are artificial, you can use fresh pine cones from your yard following these instructions for how to harvest pine cones for crafting.
VIDEO: DIY Blue Christmas Wreath
If you are a visual learner, take a look at our video tutorial on how to make this Christmas grapevine wreath!
More Christmas Projects:
- How to Fluff an Artificial Christmas Wreath
- DIY Tobacco Basket Christmas Wreath
- Whimsical Candy Christmas Arrangement


try our Wreath Making 101 Workshop!

Totally awesome. I love Jesus with all my being Thank you for this today
Beautiful. Thank you
Julie so pretty and nice change from green/red.
Very pretty, LOVE the blue!!
Yes, you absolutely inspired me! I have made at least a dozen wreaths since I joined. I have been giving to my friends and they love them!
Very beautiful. You showed the barn wreath in this video, is it out yet? Very pretty!
The barn wreath is a training Julie did for our Wreath of the Month Club members. You can learn more about the Wreath of the Month Club at http://www.learntowreath.com.