DIY Silk Flower Blessed + Thankful Wreath {with Video!}
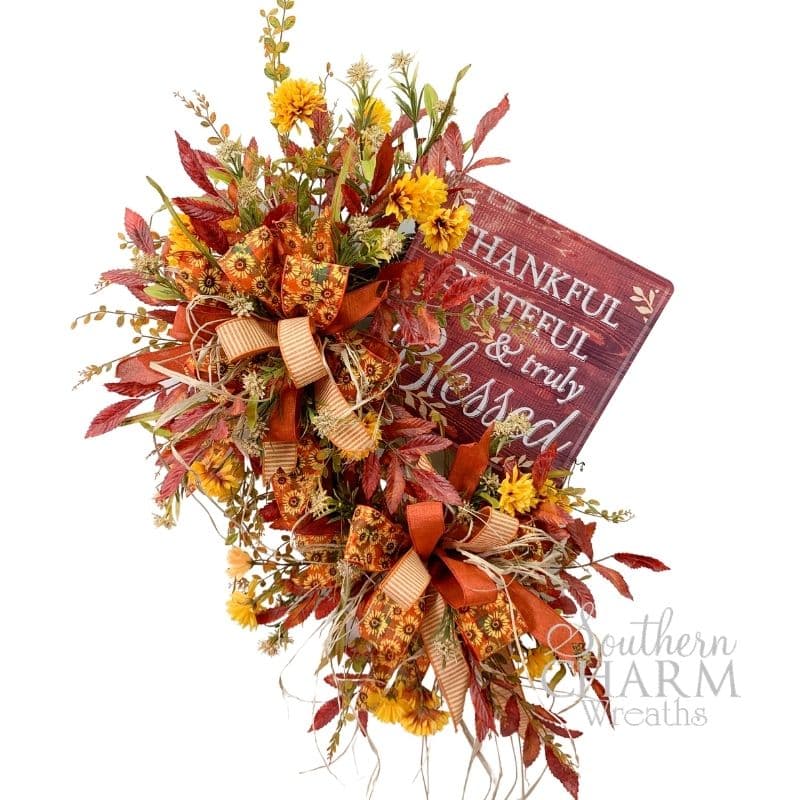
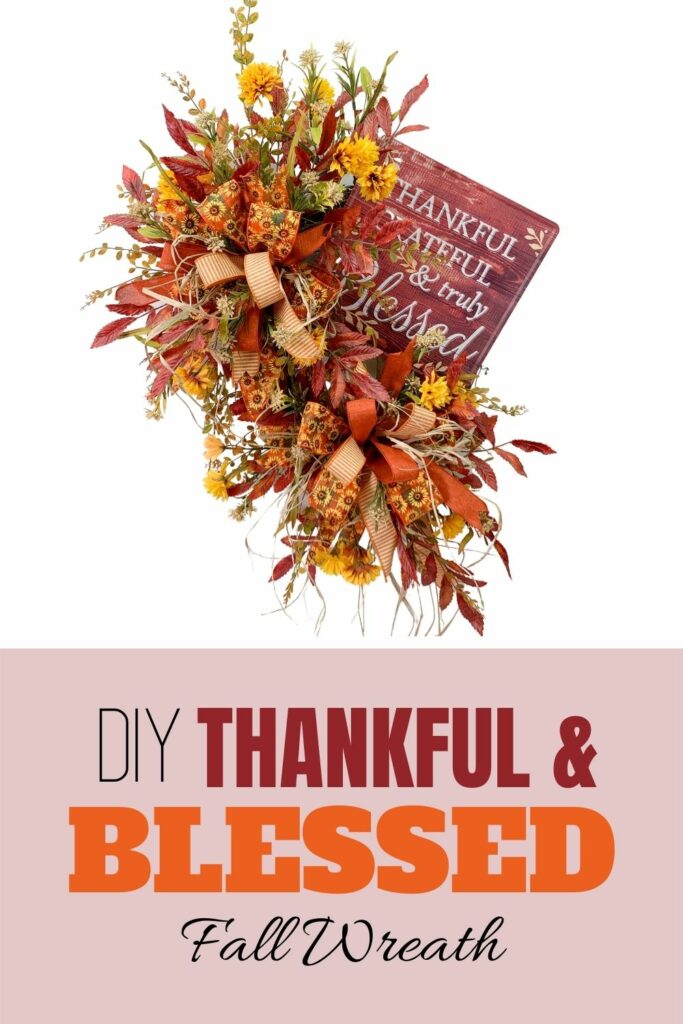
Easily put together a stunning wreath made from a fall bouquet. This silk flower thankful wreath will dress up your door with all the fall colors, and is perfect for the Thanksgiving season!
Orange, yellow, gold, tans, and browns are all the breathtaking colors of fall. We are going to capture all of them in this beautiful fall bouquet wreath, along with a cute rustic sign.

Fall Thankful Wreath
I just love fall colors, don’t you? As the weather gets cooler and we start thinking about pumpkin patches and family get-togethers, it’s the perfect time to stretch your creative brain and design a new wreath for your door. This sign proudly displays how thankful, grateful, and truly blessed you are.
Tools And Supplies Needed
Here’s what you need to make your very own fall thankful wreath.
- 16-inch grapevine wreath
- Thankful + blessed sign (or sign of your choosing)
- Fall bows
- Wire
- Wreath hanger
- Silk fall leaves
- Central binding point glue
How To Make Thankful Wreath With Silk Flowers
Here is how to make this wreath step by step. If you are a visual learner, scroll down for the video where I will show you how to do the entire project!
Step 1: Attach the Sign
Cut off the hangers. I like the signs without the holes in them. I hardly ever use the holes that are pre-drilled. Use a hole-puncher and wires to attach the sign to your wreath.
Step 2: Add Your Bows
Pre-make the bows and place them wherever you want. I chose to have my bows to surround the wreath, but feel free to try a different look if you like. Then, attach the bows to the grapevine wreath with wire.
Step 3: Add Your Hanger
To do this, first position your wreath on your door. You can use an easel or a wall too. When you know where you want it to hang, place the hanger on the wreath.
Step 4: Fill the Wreath With Fall Leaves
Hold up the silk leaves to where you want them to go on your wreath and decide if you want to trim some of the leaves off. I don’t always separate them, but sometimes it can really add depth to your design.
To attach the leaves, dip the stems into liquid glue and then stick them into the grapevine wreath. This will keep them secure.
Step 5: Fill In Around Your Line
Now that you have your main focal points developed, fill in around them with small silk flowers, leaves, and decorative items. Glue and raffia do not mix well, so be very careful as you glue your greenery around your raffia bows.
Step 6: Add Some Splashes Of Color
Trim yellow silk flowers and add them to your wreath. I pulled the yellow from the ribbon in my bow and used it in these flowers.
Video: How to Make a Thankful Wreath
Fall Wreath Tips
Now that you know how to make the wreath from start to finish, here are some tips. Most of them came from people who asked me questions or things that I discovered as I made this wreath.
Choosing Ribbon Colors Is Very Important
If you are a beginner and having a problem choosing the colors of ribbons and flowers, just choose 3 colors. Pick any three colors and hues that all work well together. We include a color chart in our wreath of the month club to make this easier for you. There are also lots of color wheels online that you can reference.
Match Greenery For the Season
Make sure the greenery matches the tone and season of your wreath. For example, a spring green will be too bright for a fall wreath. I used a moss green in my autumn wreath.
Use Stems From Silk Leaves For Design Inspiration
Always pay attention to your stems – both the coloring and the textures. What colors do you see in the leaf that you can bring out in your designs? I actually see some gold and yellows in the silk leaves that I used. So I used small yellow flowers around the wreath that has this same shade.
Painter’s Tape Protects Your Fingers
Working with sharp wires is dangerous. If you accidentally scrape your fingers, wrap your fingers in painter’s tape. I learned this tip from my dad who scraped up his hands a time or two as well. It works!
More Fall Projects:


BEAUTIFUL wreath.
I love this!!!
Gorgeous…sure makes my wreaths look shabby! Here I thought they looked good, not now.