How to Make a Simple July 4th Door Wreath
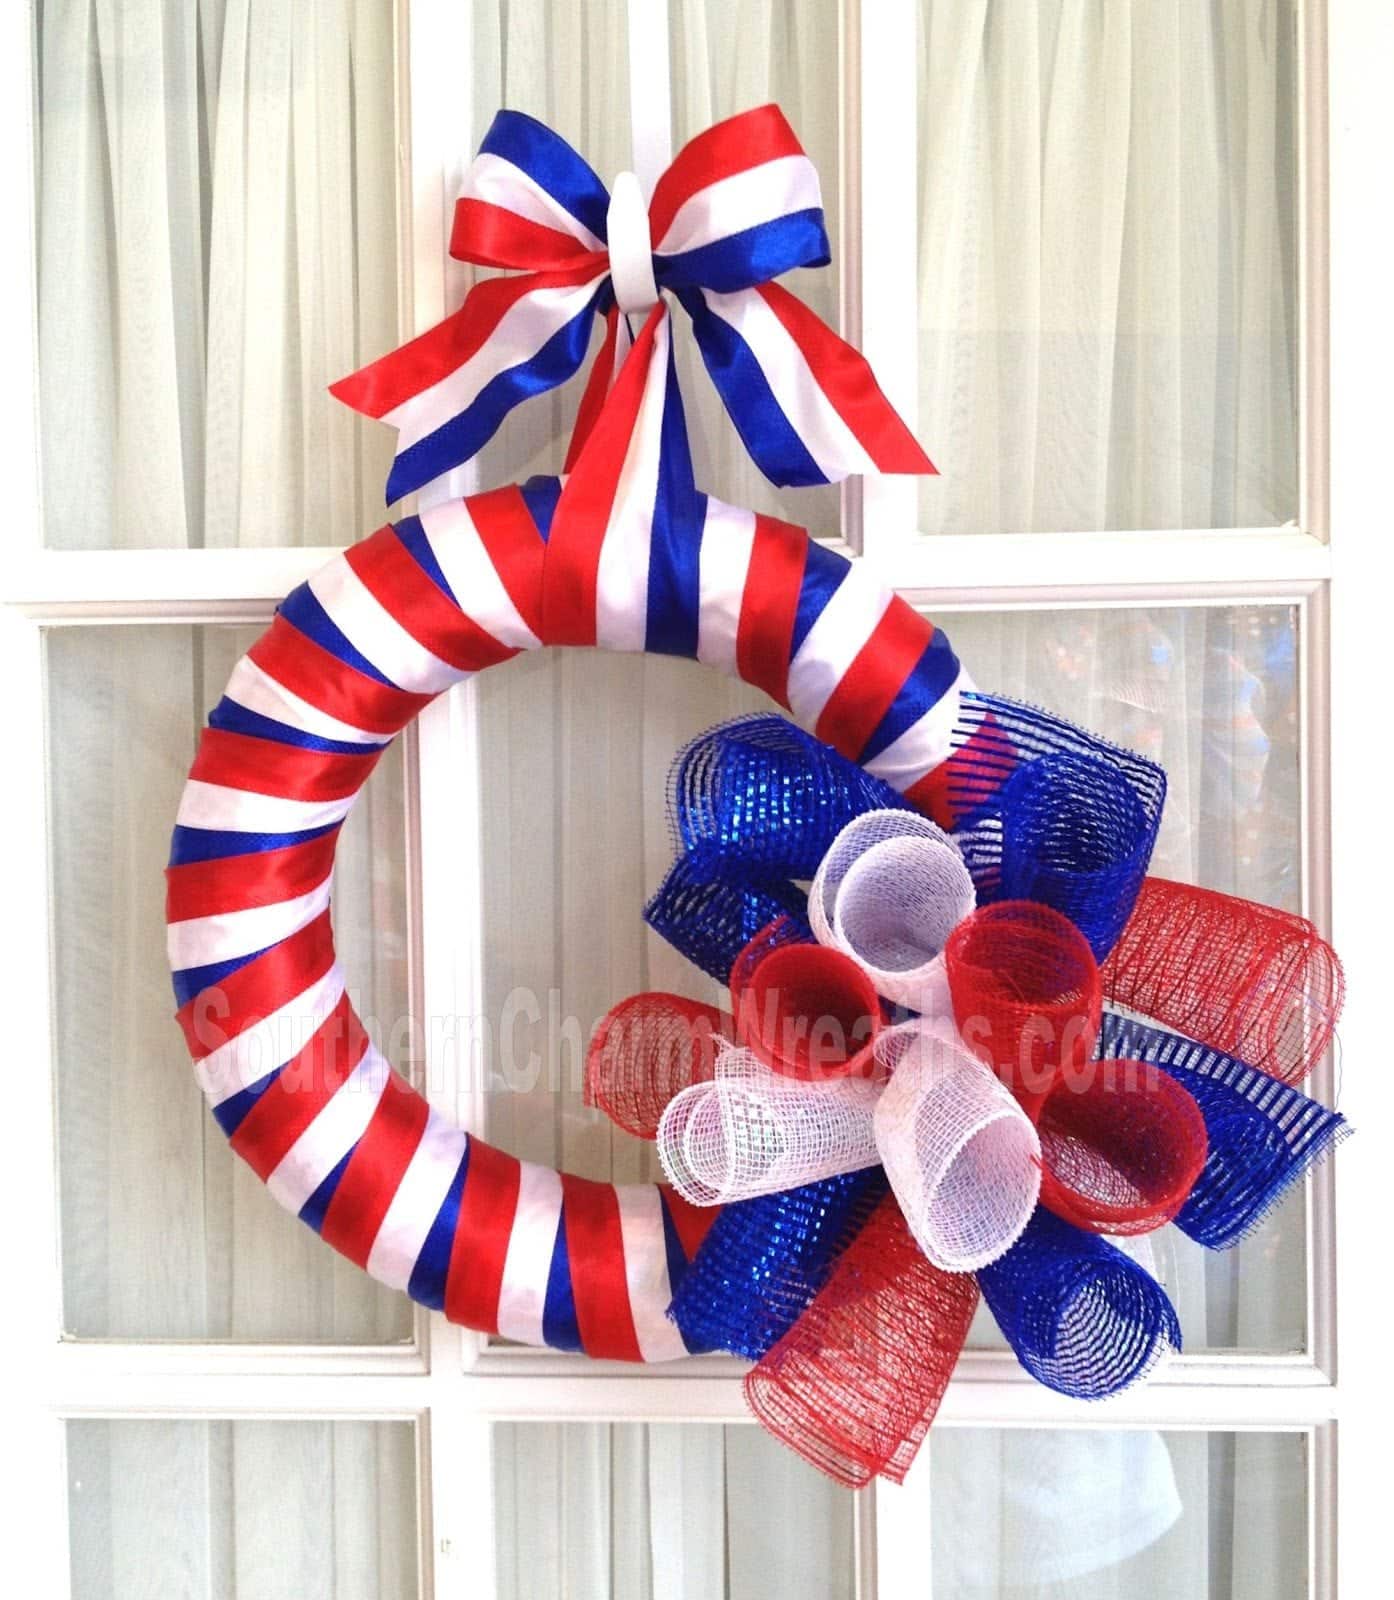
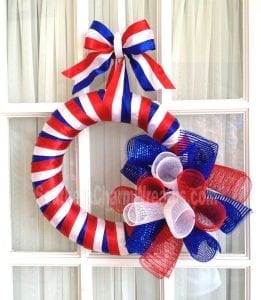
Since I will be staying with family this Memorial Day weekend, I wanted to make a small wreath to give as a hostess gift. This wreath came together easily and I thought I would share with you my simple instructions.
There is just a little ribbon left on my blue roll but this is a great way to finish up the roll instead of throwing it away.
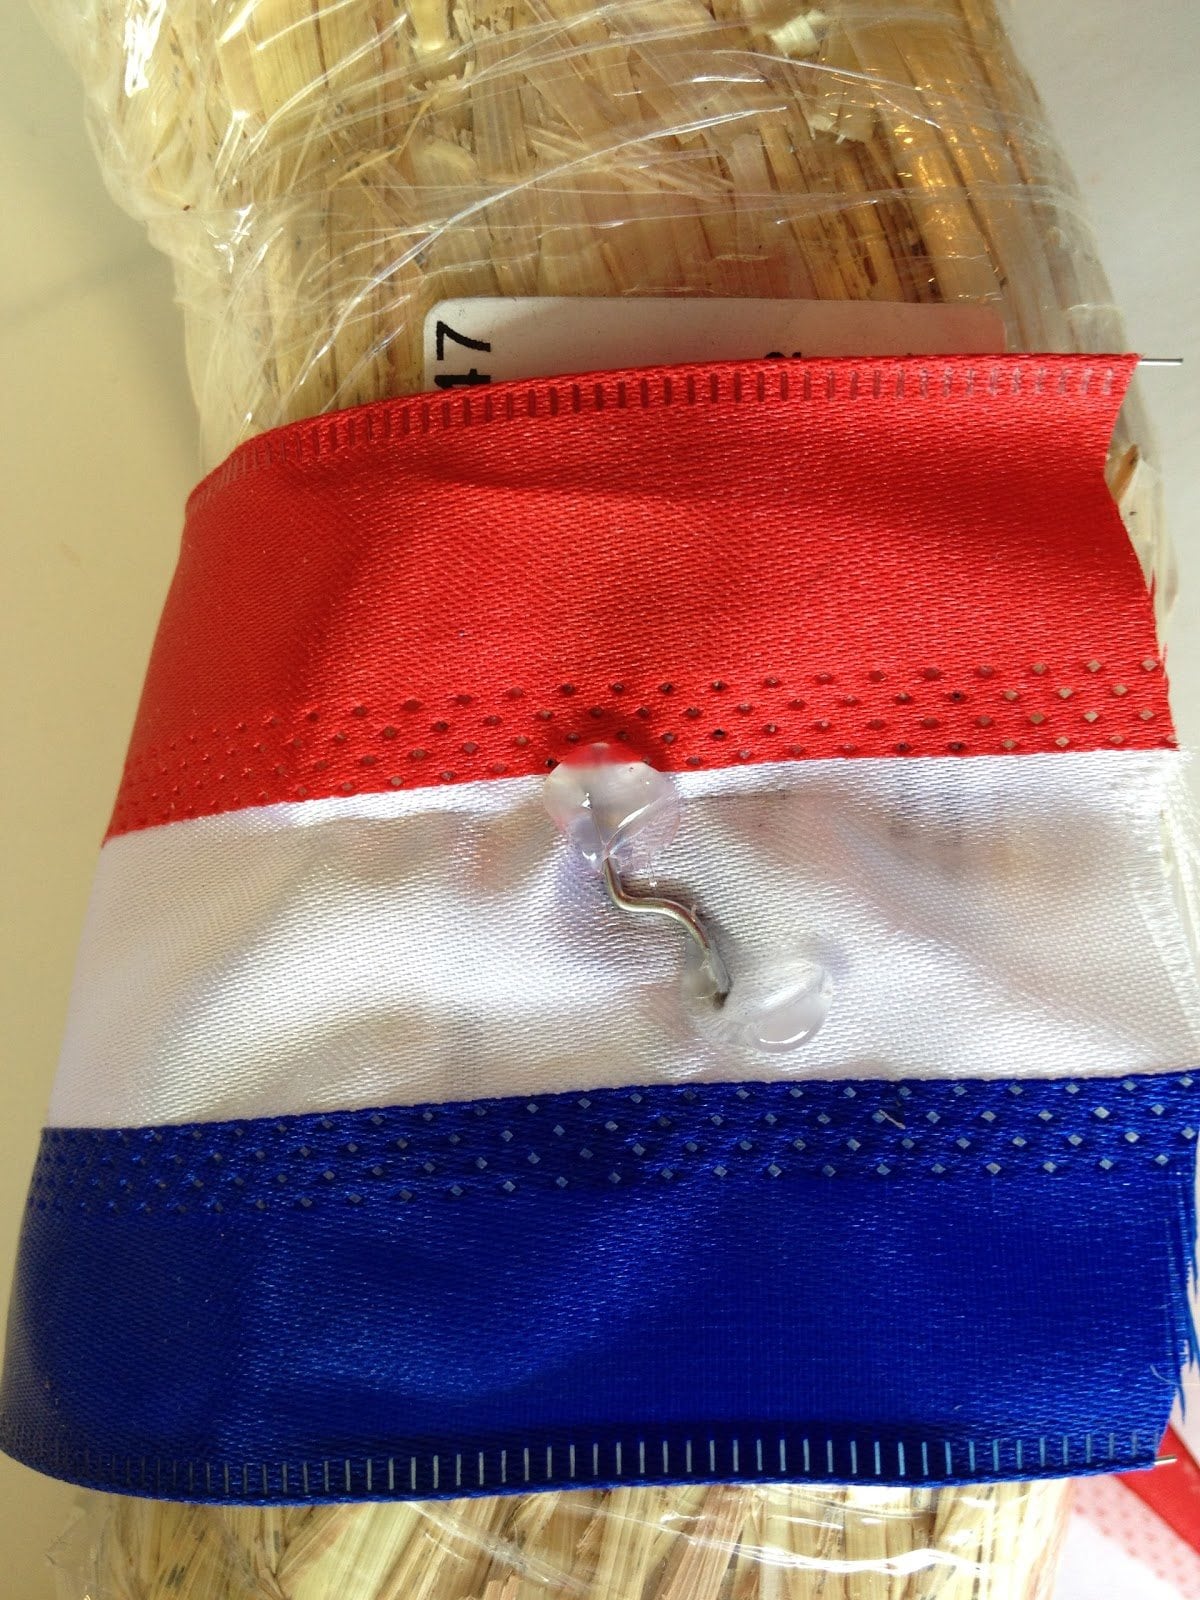
Using a floral pin, secure the end of the ribbon on the back of the straw wreath. I apply a small amount of hot glue to the tip of the floral pin before inserting to ensure it doesn’t pop back out. Just wipe off any excess glue.
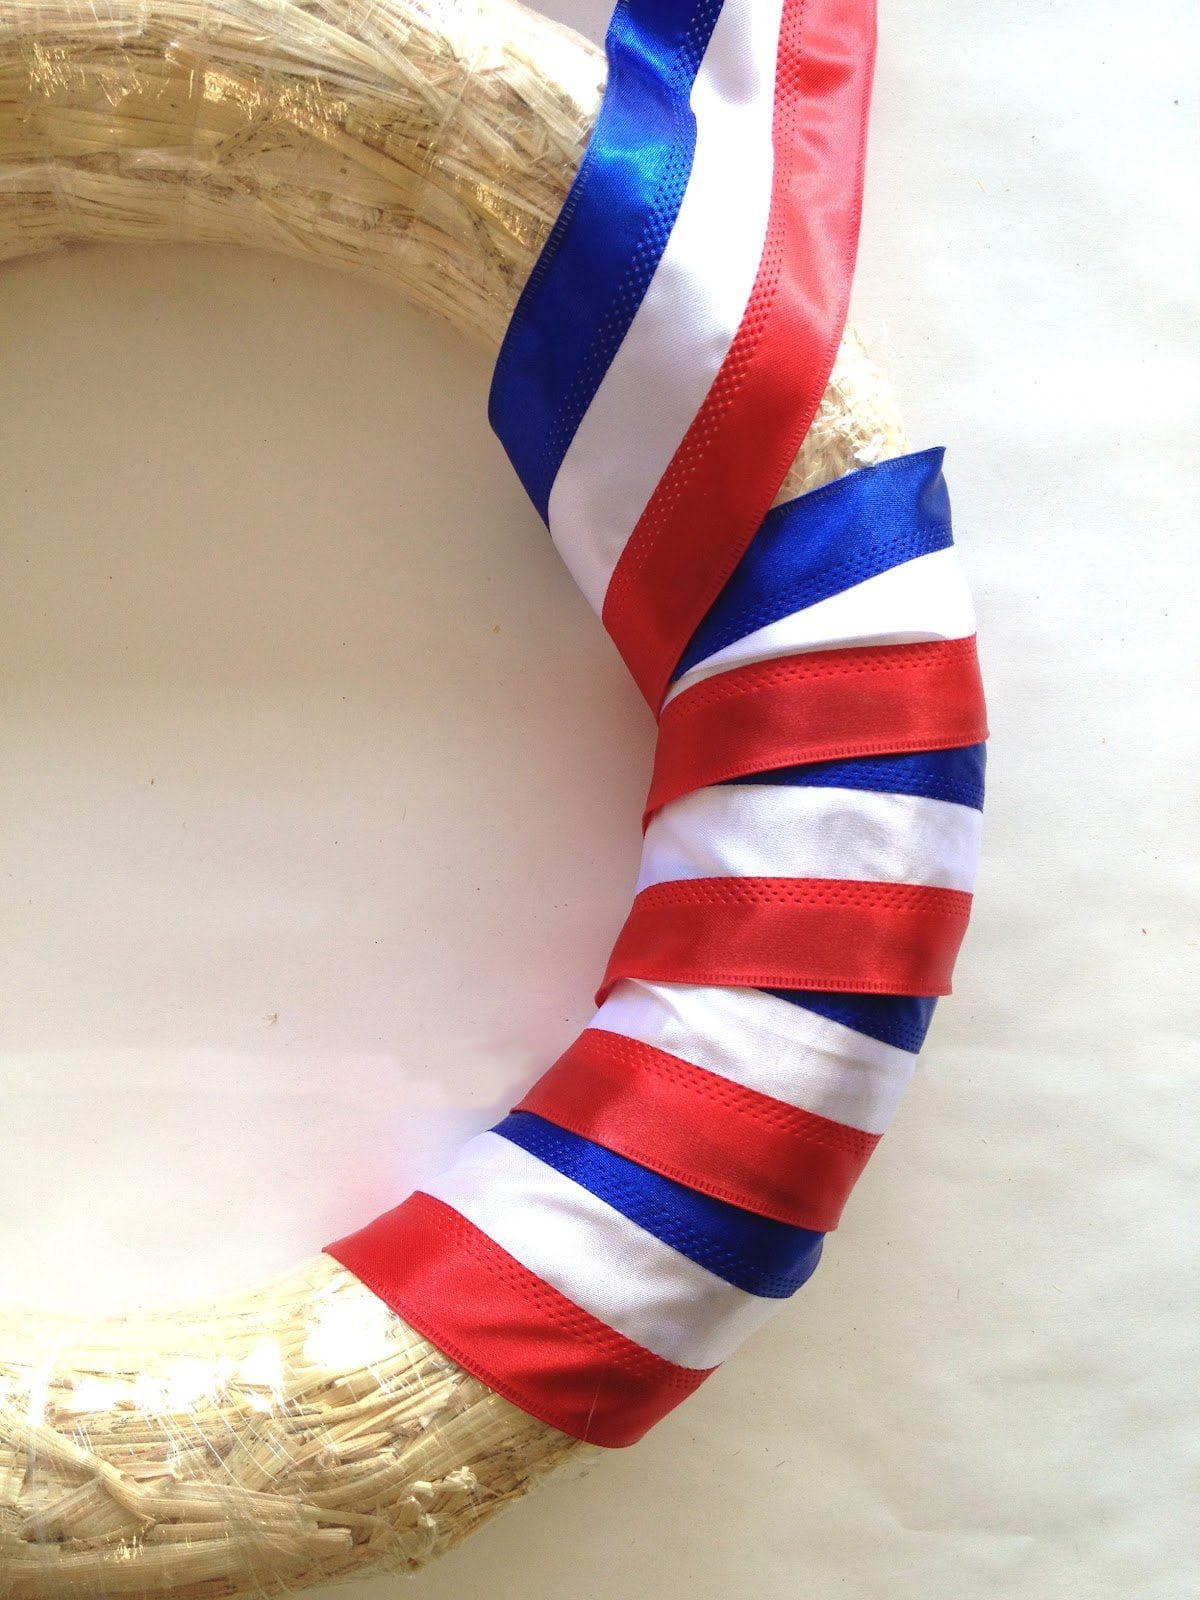
Wrap the ribbon around the straw wreath trying to keep the ribbon taut and the pattern consistent all the way around.
Once you have gone all the way around the wreath, secure the end with another floral pin and cut the ribbon off the ribbon roll.
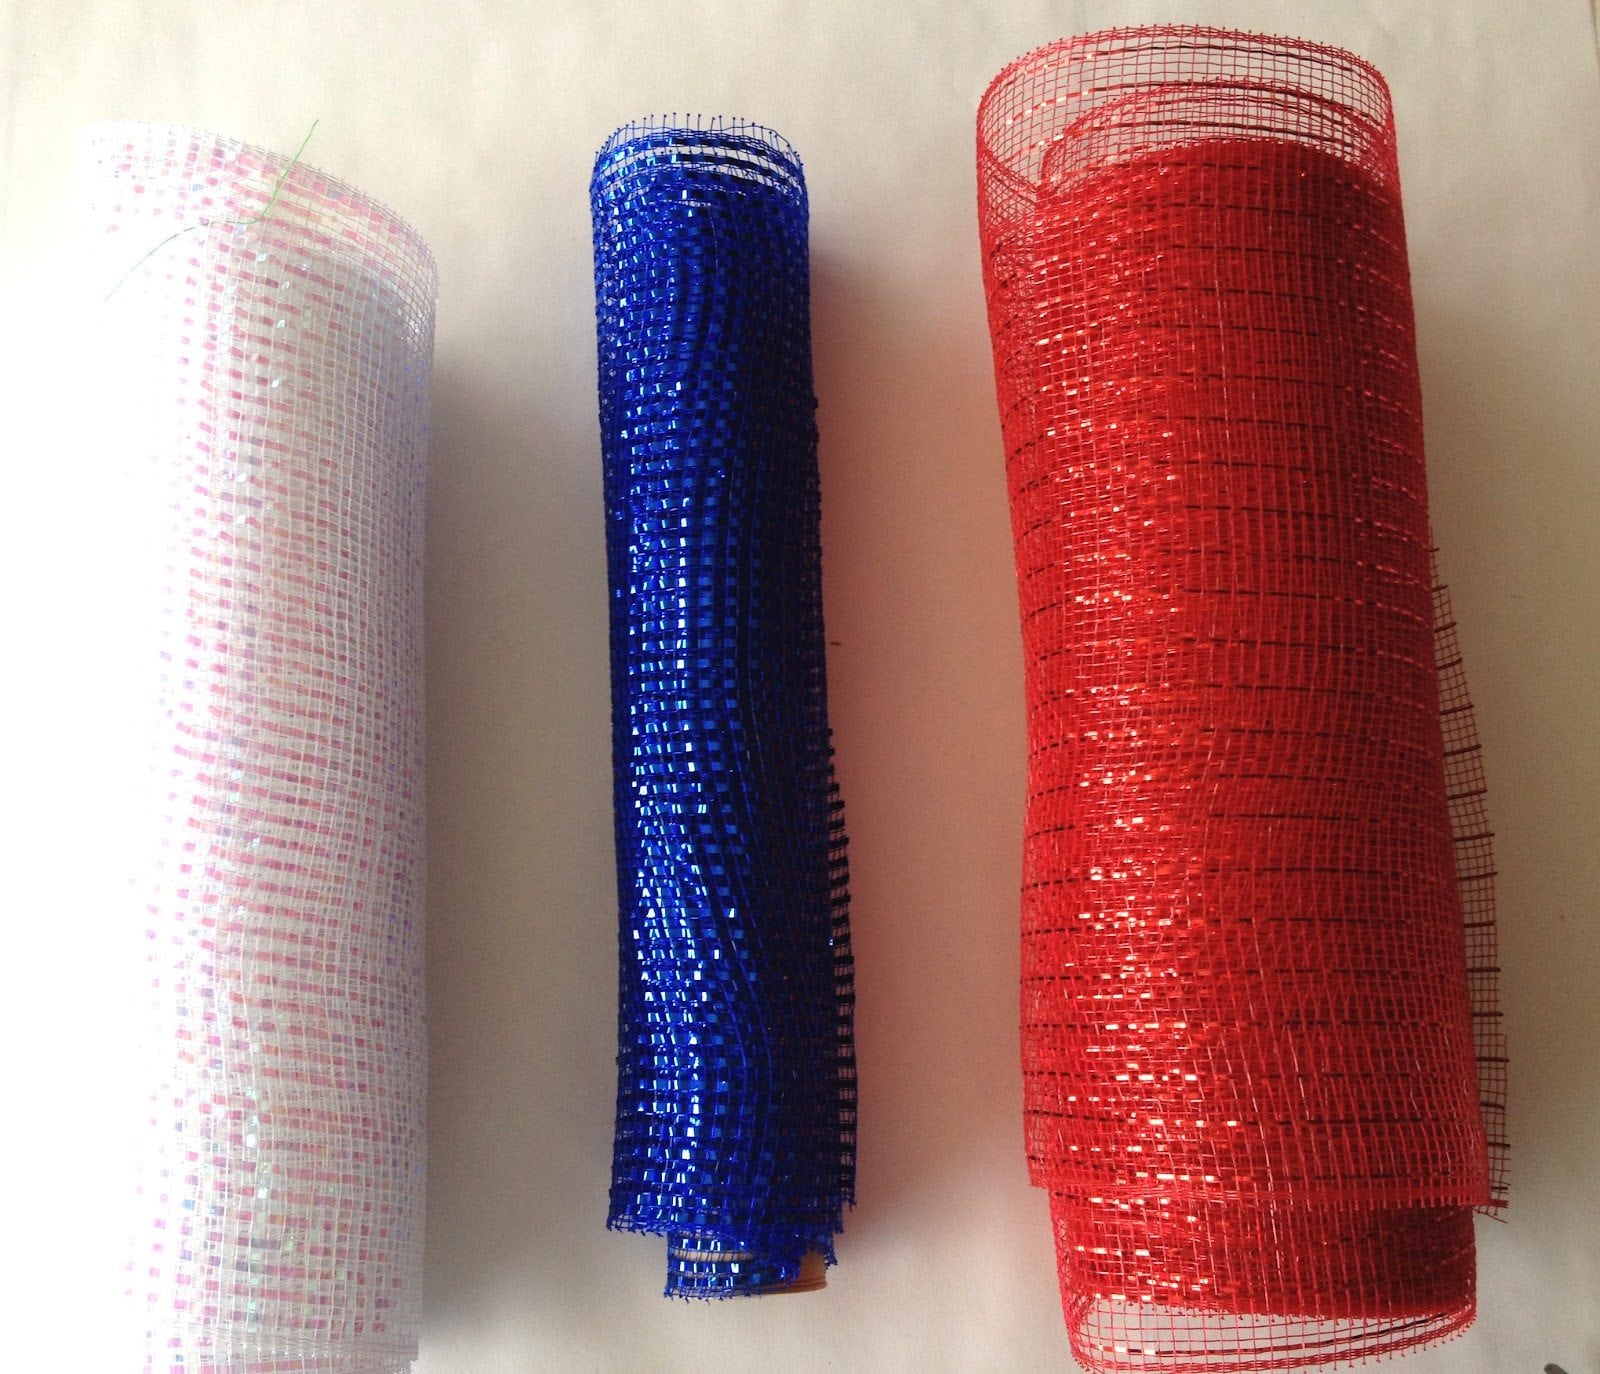
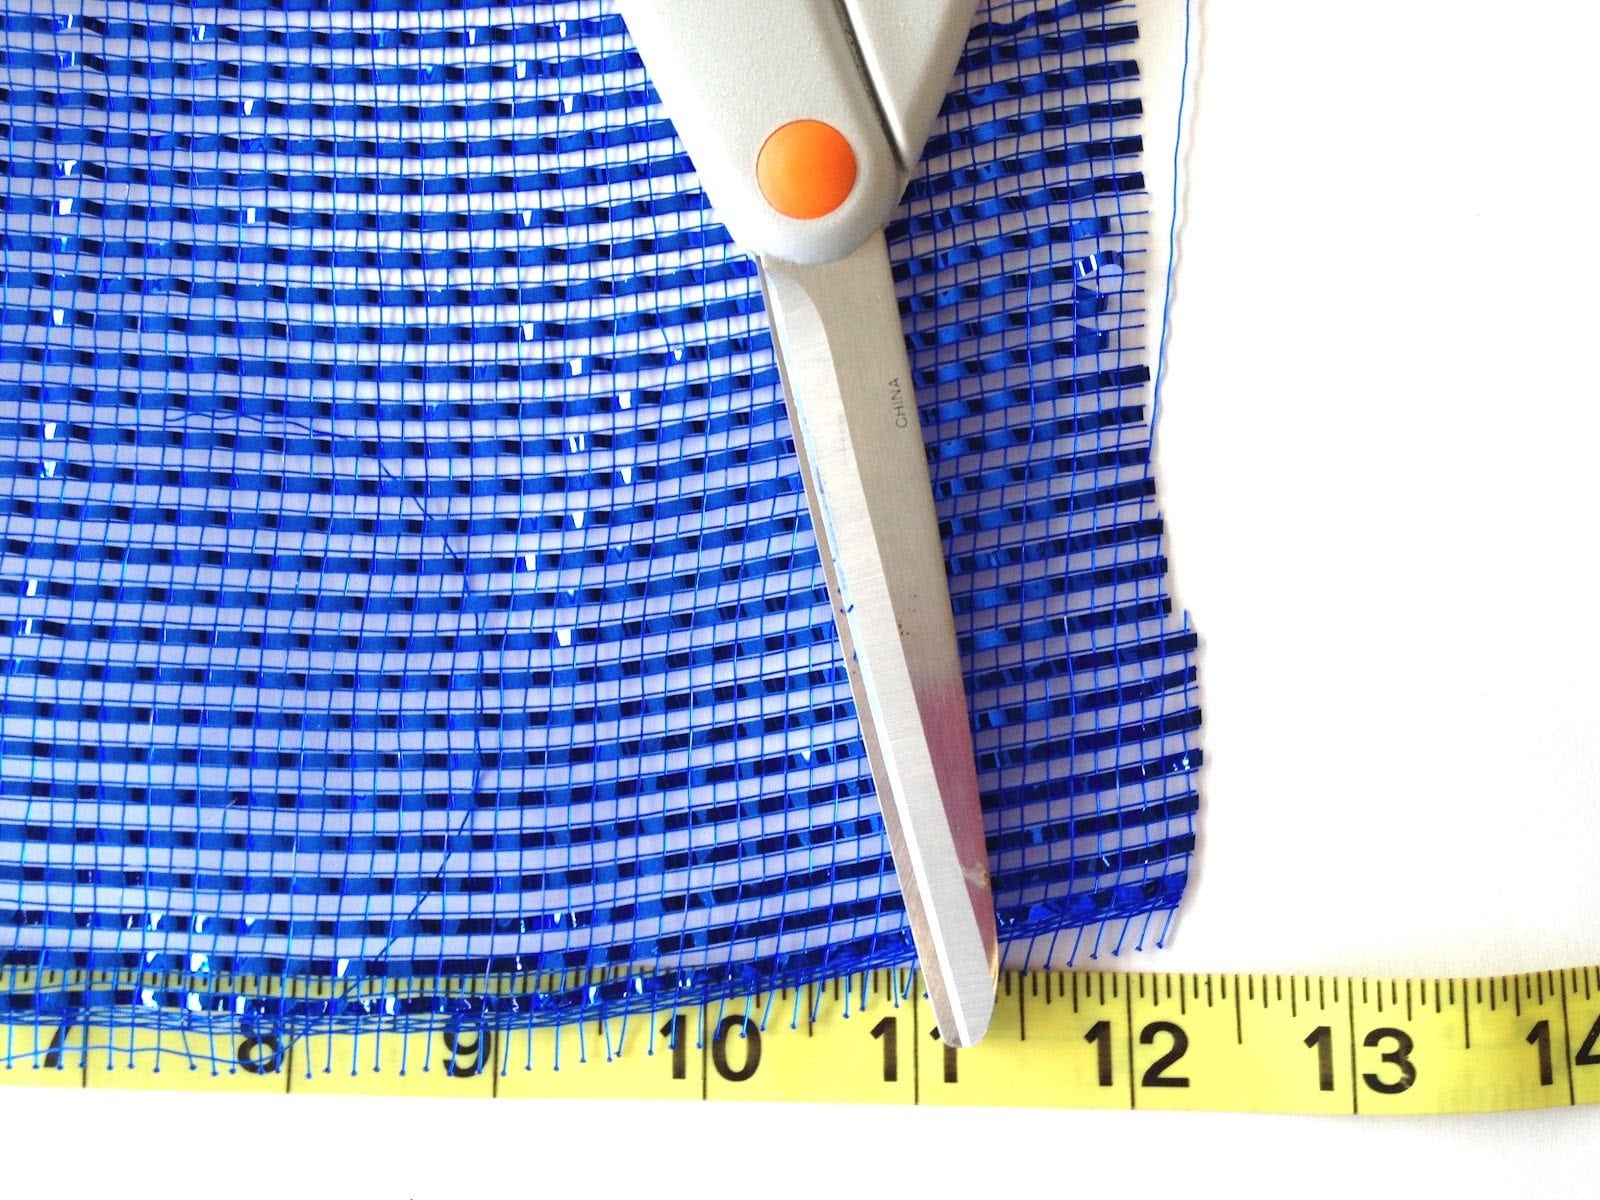
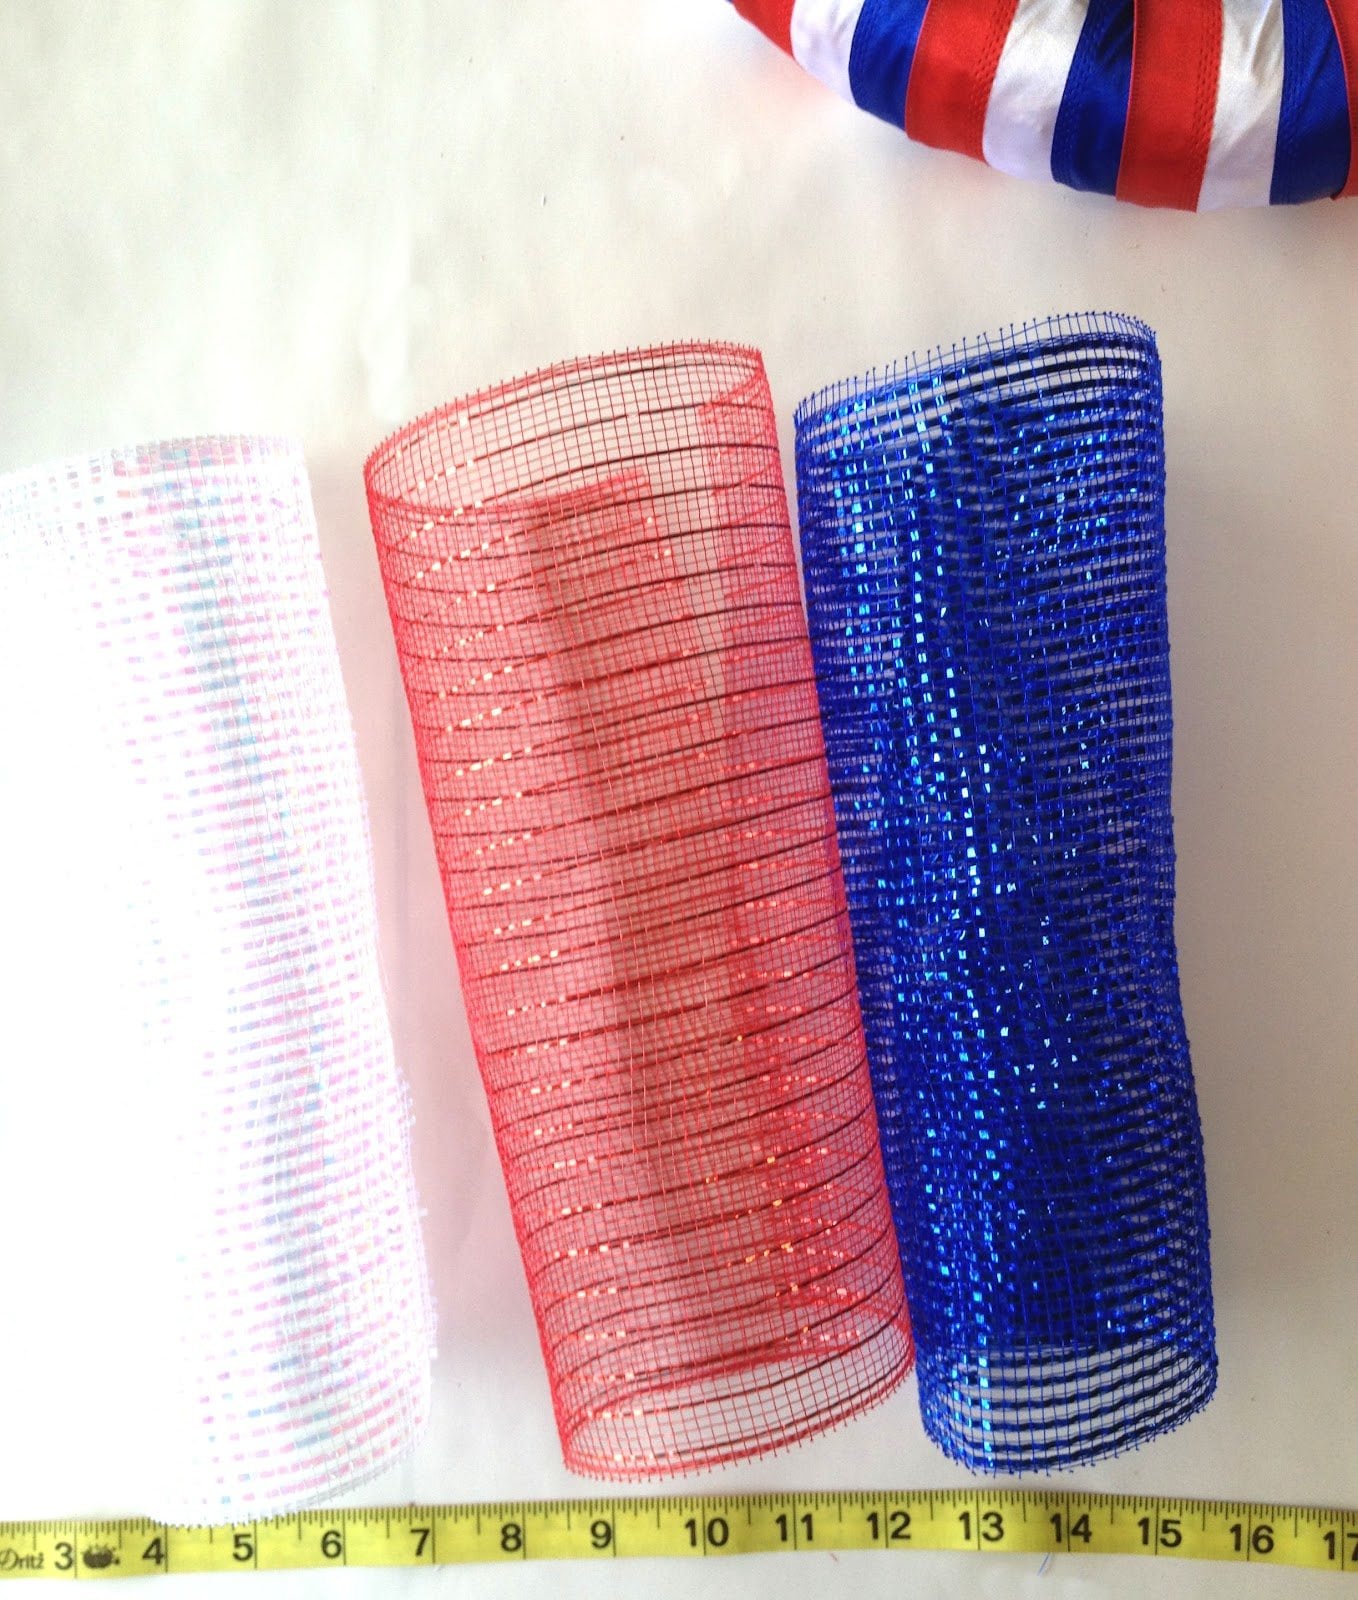
Using scissors cut the 10″ ribbon into 12″ long strips; on this wreath I cut 3 blue strips, 3 red strips and 2 white strips.
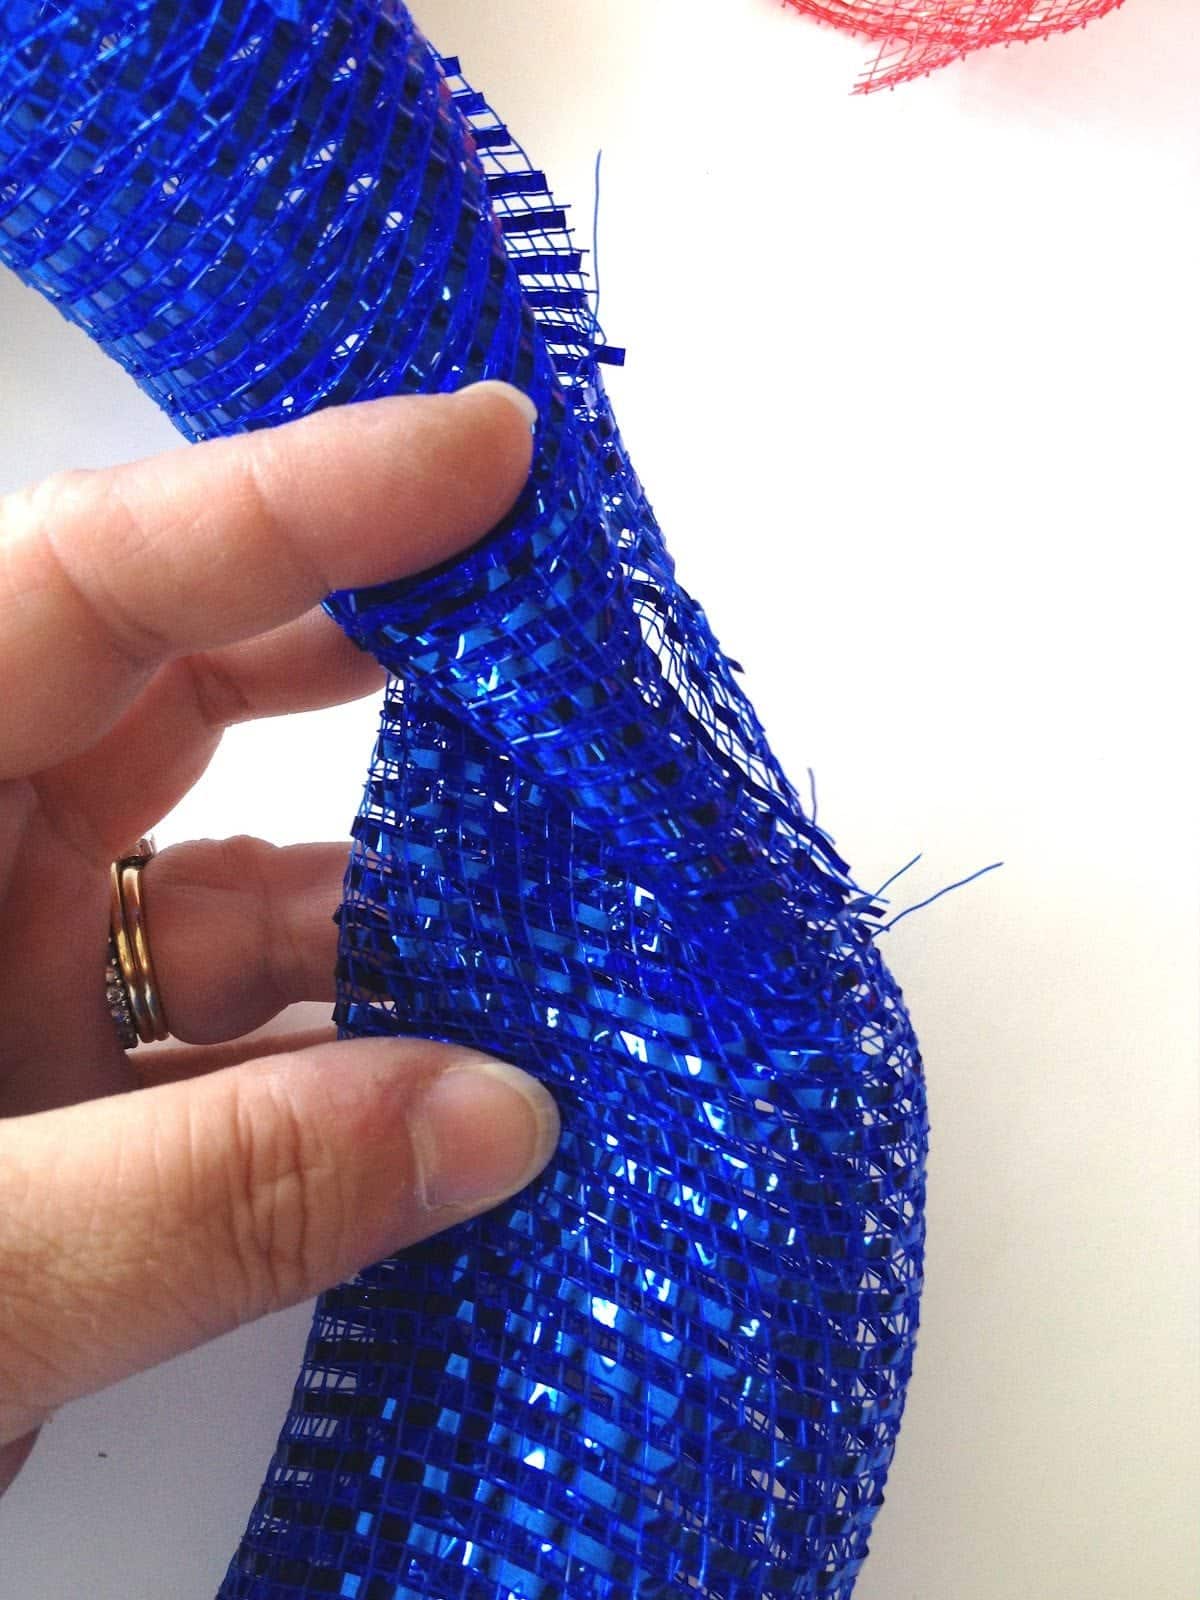
When you cut the strips they will automatically try to curl back up as if they were still on the roll but that is okay and ultimately what you want.
Taking a strip of blue mesh, roll the strip back up but in a tighter roll and then twist once in the center. This will allow the ends of the roll to pop up instead of laying flat on the wreath like a bow tie.
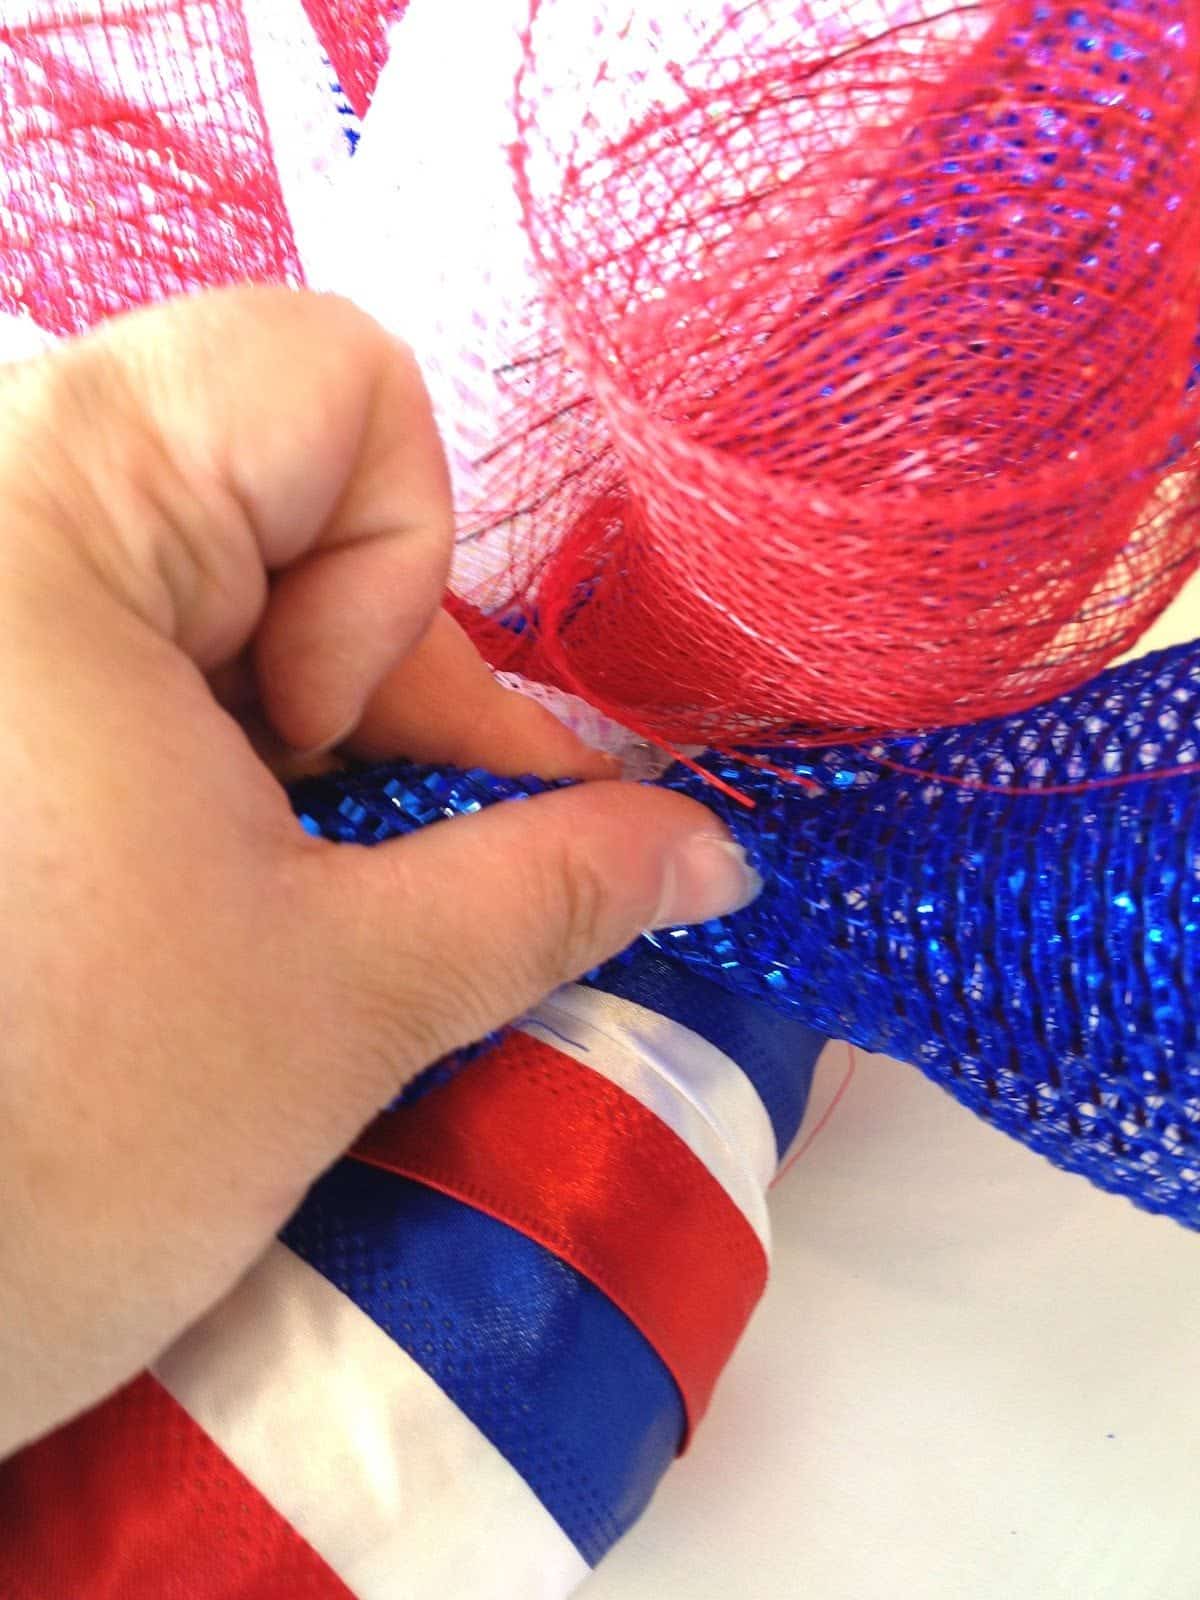
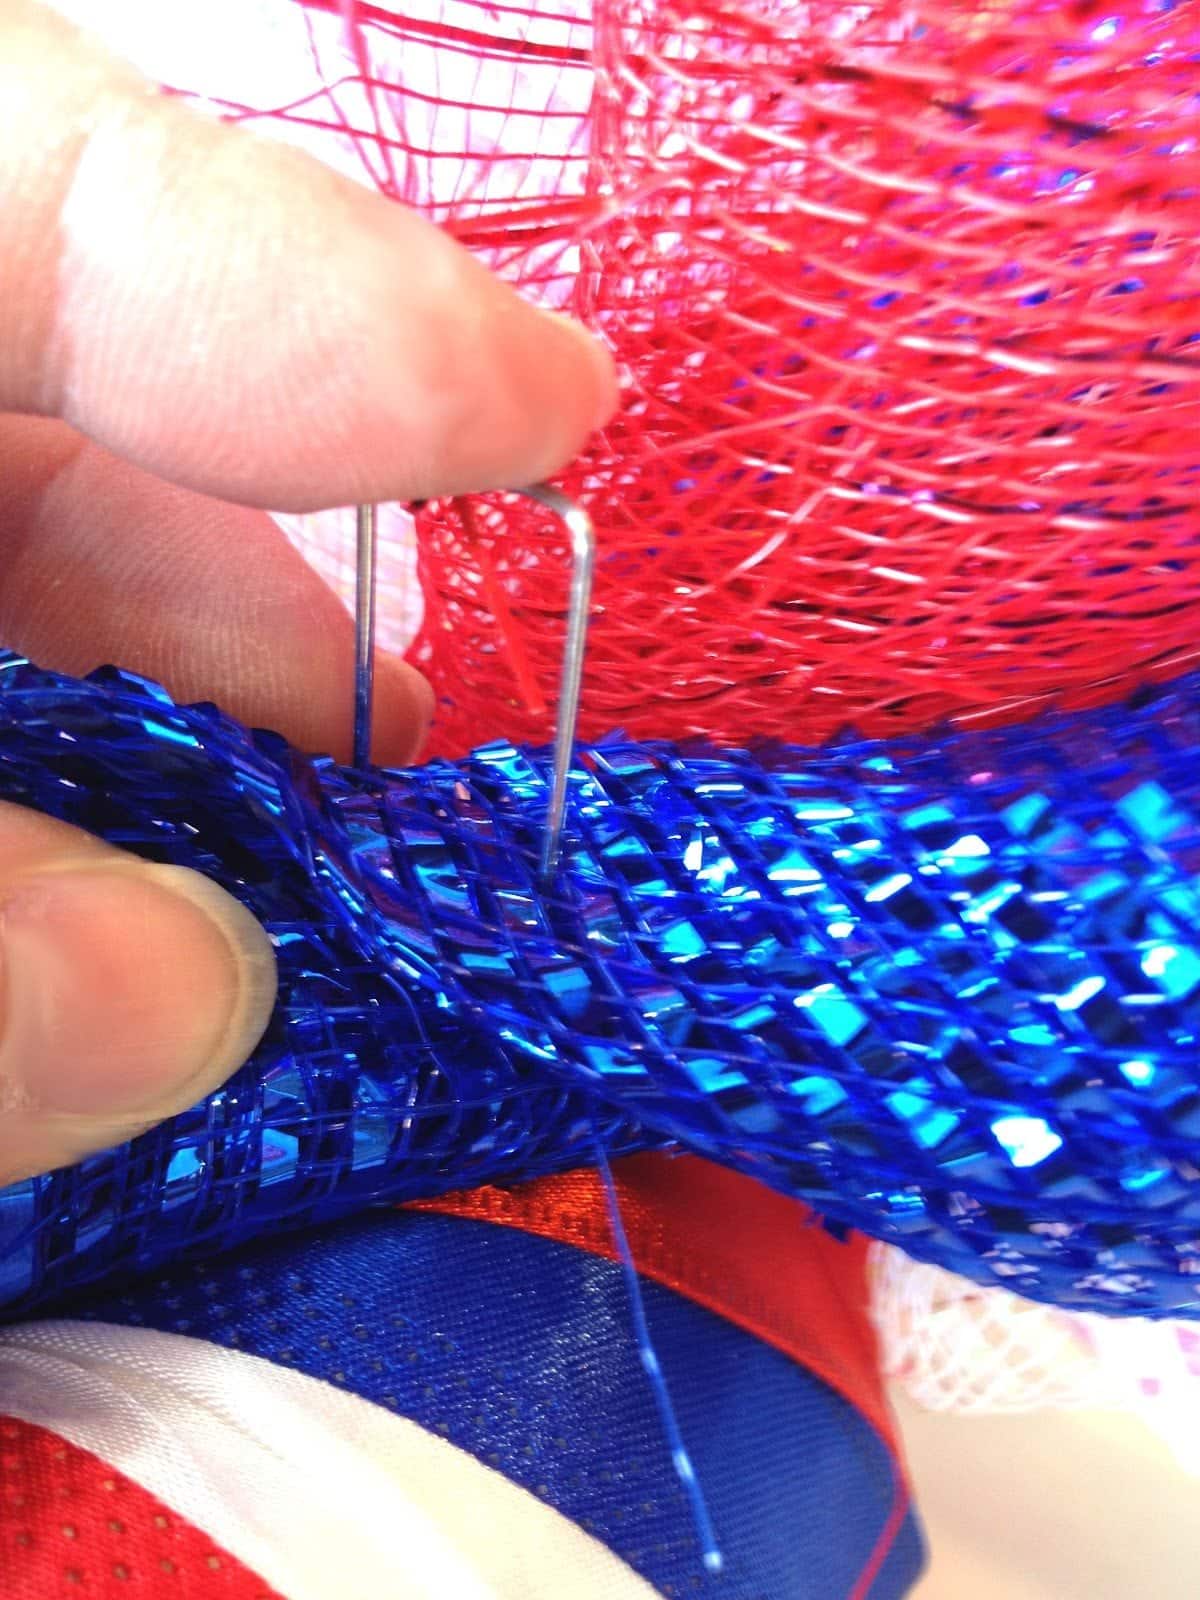
Using a floral pin, attach the blue strip to the straw wreath wherever you feel would be pleasing as this is your creation and there is never a wrong way when designing your work of art. Personally, I chose to add my deco mesh in the bottom right corner of the wreath but since I knew I would add the ribbon wreath hanger after the wreath’s completion, no matter where I attached the mesh I could just rotate the wreath before adding the wreath hanger.
Continue to do this until all the strips of deco mesh are attached, placing them beside each other. Separate them and intermingle the curled strips with each other giving a more consistent blend of color.
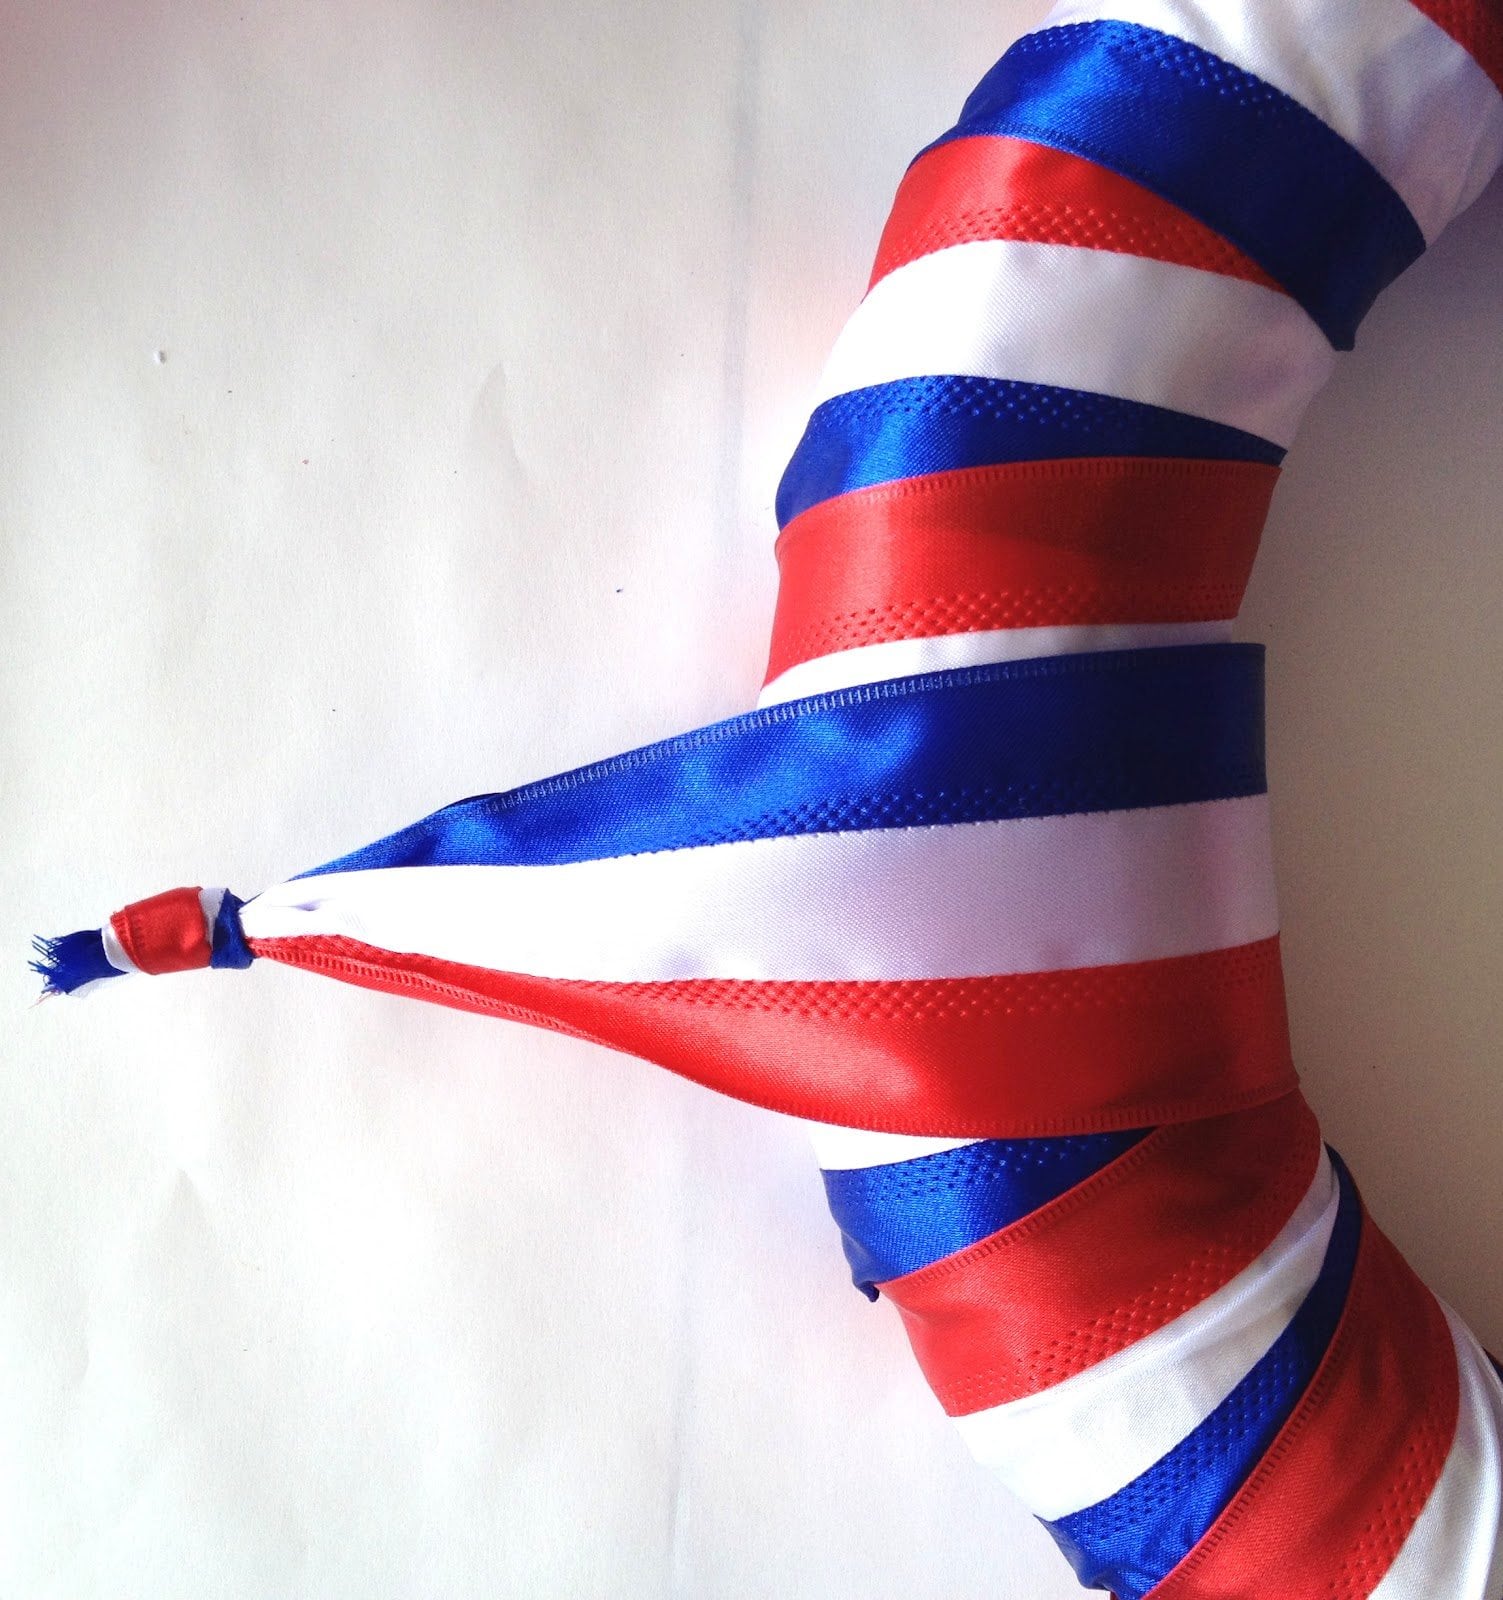
To make a hanger, use a strip of ribbon and wrap it around the top of the wreath making a loop and then knot. Insert a floral pin on the back of the wreath through the ribbon hanger loop so that the loop won’t slide around on the wreath.
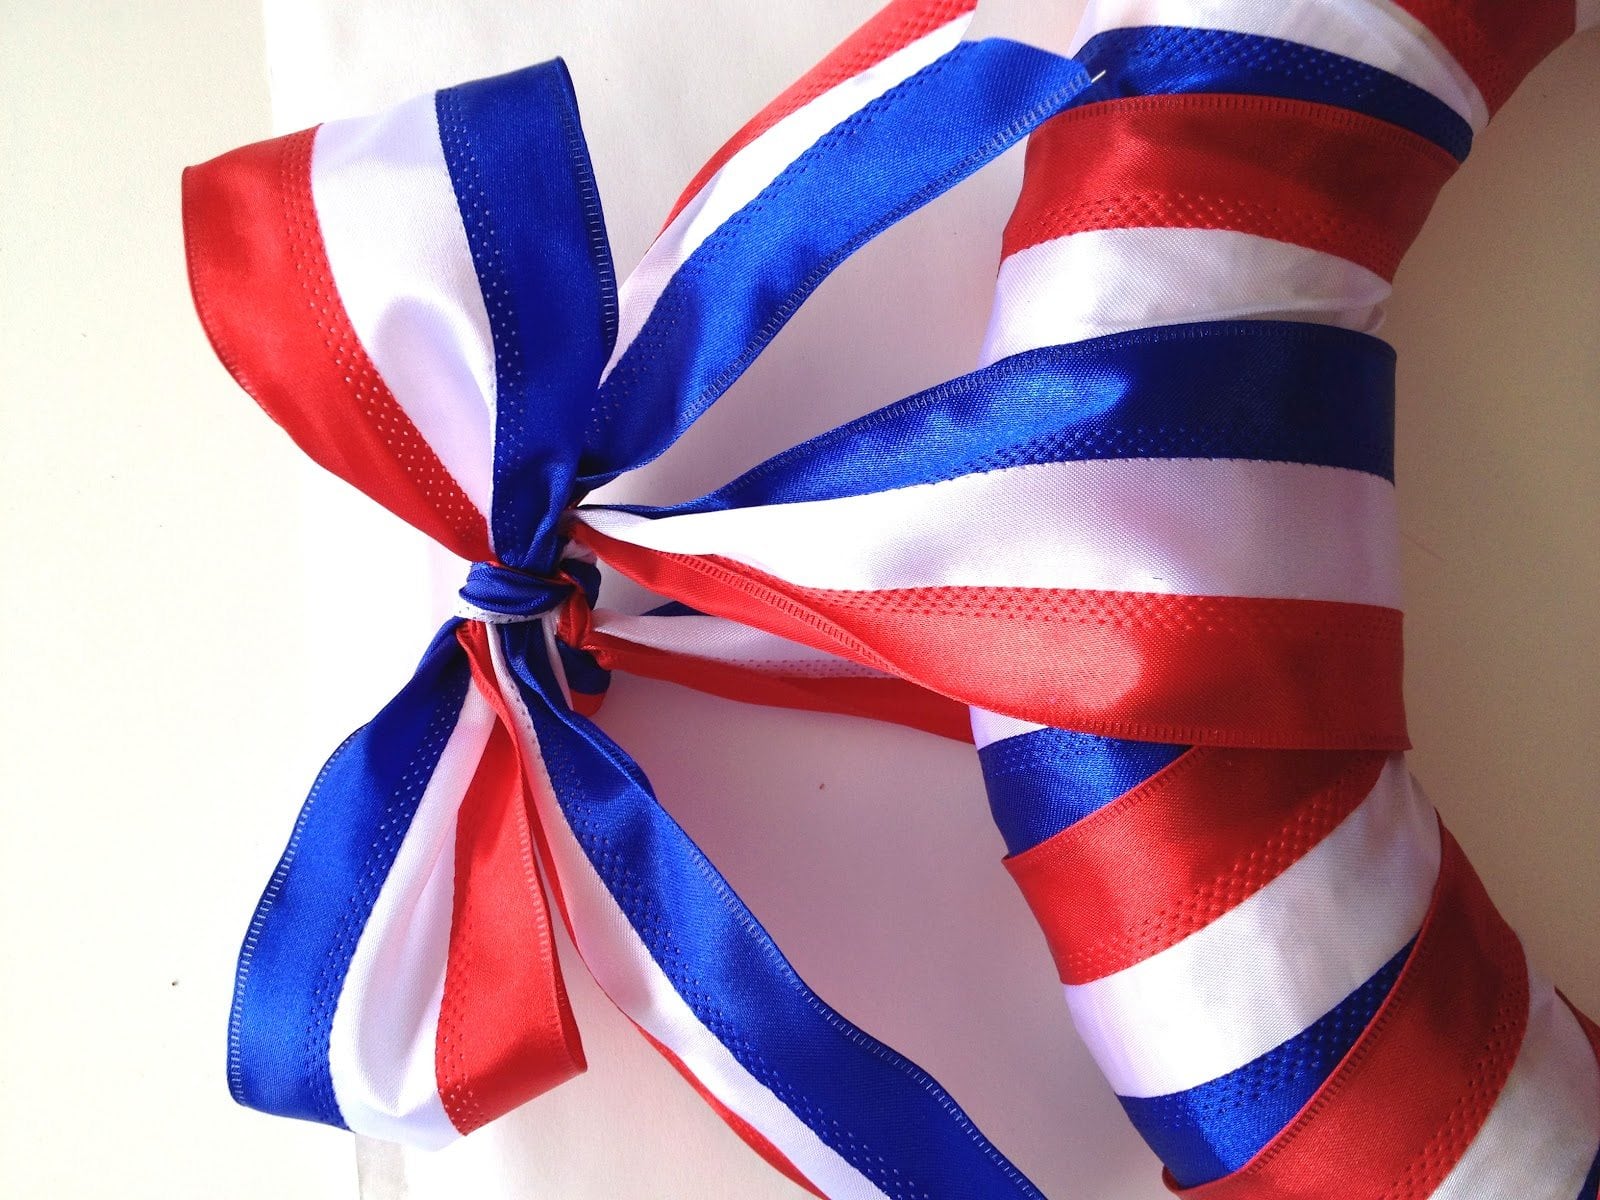
Taking more ribbon, put one end of the ribbon through the loop you just made above and knot it as if beginning to tie a bow on a shoelace.
Tie the bow as if finishing off a bow on a shoelace and shape and fluff the bow loops. Finish off the bow tails in a fish tail fashion.
These colors can be switched up to fit any season or holiday. The deco mesh could also be added in groups instead of mixed together so that you have three rolls of red, three rolls of blue and 3 rolls of white.


Oh I love this idea, going to make one for my grand-daughters 2nd Birthday with pink and green. Wish me luck!! Thank you for sharing these instructions and pics! You do amazing work and are a very good ‘teacher’.
Thanks for the great detailed instructions! I plan to make 2 of these for the front doors at my church!
Love this wreath, Julie! So cute. Your detailed instructions should make it easy to make! Thanks for sharing!
Great idea for a wedding gift for a new bride and groom getting married in July