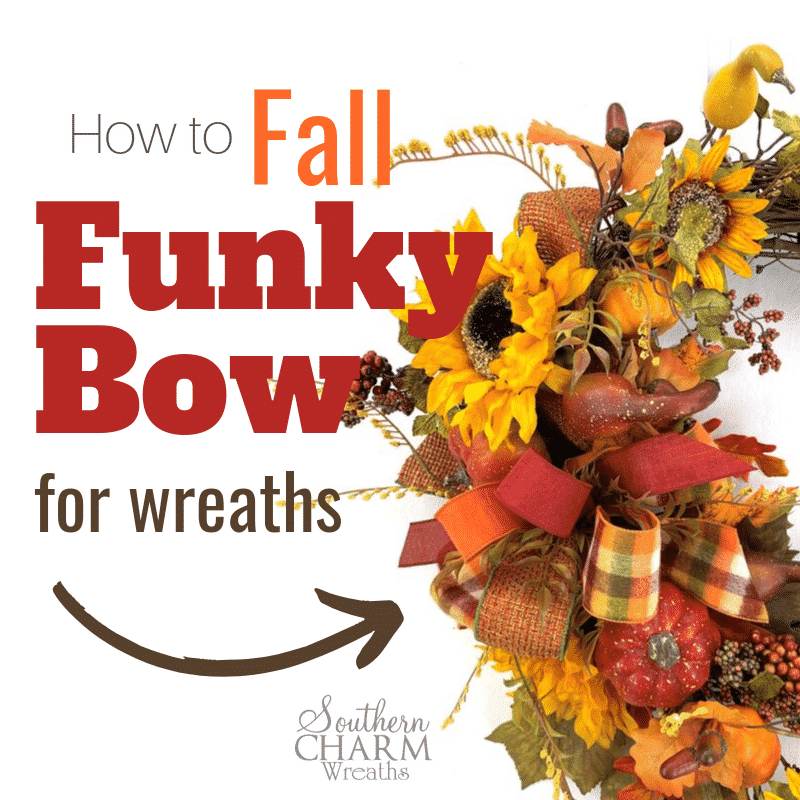
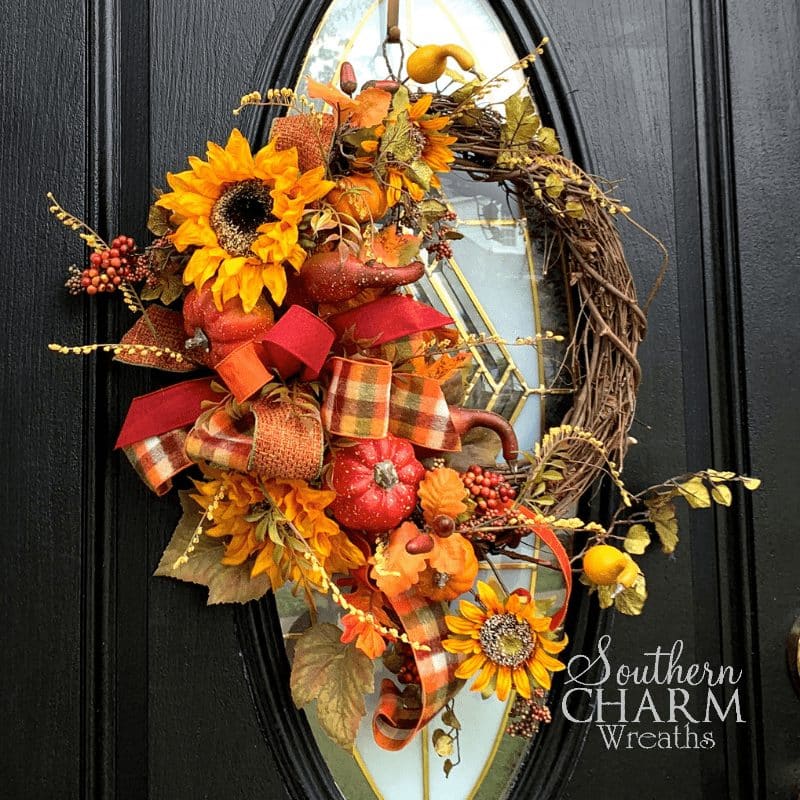
How to Make a Fall Funky Bow for Wreath
Making a bow doesn’t have to be hard! In this video, I’m sharing how to make a funky wreath bow using multiple ribbons for a fall wreath. This post may contain affiliate links for your convenience. Click here to read my full disclosure policy.

Today we’re making a Funky Bow for a Fall wreath! My signature funky bows are perfect for using leftover ribbon scraps and you only need a few supplies. Grab your favorite fall color and patterned ribbons and let’s get started.
[Tweet “How to Make a Funky Wreath Bow for Fall”]
Supplies for Making a Funky Bow for a Fall Wreath
3 Strips of 2.5′ & 2 strips 1.5″ fall ribbon found here http://shrsl.com/1sqit
Florist Wire or pipe cleaner
Scissors
Ruler or craft mat
Steps for making an a Fall Funky Bow
Step 1 – First, cut your ribbon. You need two pieces a little bit longer than a yard – one is 2.5″ wide and one is 1.5″ wide. You will also need three pieces of ribbon approximately 32″ long.
Step 2 – Next find your florist wire and get it read and now let’s form the bow. Take the 2.5″ wide long piece of ribbon and measure from 18″ from one end. Pinch here to start the bow. Next measure out 12″ on your mat or ruler and loop the ribbon back away from you securing in your fingers at the 12” mark. Twist the ribbon so that both of the pretty side of the tails are facing you. Loop one is done.
For loop two, use the ribbon that looks like the first loop but is a shorter length. This time you’re going to do the same thing using 9″ for the streamer instead of 18″ but in reverse so that the loop is facing downward below your thumb and the tails are pointed upward. It’s still a 12″ loop.
Hold both loops in the same hand.
Step 3 – Continue adding your ribbon strips in an alternating fashion with 12″ loops on top and below your fingers until all the ribbon is in your hands. Always make sure to twist the streamers so that the pretty side of the ribbon faces you.
Tip: As I add more ribbon, the center of the bow moves more into the grip of my hand, not the tips of my fingers.
Step 4 – Secure the bow with florist wire by sliding the wire underneath your pointer finger, then rotate the bow over while you rotate the wire around. Twist the bow to tighten the wire.
Step 5 – Use the long pieces of the florist wire to attach to a wreath, mailbox or tree. Once the ribbon is attached to your item you can move the bow loops and tails around so that they are dispersed evenly.
You can make the loops as large or as small as you like. If making larger loops, make sure that the wire in the ribbon is strong enough to hold the shape of the loop or your loops will sag. Remember to adjust the ribbon length if making larger loops.
Watch the video below for detailed instructions.
Video How to Make a Fall Funky Bow

You can easily use this same technique for a winter, Christmas, Valentine, or really any holiday or season you can find ribbon for! If you’re a ribbon addict like me this is such a good way to use up those leftover pieces that couldn’t make an entire bow on their own.
If you enjoyed this and want to learn to wreath the professional way, join me in our exclusive Wreath Making of the Month Club!
Happy Wreathing,
Julie
If you enjoyed this post, you might also like:
How to Make a Funky Bow – Christmas Edition
How to Make Pumpkin Centerpieces
Liked this Fall Funky Bow Tutorial? Pin it for later!


As always Julie, you have such an amazing talent. Thank you for sharing with everyone.
Love your funky bow and all your instructions.
I am soooo bow challenged, but you make it look so easy! Your instructions are so clear and definitive. I will definitely be giving this a try. Thank you for your help! I LOVE your videos!
Ms. Julie I am a 65 year old lady that is disabled and in a wheelchair. I want to learn how to make the wreaths that you make. Could you let me know the items I would have to have to start making wreaths I would be so thankful for your information I don’t have the money to get all of the things you recommend.Thanks
It depends on the wreath you want to make. Just get supplies for one wreath at a time.
Love your wreaths and bows you are so creative and it gives me lots of ideas
Love it ??
Very professional presentation. And I mean this in the kindest way when I say you have improved a great deal from the first video I watched.
See what a difference “growing your business “ has made. Thank you for your challenging and dedicated work.
I like the “Funky Bow” and now know how to use my leftover ribbons.
Yes, practice makes perfect! LOL I’ve def improved and blessed I get to do what I love!
I loved this video and this bow! Can’t wait to make it! You can add so much variety without a ton on ribbon! Thank you!
Glad you liked it!!
I have had more fun and more c ompliments on your funky bow than any bow I have made. It can work on just about any wreath. I have even been using it on some of my tool boxes. Solid color, multiple or scraps, they all turn out good!
Hi lady!! Just wanted to tell you how much I love this bow. Just beautiful and answers the problem of extra short pieces of ribbon left over that you can’t bring yourself to throw away. You always think I can use this somehow. Thanks again. Be blessed.
Glad you liked it!!
Thanks for sharing your talent! Your bows and wreaths are beautiful! I have learned so many techniques from you!
I have trouble finding the material to use for the wreaths do you supply material or tell where I can buy ?
We give vendor information in all our blog articles as well as a complete vendor list in our wreath of the month club group.