DIY Mesh Spring Welcome Wreath
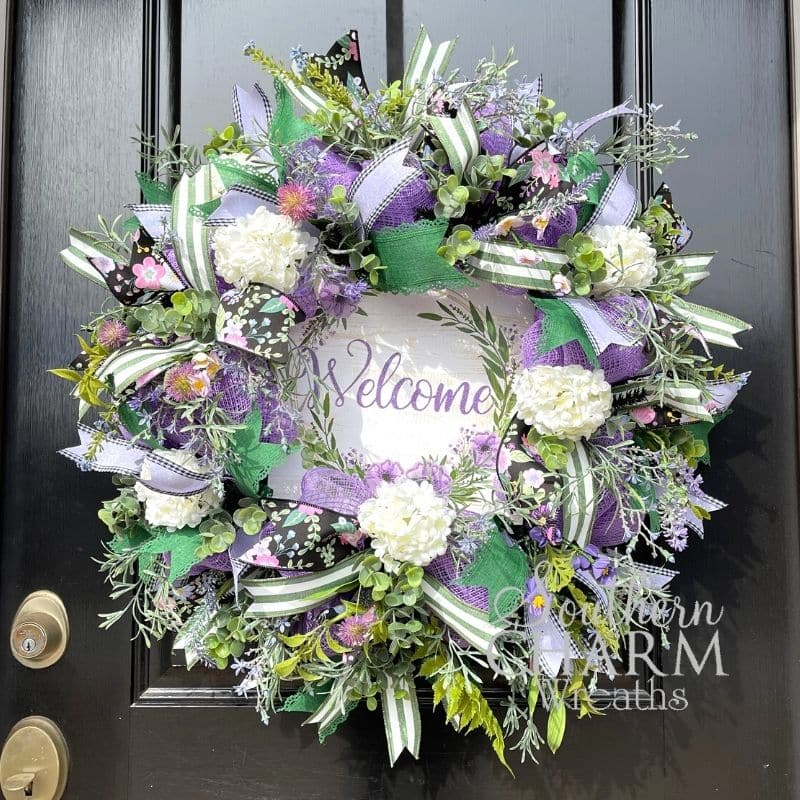
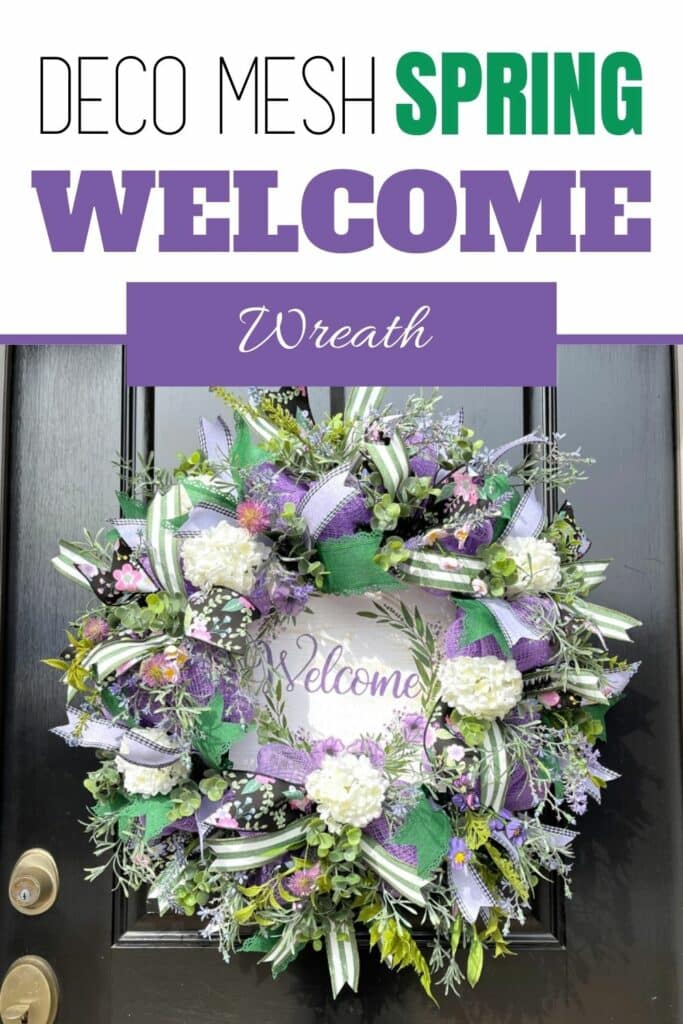
Easily make a voluminous DIY mesh spring welcome wreath with lavender and green colors. Plus, learn how to make a multi-ribbon bow too!

How To Make A Spring Deco Mesh Wreath
I love making wreaths with deco mesh! They have so much movement and volume that they look impressive and really stand out on someone’s front door.
The secret that only wreath makers know is that deco mesh wreaths are actually incredibly easy to create. In fact, I made a show-stopping spring welcome wreath with deco mesh, and it took me less than an hour.
As you continue to practice and make more wreaths out of deco mesh, you will learn habits and processes that will speed up your time too.
My favorite thing about this wreath is how perfectly all the layers look together. Since the welcome sign in the middle has a lavender font, I used that same color mesh throughout the greenery.
There is also a lot of room for customization and creativity! Attach a hand-tied multi ribbon bow to the wreath, use the bow instead of the sign, or use them both. It’s all up to you, and I’m happy to show you how to make it both ways.
This post may contain affiliate links for your convenience. Click here to read my full disclosure policy.

Supplies
- 24-inch Work Wreath
- 10-inch Jute Poly-Mesh
- Ribbon Streamers
- Staple Gun
- Flower and Greenery Picks
- Hot Glue Sticks
- Glue Pan
Easy DIY Mesh Spring Welcome Wreath: Step-By-Step Tutorial
Here is a quick tutorial showing you how to make your own DIY mesh spring welcome wreath.
1. Attach The Mesh To The Wreath Frame
Begin by securing the deco mesh to the inner frame of the work wreath. Use the twist ties to hold it.
Then, create 10-inch loops in between each twist tie, securing and twisting the mesh to the frame as you work your way around it.
Do this all the way around the inner wreath frame.
When you are finished, go back and “poof out” the mesh loops you attached to the frame. They should be super poofy and have lots of volume.
2. Loop Mesh Around The Outer Ring
Without cutting the mesh, continue to add 10-inch loops to the twist ties around the outer ring. It is the same exact process as before.
Make the same 10-inch-long loops and use the needle ties to attach them to the wreath frame.
After you tie the mesh to the last twist tie, trim the mesh from the bolt and hide the tail inside the wreath.
3. Attach Ribbon Streamers
Now you are ready to attach the ribbon streams to the wreath. I used 13-inch long ribbon streamers in various green and lavender patterns that go with the same lavender shade as the deco mesh.
Layer a thinner ribbon on top of the wider ribbon, fold them in half, pinch them in the middle, and add them to the wreath. Twist the ties around the middle of the streamers until they are nice and secure.
Then, pull the streamers apart, so they aren’t laying directly on top of each other anymore. Adding ribbon to deco mesh wreaths adds so much color and texture – don’t you think?
4. Add The Welcome Sign To The Middle Of The Wreath
Center the sign in the wreath and use the wires on the back of the sign to attach it to the wreath. If your sign doesn’t have wires, you can use a staple gun to attach some florist wire yourself.
If you want to stop here, you can! Or, you can continue by adding some more greenery and flowers.
5. Add Greenery And Flowers
For this step, I suggest hanging the wreath on a wreath easel or door so that you can see where you want to place the flower picks.
Choose your favorite greenery and florals that match the colors in your mesh, ribbons, and sign.
Depending on how big you want your wreath to be, trim them pretty short so that they don’t stick out too much from the wreath.
Go around the outer edge of the wreath, and then keep adding greenery and florals until you work your way to the inside of the wreath.
6. Make A Hand-Tied Bow
At this point, you can stop and call the project finished. Or, you can make a hand-tied bow and add it as a second focal point. Have as much fun and be as creative as you want.
If you are going to make a bow, I suggest using the same ribbons that you used in the streamers.
Watch The Video: DIY Mesh Spring Welcome Wreath
Thanks for joining me today in the wreath workshop! Comment below and tell me what your favorite part was or let me know what I should make next!
Happy Wreathing,
Julie
More Spring Projects
If you enjoyed this easy DIY mesh spring welcome wreath, then here are some more springtime projects you will enjoy too.
- DIY Spring Bike Wheel Wreath
- How To Make A Spring Hoop Wreath
- How To Make An Easy Spring Tulip Wreath


IPlease add my name to your waiting list for the Wreath Making Club.
Hey Linda – You can join the waiting list on our website at http://www.learntowreath.com!
Good afternoon. I am interested in the wreath making club but cannot get signed up. The link does not open. Also, what are the costs to join? I am from Canada. Do you have Canadian suppliers for the products you use? Thanks.
Hey Darlene –
Currently the Wreath of the Month Club is closed to new members. You can learn more about the group and join the waitlist for announcements on when we will be opening the group again to new members at http://www.southerncharmwreaths.com/wreath-club. The Wreath of the Month Club is $27/month.