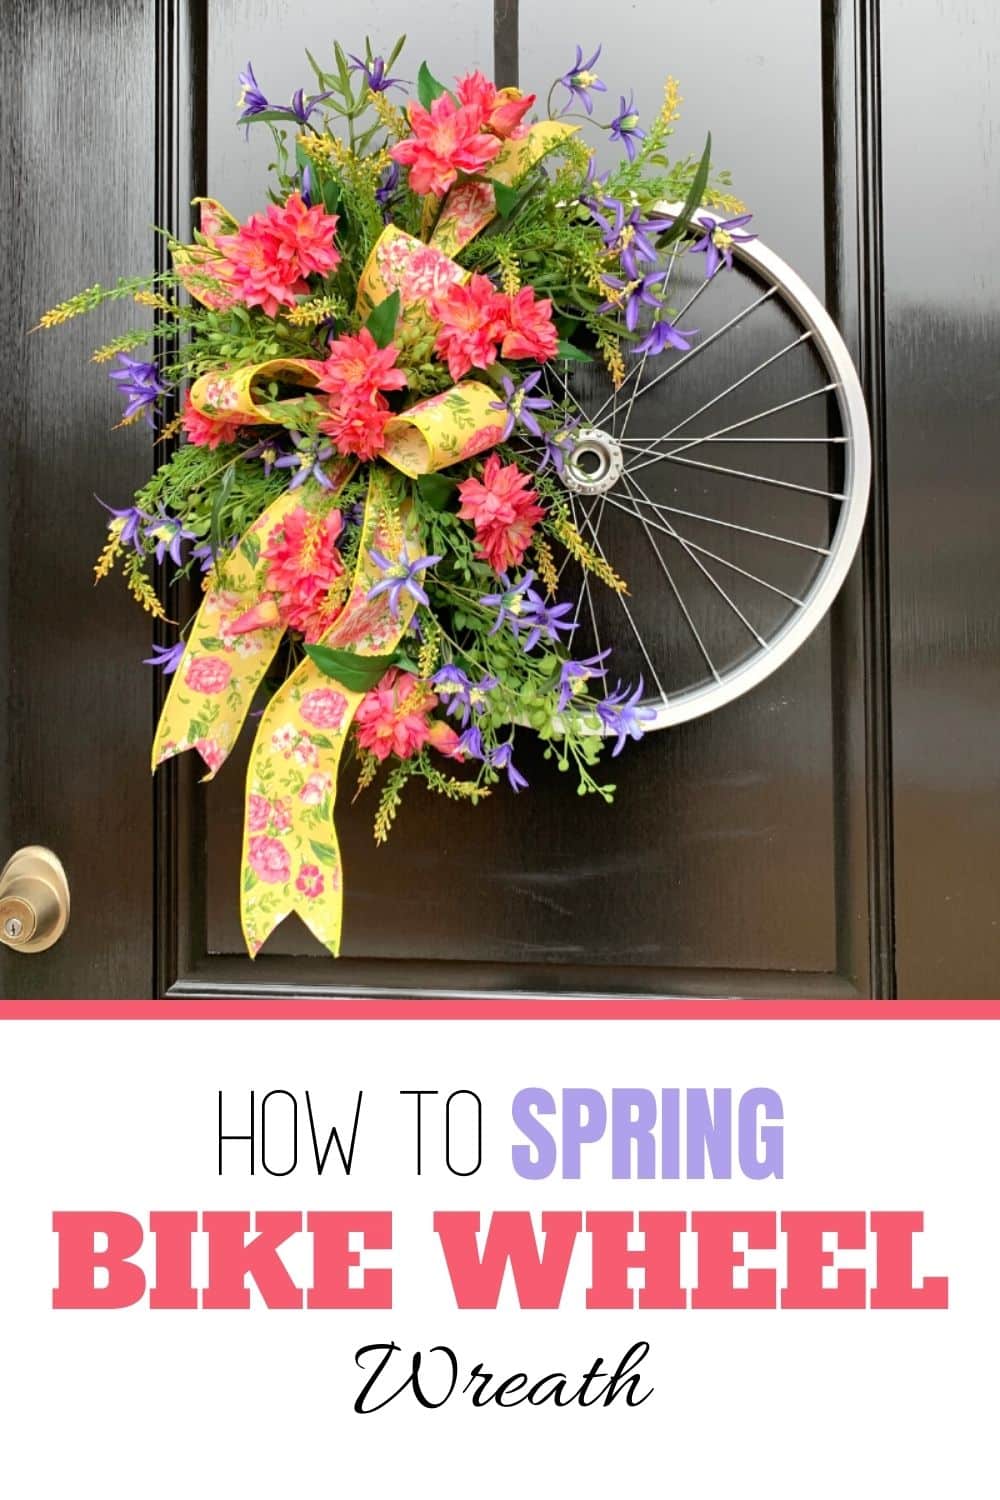
DIY Spring Bike Wheel Wreath (Video Tutorial)
Today in the wreath shop, we are making something a little different! These bike wheel wreaths are super trendy this year. Lots of you have been asking me for a tutorial, so that’s what we are going to do! Watch the video tutorial to see me make this beautiful spring wreath in real time, or read the step by step tutorial below.
By the way, did you know they actually make bike wheels specifically for wreath making?
This post may contain affiliate links for your convenience. Click here to read my full disclosure policy.
Now, I’m not saying you can’t use the wheel from an actual bike for this project, just be careful. If it’s an old bike wheel there may be rust or other deformities that could be dangerous to work with. If you’re not sure, better safe than sorry!
But enough of that. I’ve got a brand new shiny bike wheel here, so lets get making!
Supplies for this Project
- Bike Wheel for wreath making
- Styrofoam
- Hot Glue Pan
- Hot Glue
- Craft Mat
- Moss
- Floral Pins
- Zip Tie
- 2.5” Wired Ribbon
- Various spring greenery sprays
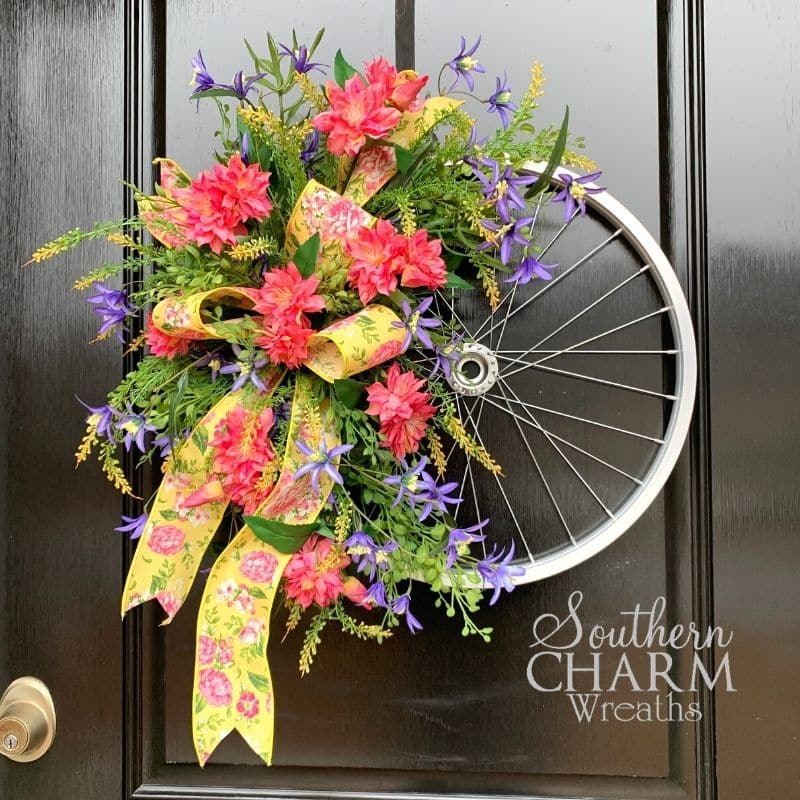
- Pink Dahlia spray
- Purple Columbine spray
- Yellow Tassel Seed spray
Spring Bike Wheel Wreath – Step by Step Tutorial
Step One: Prepare the Bike Wheel Base
Push a small piece of styrofoam into the spokes of the wheel so that it creates indents in the foam. That way you can tell where to place it once you’ve added the hot glue.
Remove the foam from the wheel and apply a layer of hot glue over the indents you created in the foam. Then reattach to the bike wheel.
It’s best to do this by flipping the foam over so the glue is on top, and then pressing the wheel down on top of it. That way you can see where it’s supposed to lay and you don’t get hot glue all over your workspace.
While the glue is still hot, add a layer of moss over the foam and secure it with floral pins.
Flip the wheel over, zip tie it to the frame for one more measure of security, and then cover the front with moss.
Step Two: Make and Attach Your Bow
Create the bow for your wreath using your spring ribbon. I made mine with two long tails and three 12” loops. Don’t forget to dovetail the ends to give your bow a finished look!
If you need a beginner lesson (or even just a refresher) on bow making, check out my free video tutorials here!
Then, using hot glue and a floral pin, attach the bow to the front middle of the foam.
Then we can start adding the greenery and flowers!
Step Three: Add Greenery
Trim your greenery sprays into individual stems and insert in the foam behind the bow to give it a nice background. The bow is the focal piece of this arrangement, so we are going to use the direction of the greenery to draw the eye to the bow. Add a few stems in between the bow loops as well to give it a more cohesive look.
I like to use multiple kinds of greenery together to give the arrangement a nice textural variety.
Step Four: Add Silk Flowers
Next we can move on to the bright pretty spring flowers. I used pink dahlias, purple columbines, and yellow tassel seed for mine, but you can use whatever flowers you want. That’s the beauty of wreathmaking, y’all. It’s all about making what YOU like.
Now, lots of my students ask me how I choose my colors when I’m making wreaths, so I just want to walk you through my process for this one so you can see a real example.
It all started with the ribbon. I found this pink and yellow floral ribbon that was the inspiration for this wreath. I knew I wanted it to be the focal point, so I based my flower choices around that.
The pink and yellow flowers were an easy choice to go with it, but I wanted to add a little pop of contrasting color as well so that it didn’t all blend together. And for that, I decided on the purple columbines because purple and yellow are complementary colors so I knew they would go well together, and I thought they would bring a nice airiness to the arrangement.
Add the individual flower stems around the bow the same as how you added the greenery. Make sure to keep your flowers nice and spread out so you don’t crowd your bow.
Step Five: Fluff up the Arrangement
Lastly, just fluff up your arrangement so that everything is laying together nicely. Sometimes your bow will get squished down a little while you’re working. Pull those loops up so they’re front and center and don’t get lost in the florals. If it needs a little more ribbon, like mine did, just add a little streamer or two of the ribbon to finish out your arrangement.
And there you have it.
Watch the video below to see me make this wreath in a Youtube live tutorial and answer wreath making questions as I go!
How to Make A Spring Bike Wheel Wreath
If you enjoyed this and want to learn to wreath the professional way,
try our Wreath Making 101 Workshop!

Happy Wreathing,
Julie
If you enjoyed this post, you might also like:
How to Make a Spring Hoop Wreath
DIY Lambs Ear Wreath for Spring
How to Make an Elegant Spring Cross Wreath
Liked this Bike Wheel Wreath? Pin it for later!
Where do we buy these supplies?
Thank you so mach for yor DIY!!!!
Where do you get the bike rims? Do they sell
at the craft store?? I can’t find any. Thanks!
Thank You! Your instructions and video were wonderful.
Hi there! I’m excited to be a new member but having trouble find where to by the kits. I’m afraid if I have to go searching with a list I may never get one finished!! Thanks for your help!
We only provide option to purchase kits once a month and it’s called a feature wreath in the portal.
Other training videos sometimes have options from other vendors who have bundled some together for easy purchase for our members.
But the small businesses I use have limited items so I teach you how to also source your materials.
You can watch garage sales for bikes or a bike repair shop has wheels or second hand stores have bikes you can harvest the wheels to use.
I don’t know how to remove the bolt from the center of the wheel. Without doing that, the wheel won’t hang flat.
I don’t use a real wheel, just decorative wheel