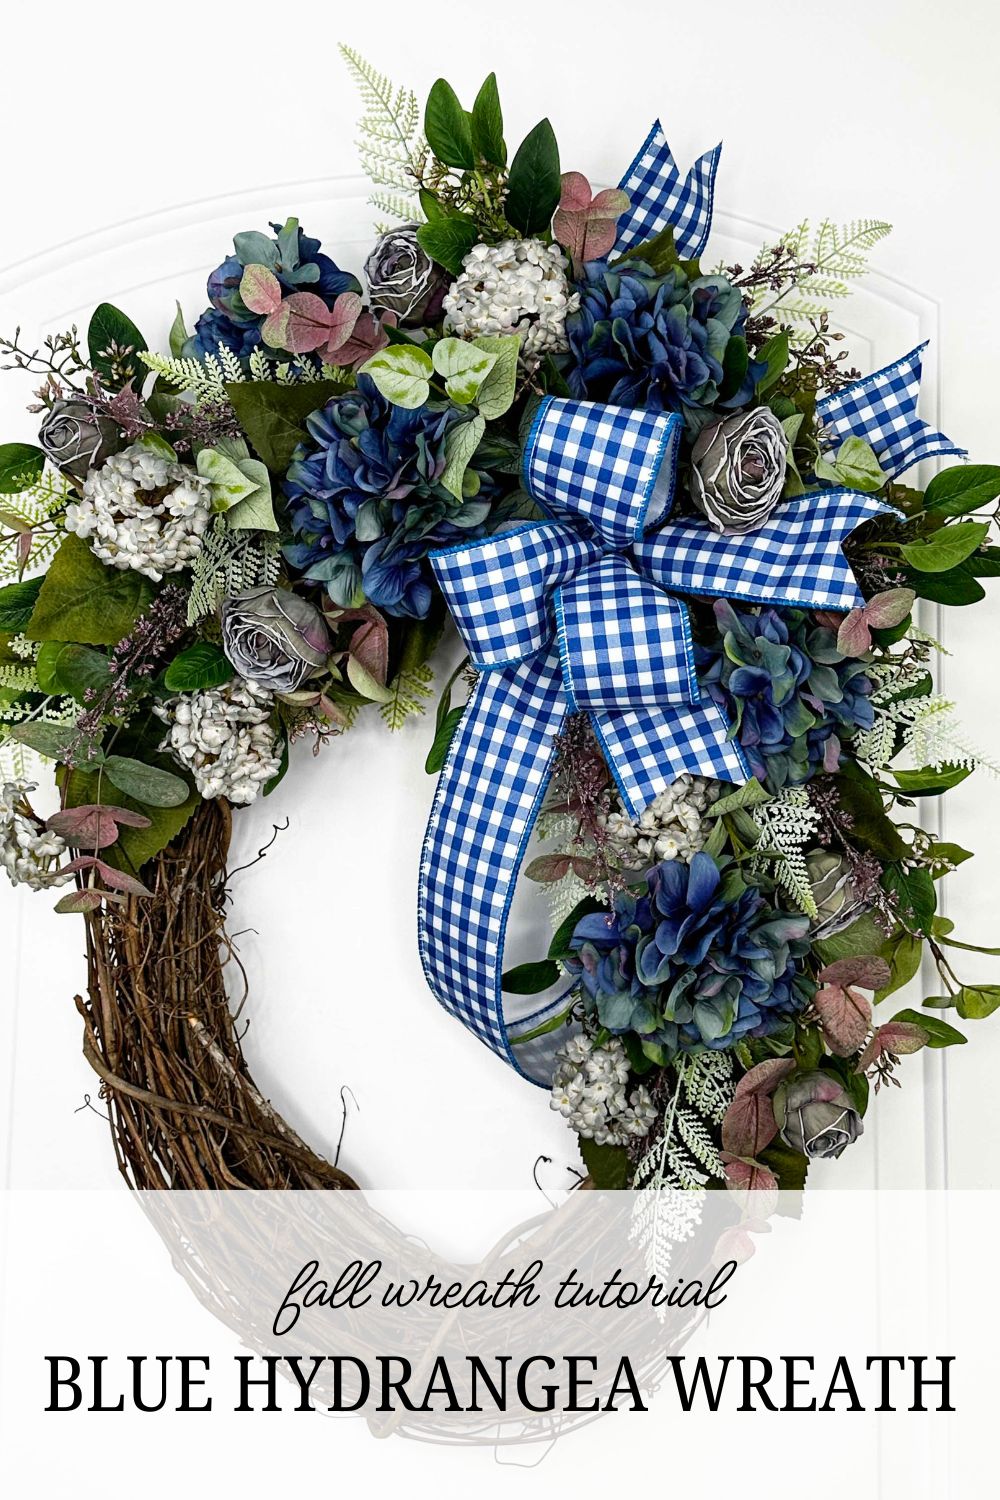
Late Summer Blue Hydrangea Wreath
This blue hydrangea wreath is dark and moody, with gorgeous depth that I know y’all will love! Deep blues and muted purples will stand out from traditional summer designs.
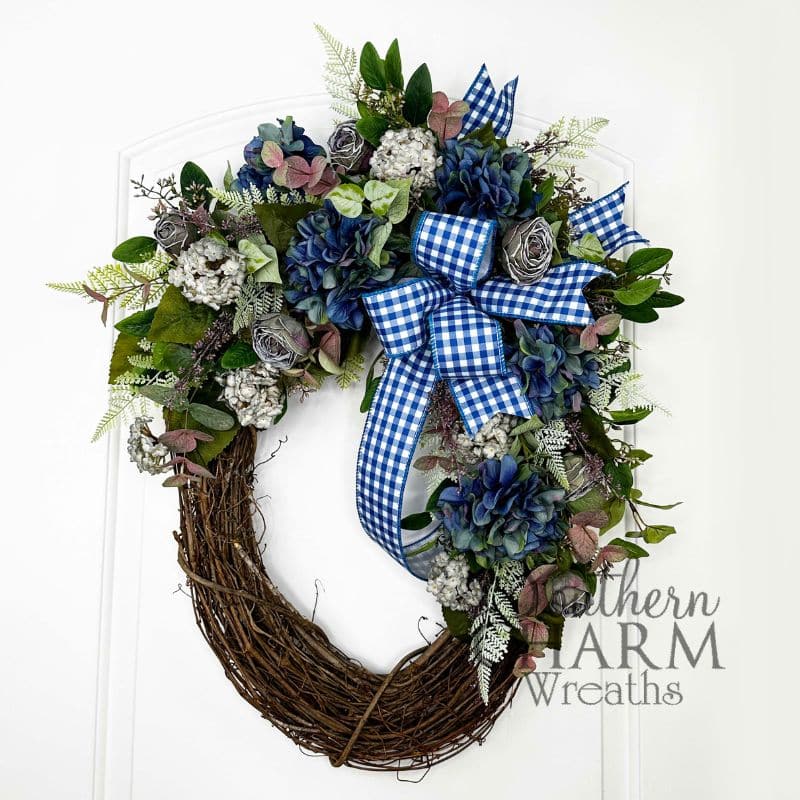
Summer blue hydrangea wreath
As summer comes to an end, this deep and faded design becomes an ode to the changing season.
I just LOVE how this wreath turned out, complete with dark blue hydrangeas, muted roses, and mauve snowballs.
Follow along and make your own!
This post may contain affiliate links for your convenience. Click here to read my full disclosure policy.

Supplies for this project
You’ll need:
- 24” oval grapevine
- Faux florals
- Dark blue hydrangeas
- Dried muted roses
- Muted mauve snowball florals
- Tiny, airy florals
- Assorted greenery
- Eucalyptus
- Wide, dusty leaf
- Leaves + berries
- Blue plaid ribbon
- Florist wire
- Zip ties
- Green styrofoam
- Wooden florist picks
How to make a late summer blue hydrangea wreath
1. Integrate a bow
First up, cut a little square of styrofoam; this is going to lift your bow!
Attach it to the top corner of your wreath, pulling a zip tie through the grapevine and securing it around the styrofoam. Be sure to trim the end.
Next, take your 2 ½” blue plaid ribbon and measure a long 18” streamer, pinch, and pleat. Then, measure 12” for a 6” loop, pinch, pleat, and twist.
Repeat for a total of three loops, then trim a long streamer.
Secure the center with florist wire and dovetail the streamer ends.
Then, add a florist pick to your bow, and add it through the styrofoam square, securing it with hot glue.
2. Build the base with greenery
Next, we’re going to start filling in around your bow to build the foundation.
Begin with a wide-leaf, dusty greenery, securing each piece with hot glue.
3. Add focal florals
Now for the focal flowers!
Trim off your hydrangea leaves (save them for later) and begin adding the largest blooms near the top of your bow, using wooden floral picks and hot glue.
Disperse about five focal hydrangeas throughout your design, focusing around your bow.
Then, evenly added muted roses between the established hydrangeas.
4. Build out with greenery
Continue filling in gaps with eucalyptus, using this greenery to build the shape of your design.
Then, include fern, filling in holes between the other established greenery. This lighter shade will help pull the eye in.
Finally, include a more textured greenery with tiny berries, filling in around the design.
5. Add extra texture to your blue hydrangea wreath
Include some muted “snowball” shaped florals in this design for even more texture, evenly distributing throughout.
Also, add some small clippings of textured stems with whimsical, teeny tiny florals.
Add wooden florist picks to the end of the hydrangea leaves you removed earlier and use these leaves to fill in any remaining holes; we never let an element go to waste.
Finally, step back and admire your handy work. You can always add another ribbon tail or use any remaining clippings from your discard pile – whatever your creative spirit tells you!
Watch the video: How to make a late summer blue hydrangea wreath
If you enjoyed this post, you might also like:
Like this post? Pin it for later!
#replay GORGEOUS.!