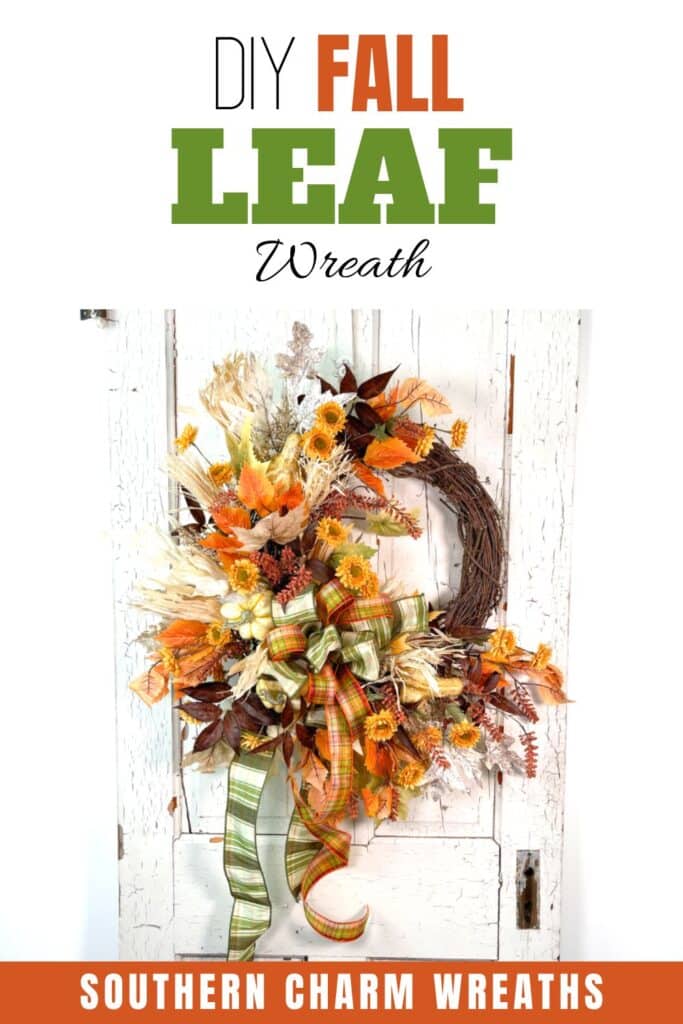
Cream Fall Leaf Wreath On Grapevine
This rustic fall leaf wreath features muted cream and orange colors. Celebrate the shades of the season with this grapevine wreath.

How to make a cream fall leaf wreath
In this tutorial, we are embracing the subtle fall colors that surround us every day when we look outside at the leaves and flowers in our backyard. I just love the muted gold and cream colors and the darker green stripes on the ribbon.
Since this grapevine wreath doesn’t have a sign, you can design and complete it all at once, in no time at all. This is a beautiful wreath to display on your front door or sell in your Etsy shop.
Beginners and pros, join me as I show you how to make your own neutral fall leaf wreath on a grapevine base.
This post may contain affiliate links for your convenience. Click here to read my full disclosure policy.

Supplies for this project:
- Grapevine Wreath
- Cream Fall Sprays
- Gold Floral Picks
- 22 Gauge Florist Wire
- 2 1/2-inch Wired Ribbons
- 1 1/2-inch Wired Ribbon
- 1-inch Ribbon
- U-Shaped Wire Floral Pins
- Raffia
- Fall Garland
- Neutral Greenery
- Wire Cutters
- Glue Pan
How to make a DIY fall leaf wreath: Step-by-step tutorial
1. Insert fall sprays
Save yourself time and money and purchase a fall spray. The spray I bought included cream leaves, a light-colored mini pumpkin, and some raffia – all bound together.
Use some wire cutters to trim the long end of the spray. Once it is short enough, dip the end into your hot glue and insert it in the bottom left corner of the wreath so that it wraps up and around towards the top of the wreath.
Use an 8-inch zip tie to secure the top of the floral spray to your grapevine base.
Repeat the same process with a second spray directly below the first one. This creates balance on your wreath.
2. Make and add your bow
Next, you can make the bow or use a pre-made bow.
If you are new to wreath bow-making, here is a super-quick tutorial:
- Start with the 2 1/2-inch wired ribbon. Pinch and pleat the ribbon between two fingers on your non-dominate hand. Then, measure 12 inches, loop it away from you, and pinch it with your same two fingers. This is the start of your bow’s first loop. Since you folded it in half, this is now a 6-inch loop.
- Repeat this process two more times so that you have three loops. Trim it and keep this bow in your hand.
- Do the same thing with a 1 1/2-inch wired ribbon with a complimentary pattern or color. Make three more loops that are 6-inches each.
- Shape your bow as you go. Place the ribbon tails behind your loops so the loops are on the top.
- Tie all the loops and layers of your bow together with a 22-gauge florist wire. If the florist wire feels slippery and you need something with a thicker texture to grab onto, you can use florist tape or pipe cleaners. I found that florist wire feeds better through a grapevine wreath.
Sometimes I add a third ribbon of a different print to my bows. In the video, I finished the bow by tying more loops from the first ribbon – the green striped one.
Attach your bow to the wreath directly in between the two floral sprays.
3. Add orange fall leaf picks
Now you are ready to add your orange fall greenery picks. Before you insert your leaves into the wreath, separate and fluff them out. Adjust them so that they won’t be flat on your wreath.
As you add the greenery, remember to define the line of vision. In other words, establish how people’s eyes will move across the wreath. I always start at the places closest to the bow and then repeat at the bottom of the bow. Then, I add pieces in layers, building away from the bow, around the wreath.
I also try to keep the wreath balanced. If I add something to the top, I try to balance the design below the bow. I often call the bow the binding point – it is what holds the entire design together.
4. Fill in the holes with flowers
Take a step back and look at your wreath. Do you see any holes or places where the florals are a bit thin? Use some small gold or yellow fall-colored flowers to fill in these holes.
Where you place them is entirely up to you. As you add the flowers, add flowers that bring out the colors from the bows and the other leaves.
Watch the video: How to make a cream fall leaf wreath
If you enjoyed this post, you might also like:
Like this post? Pin it for later!


Love the wreath. Thanks for demonstrating how to use and secure the sprays.
Absolutely love this ❤️
Love the tenique for fall wreath