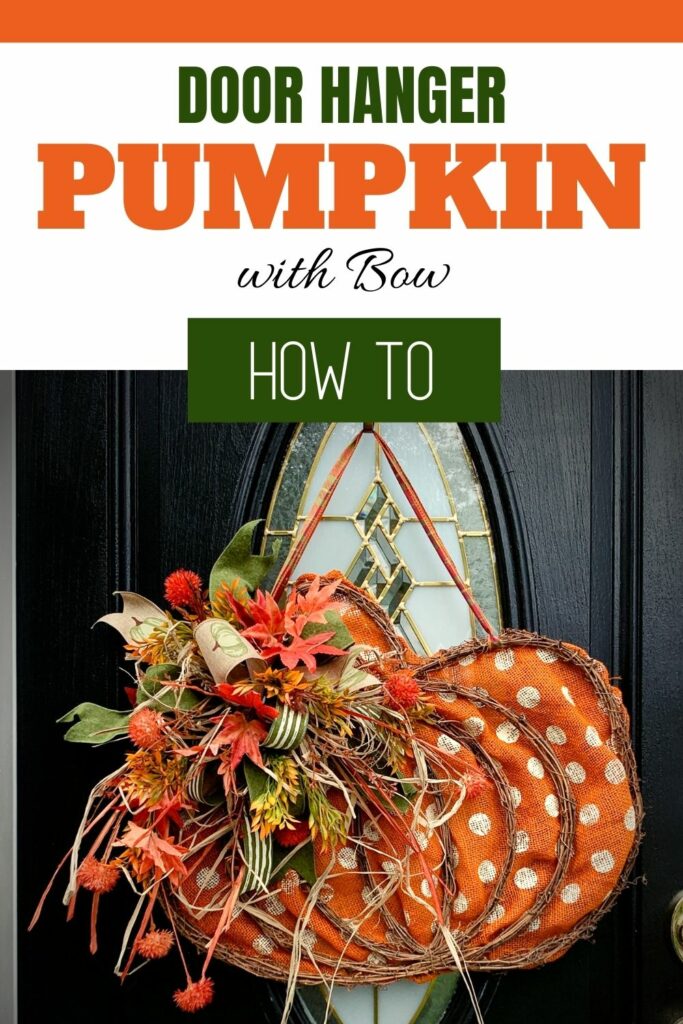
How To Make A Fall Pumpkin Door Hanger With A Bow (Video)
Learn how easy it is to make a fall pumpkin door hanger with a large DIY bow. This is easier than it looks!
This is one of my favorite ways to use a homemade bow. Just like all my crafts, this project is so easy to personalize.
Fall Pumpkin Door Hanger With A Bow
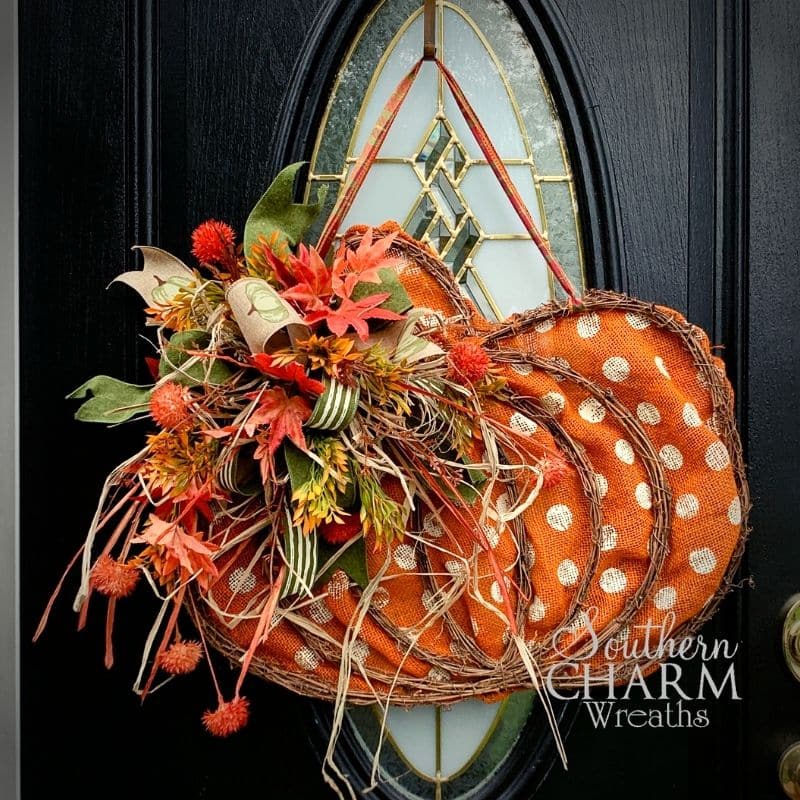
When I was creating my door hanger, I bought one that is already pre-made. This grapevine pumpkin already had the orange fabric attached to the back.
Now all I had to do was attach the bow and add some finishing touches.
That’s what I am going to show you how to do. There’s an art to picking out the best bow and best accents for your door hanger.
Watch the Video
I put together a video to show you all exactly how to make this pumpkin door hanger, step by step. Give it a watch and let me know what other questions you may have in the comments!
Don’t forget to check out my tips and tricks below, too.
Tips and Tricks for This Wreath
How To Choose Accent Colors
When you are trying to choose a bow and accents for your door hanger, look closely at the colors of your base item. For my pumpkin door hanger, I brought out the orange, brown, and even the greens from inside the polka dots.
Pay Attention To The Scale Of The Bow
After you pick out the colors of the bow you want, look at the scale of it. How big is the bow in relation to the door hanger?
As you can see in the video, at first I was going to use a really large orange bow, but it took up nearly the entire side of the pumpkin. So, I chose the smaller raffia bow instead.
It’s really easy to go overboard really fast. Try to keep your accents and decorations small enough that you can still tell this is a pumpkin.
Place the Bow To The Side
If you still want the pumpkin stem to show at the top, attach the bow lower and to the side. Before you secure it to the pumpkin, hold it loosely where you want it and step back to make sure you are happy with the placement.
Trim Your Bow
After you have your bow where you want it, begin to tweak the placement of the raffia. If you notice that the random pieces of raffia are too long, trim them up. This will help your door hanger look neater and more put-together.
Mix Up Textures
Another thing I love about this raffia bow is that it has so many different textures. When you create your door hanger, use a variety of textures – it will add interest and variety.
My bow has a flannel texture mixed in with the nature-like raffia on top of the grapevine pumpkin. It also has a linen print on it so it has so many different textures. It’s so much fun!
Fill In Around The Bow With Leaves
Finally, add some leaves or greenery to your bow. Remember to pull the colors from the ribbons and door hanger. Pick out leaves or accents that will match the tones and shades you are already using.
I hot-glued the leaves into the loops of the bow. You can add as many or as little as you feel like your pumpkin door hanger needs.
Show Off Your Pumpkin Door Hanger
This is such a simple way to liven up your front door! You’ll save time when you pre-make your bows and buy a door hanger from your favorite craft store.
More Fall Decor Projects to Try
- Wreath Making Hacks for Fall
- How to Make a Fall Multi Ribbon Bow with Raffia
- Fall Deco Mesh Wreath
- DIY Simple Fall Farmhouse Table Arrangement
Where did you get the pumpkin wreath on which you created the completed wreath?
I purchased it wholesale.
GArland. What do you use as your base to attach the mesh?
This door hanger doesn’t include mesh.