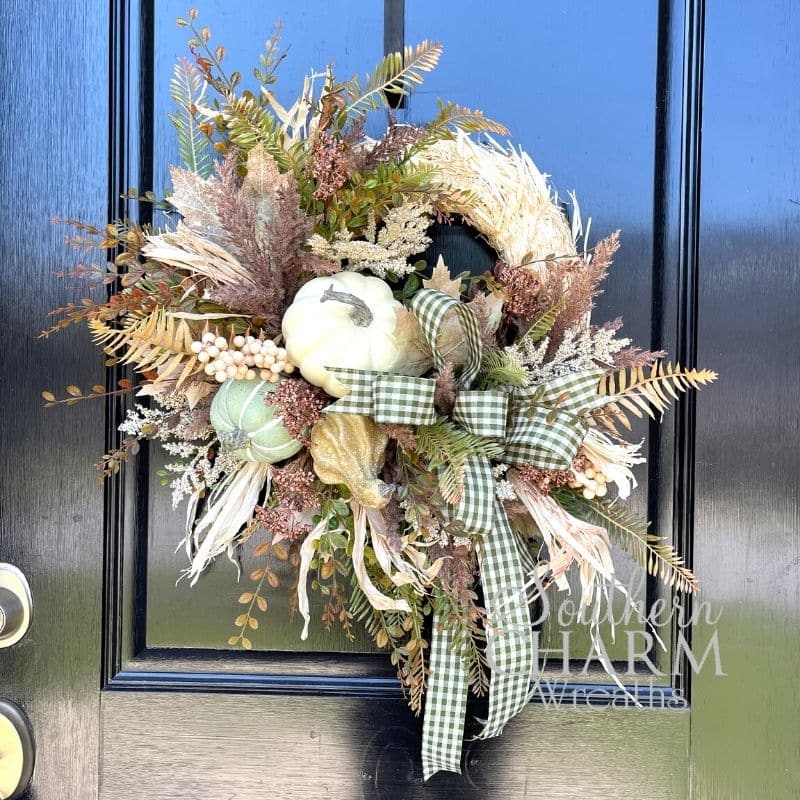
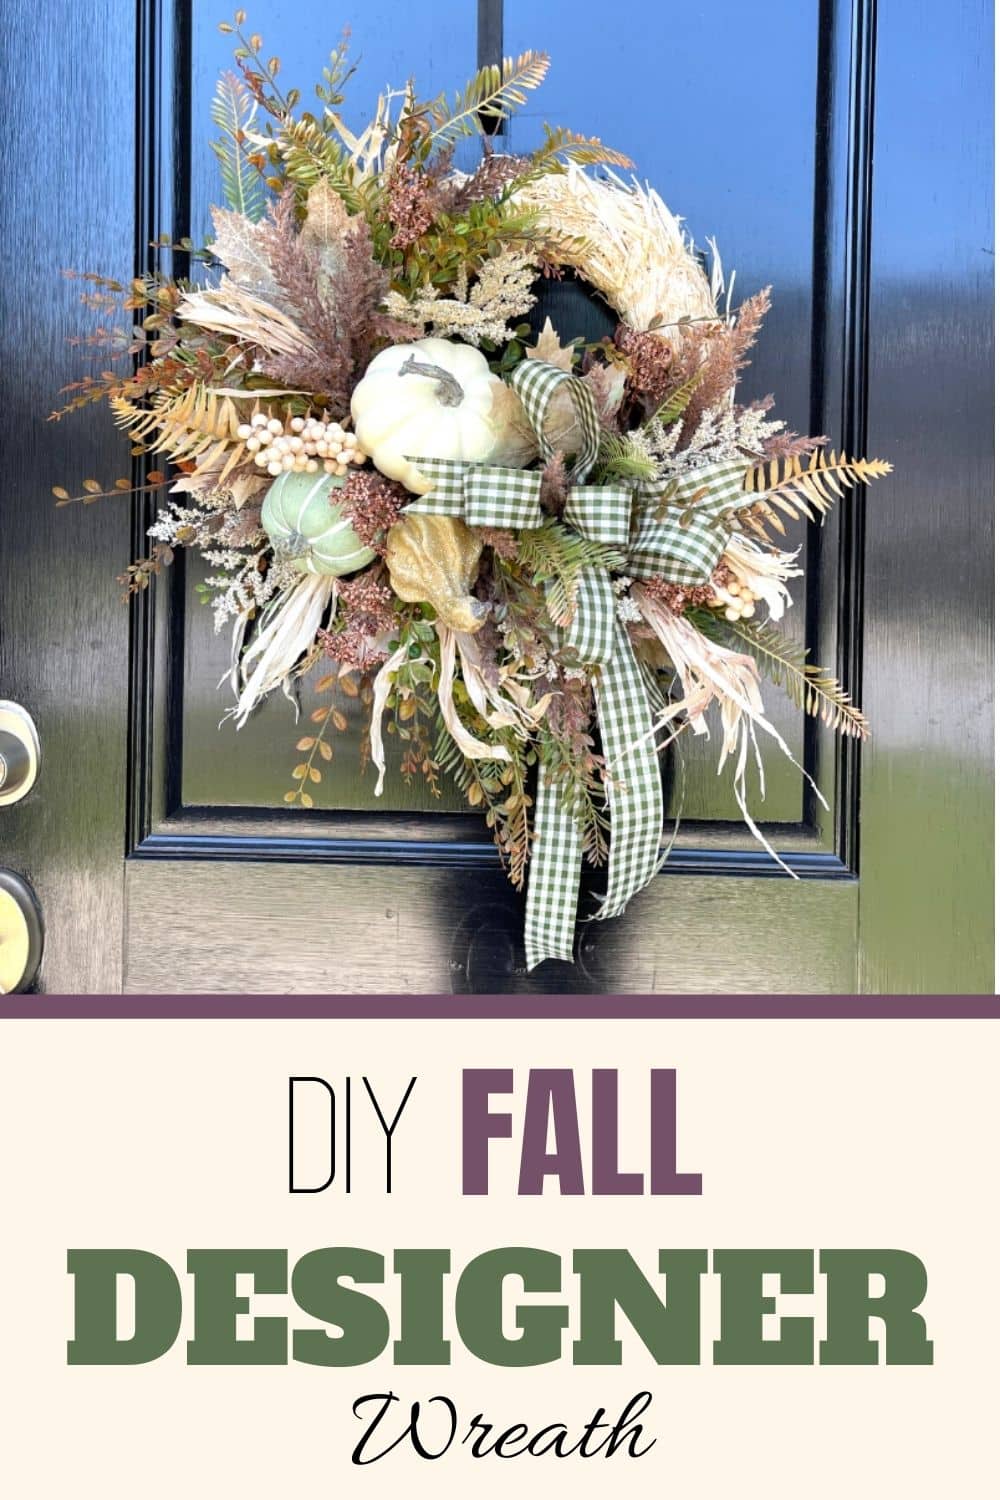
DIY Designer Fall Wreath on Straw Base
This is a show-stopping DIY designer fall wreath on a straw base. If you haven’t used a straw base before, learn how with this tutorial.
How To Make A Designer Fall Wreath On A Straw Base
What is your favorite thing about making fall wreaths? Is it the spooky Halloween vibe or is it more the harvest side of things? I love both!
Today I am focusing on the grass and muted tones of gourds and straw. Even the pops of color from the greenery and ribbons are subtle shades of green.
The beauty in this wreath is found in simplicity. Instead of using a sign, I layered a bunch of fall-themed items on the wreath.
For this wreath, a lot of my supplies came from Greenery Market. I pulled apart some fall floral bunches and created my own design. In fact, that is one of my favorite money-saving tips. Buy your flowers together in a bush and then take them apart to make your wreath.
Keep reading and learn how to make this stunning designer fall wreath.
This post may contain affiliate links for your convenience. Click here to read my full disclosure policy.

Supplies for this project:
- 22 gauge Florist Wire
- 12 inch straw wreath
- 2 1/2-inch wired ribbons
- Fall-Colored Greenery
- Pumpkin Bunch With Leaves
- Wire Cutters
- Glue Pan
- Staple Gun
How To Make A Designer Fall Wreath: Step-By-Step Tutorial
1. Attach Green Leaves
I used green fern stems as the base of the straw wreath design. Just dip the end of the stems into some melted hot glue and stick it into the straw wreath.
Pay close attention to the design. This is going to create the shape of your wreath’s design. It’s the base of it. Fan the florals out to the sides and top.
2. Insert the Pumpkins
The pumpkins are the next layer in this multi-faceted designer wreath. If you need to, add more floral picks to the pumpkin so they are able to stick into your straw wreath better.
Glue the larger pumpkin first. Give it some height and stick it out of the wreath. Then, add different pumpkins around it, following the shape that you established with the fern leaves.
At this point, you can add as many or as few pumpkins as you want. I placed 3 pumpkins in a bunch together.
3. Make A Small Bow
I used a 2 1/2-inch wired ribbon with a green plaid print to bring out the green in the fern leaves. Measure out 12 inches of ribbon and fold it over, which makes a 6-inch loop. Make as many loops as you want. I made 6 loops and then trimmed the ribbon and added it to the wreath.
Ribbons add lots of beautiful texture and a touch of softness to the straw wreath.
Tie the bow together with 22-gauge floral wire and twist that wire around the straw wreath base.
4. Insert More Leaves
Keep adding more layers and different textures with floral picks. I used some stunning gold leaves and gold evergreen picks. Start from the group of pumpkins and layer outward.
The pumpkins are the transition point. That means it is where things come out from it. All the different types of greenery are layered from the pumpkins out towards the side of the wreath.
Keep building your wreath and adding more layers. Pay attention to the colors in the pumpkins and ribbon and choose greenery picks that compliment and bring these colors out without clashing with them. For example, I found some corn husk picks that are the same color as my straw base but add a different texture to it.
It is amazing how many different colors of brown and green there are. Once you find the perfect shades that go together designing the wreath is a breeze.
Watch The Video: How To Make a Designer Fall Wreath
If you enjoyed this post, you might also like:
- How To Make A Fall Pumpkin Door Hanger
- How To Make A Fall Deco Mesh Wreath
- DIY 6-Minute Fall Wreath For Beginners
Liked Learning How To Make A Designer Fall Wreath? Pin it for later!
Margaret From Carrollton, TX going on threes years with you. Love you.
As usual. Awesome!
I love the colors and the beautiful wreath. Your talent is amazing!