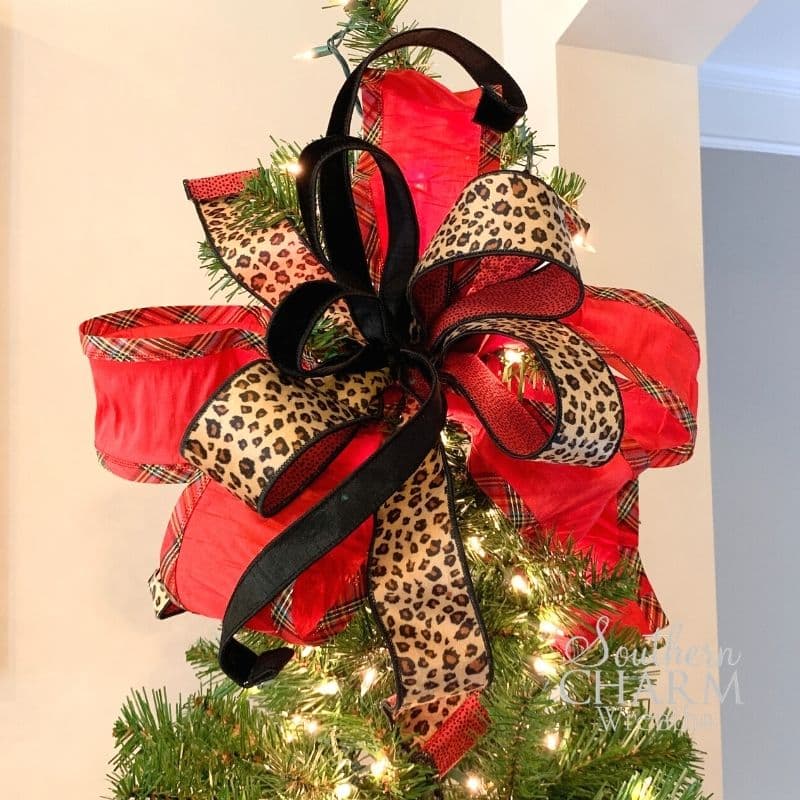
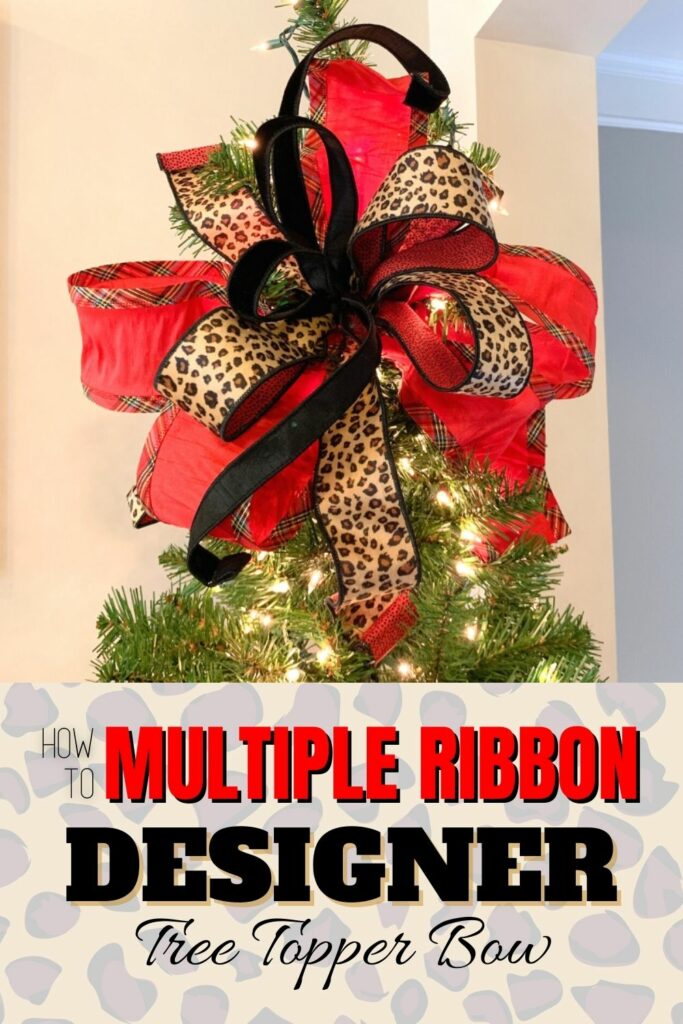
How to Make a Designer Tree Topper Bow with Multiple Ribbons
Alright guys, I’m going to come right out and confess it. I don’t really like tree topper bows. They’re just not my style. But a lot of my viewers have been asking for a tutorial, so I’ve got a fun little challenge today. How would I make a tree topper bow with multiple ribbons if I was making one for myself?

This post may contain affiliate links for your convenience. Click here to read my full disclosure policy.
Now, I want to start by saying that when I make bows for my own home, I don’t usually measure. I just do what I think looks natural. I’ll give you some examples in the video, but for the written tutorial below, I’ve given approximate measurements.
Let’s get started!
Supplies for Designer Tree Topper Bow with Multiple Ribbons
4” Ribbon
2.5” ribbon
Additional ribbons as desired
Zip tie
Scissors
Craft Mat
Rustic Wire
Most of the ribbons I used in this tutorial came from Carolina Pottery. I also recommend looking at Trendy Tree.
Steps for Making Your Tree Topper Bow
Step 1: Forming the base of the bow
Start by unrolling some of the 4” ribbon and measuring a tail of about 24”. From there, measure about 21-22” for the first loop. Pinch and pleat it between your thumb and index finger.
Now, y’all know that whenever I’m teaching bow making, I always emphasize that you’ll start by pinching the ribbon just between two fingers. Then it gradually shifts back toward your palm as you add more loops.
But since we are using such a wide ribbon, this one is going to be a little different. You can see in the video that even after the first loop, I am not keeping it pinched tightly between my finger tips. There’s just too much material there.
Now twist the ribbon and continue adding loops of the same size.
The number of loops you need to make really just depends on personal preference. I don’t like mine to look too full and take away from the beautiful tree, so I am only doing four loops of the first ribbon.
Step 2: Adding the second layer of ribbon
Next, unroll a bit of your 2.5” ribbon. Measure and 18” tail and add in three 16” loops, pinching and twisting your working ribbon between each loop. These should all be above your 4” ribbon. Finish off with another 18” tail.
If you were going to add an additional accent ribbon like I do in the second bow of the tutorial video, this would be the time to do it. Check out the video tutorial for additional instructions.
For now, we are going to make the simple version of the tree topper.
Step 3: Placing Streamers and Making Adjustments
I like my tree topper bows to look nice and airy, but I don’t think it’s quite done yet. So instead of adding more loops, I’m just going to go ahead and add in a couple streamers to the back.
Cut a streamer of each ribbon and pinch it in the middle then add it to the bottom of the bow. I did not measure these streamers, but I would suggest about 24”
However long you want your tails, double that.
Now, before you secure it, make sure all the tails are in the back and the bows laying nicely together in the front.
Step 4: Securing the Bow
Turn the bow over and slide a zip tie underneath your index finger, Wrap it around the bow and tighten until all the loops and tails are secure.
Step 5: Trimming the Ends
Now, just finish off your tree topper by trimming the ends of each tail. I like to fold them in half and dovetail them for a tree topper. I think it’s a more festive finish than just cutting on an angle.
And that’s all there is to it!
Watch the video tutorial below to see me make 3 different versions of this bow.
Tree Topper Bow with Multiple Ribbons – Video Tutorial

try our Wreath Making 101 Workshop!
Happy Wreathing,
Julie
If you enjoyed this post, you might also like:
How to Make a Christmas Wreath Bow
Christmas Lantern Topper Tutorial
Liked this Tree Topper Bow Tutorial? Pin it for later!


Lovely tutorial. Looks easy. Will try tomorrow.
Thanks for being so lovely to watch.
Love the combination of different size ribbon and color. Just gorgeous
So beautiful!
Julie, Thank you so much for sharing. I would have never started making wreaths until I clicked on one of your video. Now, I am hooked. I am hoping he will get me a membership for Christmas. I gotta keep hinting. I love ya Girl!
Today is the day that I am going to tackle my final tree topper bow. I have been practicing everyday and with Mrs. Julie’s help they are getting better. I watch several different tutorials but always come back to Southern Charm Wreaths for inspiration. Thank you for all of your help.
Let me add this for those who are considering joining a paid group for training,….WORTH EVERY DIME SPENT!! Within 10 minutes of joining I found several tips that help me better myself in wreath making, especially with bows.
Do you teach classes in making tree topper bows?
We do not have any current classes available for the Tree Topper bow at this time. You may find this other blog post useful though:
https://southerncharmwreaths.com/how-to-make-a-tree-topper-bow/