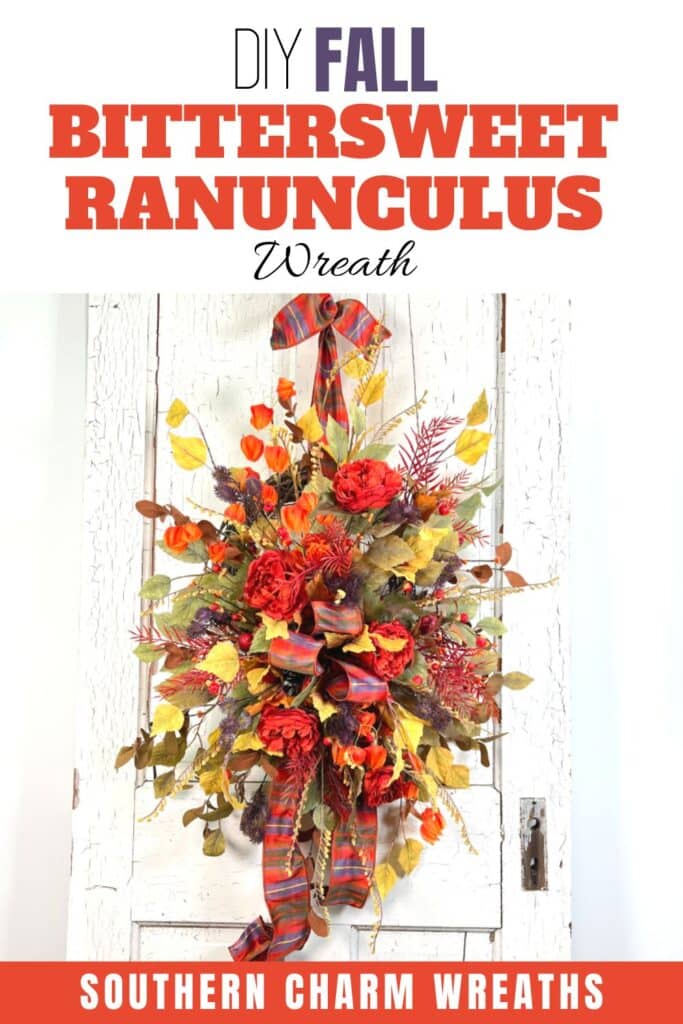
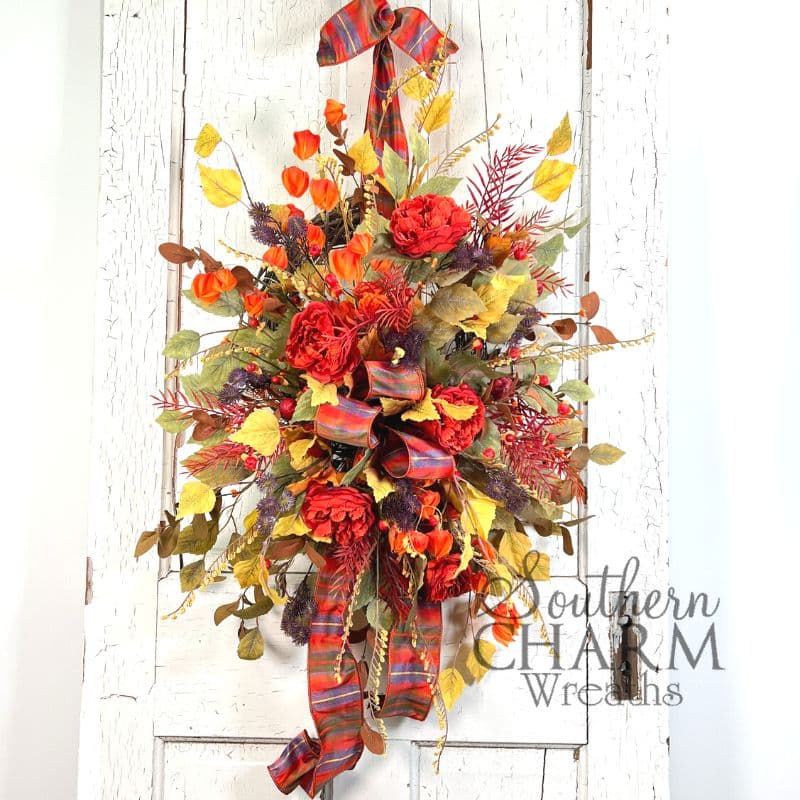
DIY Fall Ranunculus Bittersweet Wreath
Warm orange, red, and yellow colors burst from this ranunculus bittersweet wreath. It’s the perfect fall wreath to sell or display.
How to make a fall bittersweet wreath
This fall wreath is quite different from others I’ve made before. It’s so bold and showy that you can’t even tell it’s on a grapevine base. Plus, I only added one bow and didn’t use a sign.
The bold colors and bright foliage on this wreath are perfect for anyone that connects best with nature or wants a wreath that they can display from summer until winter.
It’s not designed for any specific holiday, so it’s worth the investment. (This reason also makes it a wonderful wreath to sell on Etsy!).
Beginners and pros, join me as I show you how to make a stunning and bold fall wreath on a grapevine.
This post may contain affiliate links for your convenience. Click here to read my full disclosure policy.

Supplies for this project:
- 14-inch Grapevine Wreath
- Ranunculus Picks
- Bittersweet
- 22-gauge Florist Wire
- 2 1/2-inch Wired Ribbon
- Wire Cutters
- Glue Pan
How to make a DIY fall ranunculus bittersweet wreath: Step-by-step tutorial
1. Make and add the bow
Since my grapevine wreath base has foam on it, I made and attached the ribbon first. Use a 2 1/2-inch wired ribbon that pulls from the colors of the greenery and florals you are going to use.
In the video below, I show you how I made a really simple and quick hand-tied bow. I gave it a longer tail than other bows I’ve made so that the tail hangs down past the florals I will add later. This tail is about 24 inches long.
Here’s what I did:
- Leave the 24-inch tail hanging down and pinch and pleat the ribbon between two fingers on your non-dominate hand.
- Then, measure 12 inches, loop it away, and pinch it with your same two fingers. This is the start of your bow’s first loop. Since you folded it in half, this is now a 6-inch loop.
- Repeat this process two more times so that you have three loops. Trim it and keep this bow in your hand.
- At this point, you could add another ribbon on top, but I made my bow with just this one ribbon.
- Tie the loops and layers of your bow together with a 22-gauge florist wire. If the florist wire feels slippery and you need something with a thicker texture to grab onto, you can use florist tape or pipe cleaners. I found that florist wire feeds better through a grapevine wreath.
- Then, stick the florist wire from your bow through the foam and around the base of the wreath. Twist the wire snugly so it’s nice and tight.
- Finish by rolling up the tails to give them a little flourish.
2. Shape the bittersweet
The bittersweet floral pick is the start of your wreath. There are so many wonderful elements to it – the leaves, the mini pumpkins, the berries – and they all scream fall.
Pull the leaves apart and give the bittersweet bouquet some volume before you add it to your wreath.
3. Add bittersweet to the wreath
Now you are ready to add the bittersweet picks. Dip the ends into some melted glue and insert the ends into the grapevine wreath, starting with the section closest to the bow.
As you add them, remember to define the line of vision. The line of vision describes how someone’s eye will move as they look at your wreath.
I always start on one side, closest to the bow, and then repeat on the other side of the bow. Then, I add pieces in layers, building away from the bow around the wreath.
I also try to keep the wreath balanced. If I add something to the left side, I balance the design on the right-hand side too.
That is why I call the bow the binding point. It is what holds the entire design together.
4. Add height and depth
As you add the bittersweet, go around the bow and pull each leaf and berry apart from each other, so they stand tall! These bold colors will give the wreath more height and depth, which grabs people’s attention.
5. Add ranunculus flowers
My paprika-colored ranunculus flowers came in a pre-made bunch. I just took some wire cutters and cut them into individual flowers so I could add them to the wreath one by one. I also trimmed the leaves.
Since they are such a bright and big flower, add them to the wreath in places you want to bring someone’s eyes. I started closest to the bow and then added them around the wreath’s top and sides.
6. Fill in with foliage
You can stop your design whenever it feels complete to you. I had some leftover foliage and kept adding flowers and leaves, filling in spots that felt a bit empty.
Watch the video: How to make a fall bittersweet wreath
If you enjoyed this post, you might also like:
Like this post? Pin it for later!


Julie, you certainly have an eye for design. It’s absolutely beautiful.
Love Ranunculus! I can’t grow them here in TX so I’d appreciate the chance to make a silk wreath lie this.
Fabulous, Julie. Thank you for continuously sharing your talent with us! So fun!
I can’t wait to learn to make these wreaths. They’re beautiful