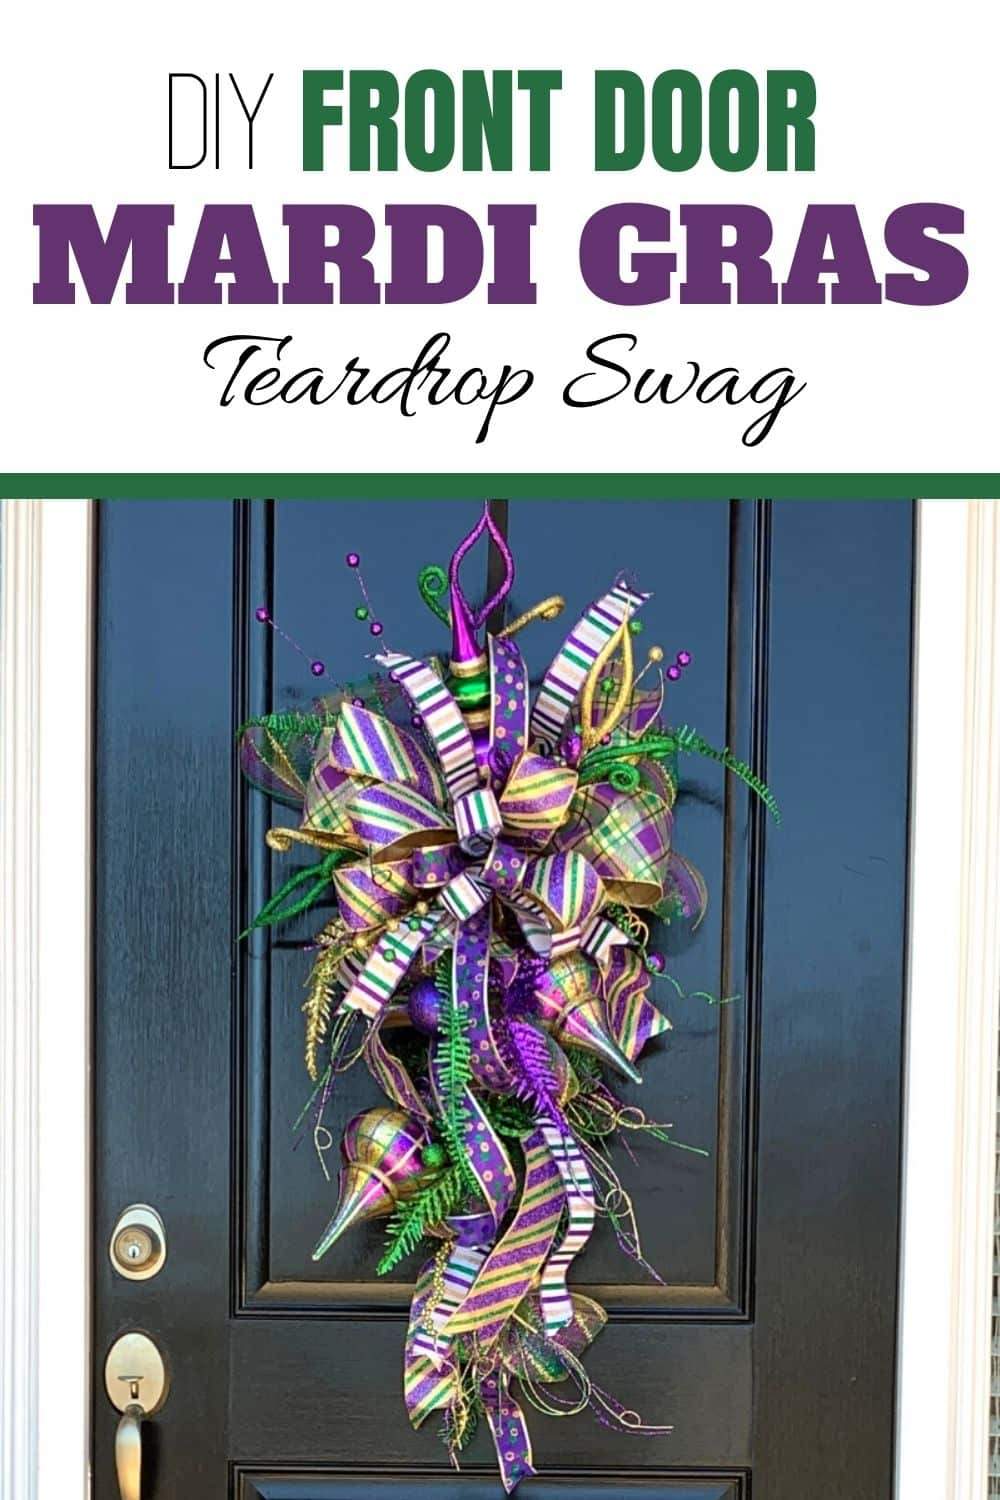
DIY Mardi Gras Door Hanger {with Video}
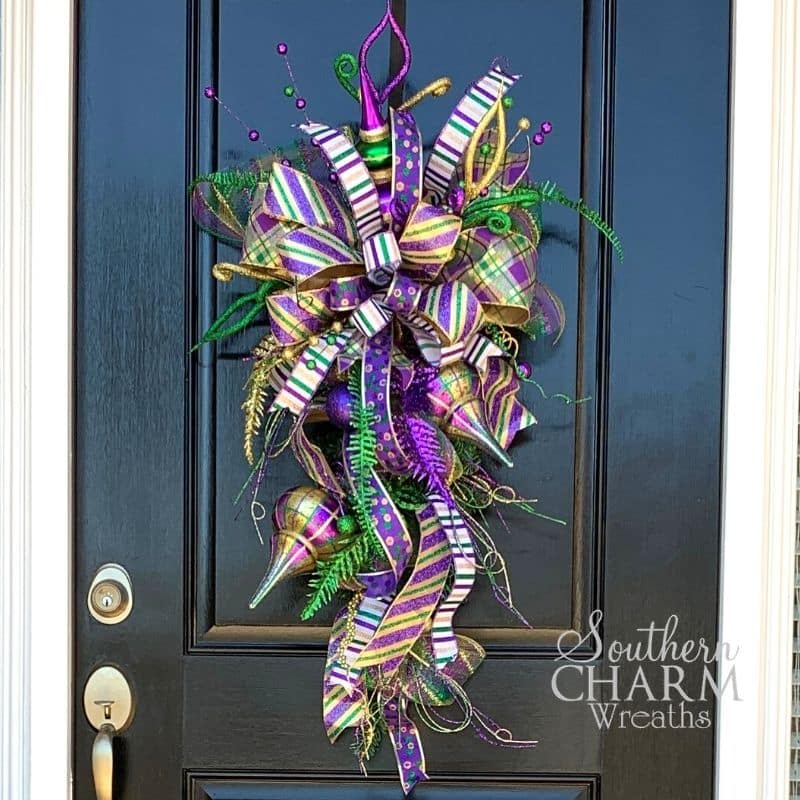
Make your neighbors jealous with this stunning DIY Mardi Gras door hanger! Making a teardrop swag is so easy, and I’ll show you exactly how to do it!
As you decorate your house with those purple, green, and gold colors for Mardi Gras, don’t forget about your front door! This teardrop swag is so much fun – and the best part is that it’s super easy too.
How To Make A Mardi Gras Door Hanger
This teardrop swag is the best thing you can make and sell in January and February. It has all of the festive colors and is just bursting with celebratory fun.

Supplies
- Evergreen Teardrop Swag – 32 inches
- Extra-Wide Deco Mesh Ribbon
- Mardi Gras-Themed Wired Ribbon
- Wire
- Ornaments
- Mardi Gras Picks
All supplies are from DecoExchange.
If you are a visual learner, then I have a video for you. Watch as I make this Mardi Gras front door swag in real time. Grab your supplies and make one along with me.
Mardi Gras Door Hanger: Step-By-Step Tutorial
Here’s how to make this DIY Mardi Gras swag.
1. Add Mesh To The Evergreen Swag
I started with a bare 32-inch evergreen swag. Since it is so bare, I added some Mardi Gras-themed deco mesh to it.
Secure the mesh to the top of the evergreen swag. Then, I decided to create a big poof with the mesh and secured it to the swag. I just placed the mesh in between two evergreen branches and then twisted them around the ribbon.
Then, repeat this process all the way down the swag. Adjust the poofs to be as big or as small as you want.
When you get to the end, roll the end of the ribbon under the last loop and secure it to your swag.
2. Add A Sash
Cut about a foot of the wide deco mesh ribbon and add it as a sash diagonally across the top of the swag.
Secure it and poof it out so that it fills up lots of the space.
3. Make A Bow
I like to unroll the ribbon to the floor before I start making the bows. This way I am not fighting it as a twist my ribbons.
Take the 4-inch ribbon and measure about 18 inches for the bow loops. When you twist it, the loops will be 9 inches tall.
Lay it on the swag while it is still in your hands to measure and make sure it is the size you want. Make it smaller or bigger so it is the size you like the best.
Do the finger-rabbit test to make sure the loops are even. To do that, just use the fingers from your free hand (the one that isn’t holding the bow loops) and gently measure the loops together. If they are the same height, that’s great! If not, adjust them until they are.
After making 2 loops, cut the ribbon and give it a long tail. Keep the bow in your hand and add more loops with the 2.5-inch wired ribbon.
For the 2.5-inch wired ribbon, measure 16 inches on the mat. This will give you 8-inch loops that are slightly smaller.
Then, add 1.5-inch wired ribbon as a third bow layer. This bow is 14-inches long with 7-inch loops.
Add as many different ribbons as you want. The more ribbons you use, the more festive the swag will be.
When you are satisfied with the bow, add some wire around the middle of it, securing all the layers together.
4. Attach The Bow To The Swag
Take the wire that is on the bow and attach it to the swag.
Every time you attach anything with wire to the teardrop swag, you want to attach it to the spine, not the branches.
5. Add Ornaments
For even more fun, add some Mardi Gras-themed ornaments to your wreath. Feed some wire through the bottom of the ornament and attach it to the spine of the teardrop swag.
At this point you might want to add your project to a wreath easel so you can see where you want to add the ornaments.
6. Place Picks In The Swag
Save the picks for last. These are the final step because they should be added in all the places that you think need a little extra pizazz!
Begin placing them in the areas of the swag where you want more movement and fullness.
Watch The Video: DIY Mardi Gras Teardrop Swag

If you enjoyed this and want to learn more on how to get started with wreath making, try my Wreath Making 101 Workshop!
Happy Wreathing!
Julie
More Mardi Gras Projects:
- Mardi Gras Bows – Make a Pretty Multi-Ribbon Bow
- How to Make a Mardi Gras Lantern Swag Centerpiece
- Decorate Your Door for Mardi Gras
Liked this Mardi Gras Teardrop Swag Tutorial? Pin it for later!
Hi Julie….Thank you soooö very much for your help in just the little wreath making things. Your tireless effort rewards us all in many ways. Yes, and your motivational comments are a kind push.
Thanks
Sylvia
Hi Julie,
Where did you purchase your swag? I have searched online various stores, but do you have a preference? I have never made a swag before and love the Mardi Gras swag that you made. You are so creative!
I am looking forward to trying my hand at making my first swag. Thanks so much for your help!
Deco Exchange