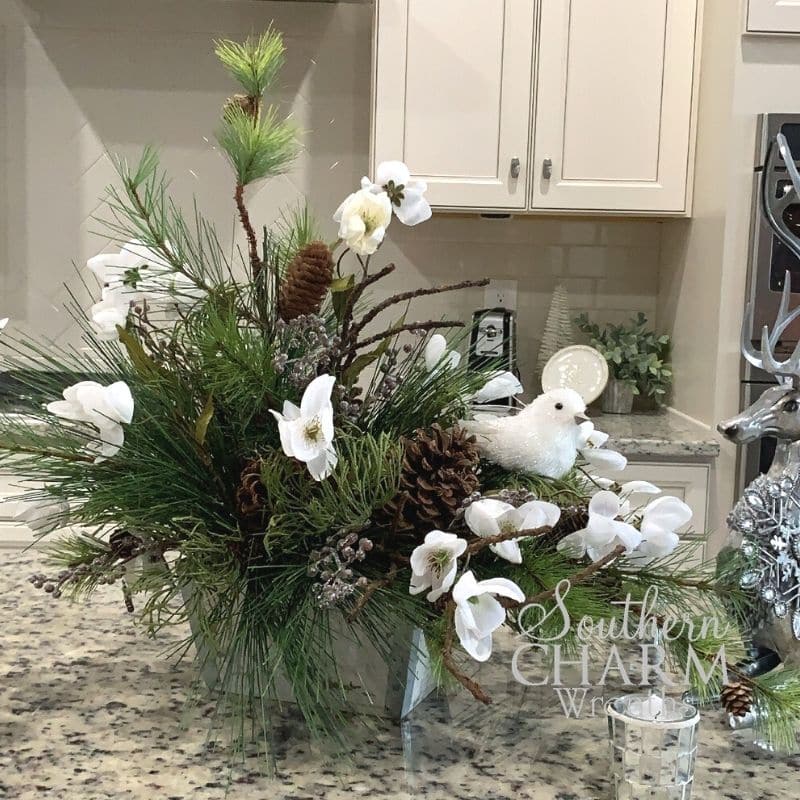
DIY Winter Floral Arrangement (Video)
Use this DIY winter floral arrangement as a centerpiece in seasonal winter decor or add it to a winter wreath. The options are endless!
This tutorial is really simple and you can use this arrangement for so many things. Plus, you can use the tricks you learned today on other floral arrangements too!

How To Make A Winter Floral Arrangement using Silk Flowers?
Today, I’m stepping away from making wreaths and showing you how to make a centerpiece for your table (or to sell).
Supplies
You don’t need very many supplies for this project. In fact, you might already have most of these in your craft supplies:
- Small container (I got mine at Hobby Lobby)
- Moss
- Pine sprays
- Flowers (optional) I used these Winter Cup Blossoms
- Hot glue
How to Make a Faux Winter Floral Arrangement: Step By Step Tutorial
To make your own floral arrangement, just follow these steps.
Before we begin, I started with a container that I already prepared by filling it with faux moss. This tutorial shows you how to prepare your container.
1. Prepare The Pine Sprays
I wanted my pine sprays to have a natural winter look so I started by fluffing them out, pulling the needles away from the middle. I also removed the pine cones.
Then, I created what I called “hairpins” out of my leftover stems from other projects. I’ll use these to hold some of the sprays and pieces into my centerpiece.
2. Attach The Pine Spray To The Box
Using some kind of wires (I used the DIY hairpins I just made), glue the spray to the top of the box. I had to sort of hammer the pins into place – this made the centerpiece really sturdy on top of the box.
3. Add A Second Pine Spray
Trim up your spray so that it’s the perfect size for your centerpiece. Don’t be afraid to trim and cut things after you buy them.
This is the point in the project where we are giving the centerpiece its shape. Stick the tallest spray vertically into the box. Then, fill in the back of the centerpiece with more sprays.
4. Wire Pinecones And Add Them To The Box
Next, twist some florist wire gauge to some of the pinecones you detached earlier. This article explains more about wires and how to choose the best ones for your projects.
Lastly, fill in any “holes” that you see.
Look at your finished project! You could honestly leave it like this – it’s so pretty and perfect for the entire winter season.
The best thing about this tutorial is that it’s as simple or as complex as you make it. You can add just a few pine sprays or keep adding layers of different flowers – it is up to you.
5. Optional – Keep Adding Greenery
If you have extra greenery pieces leftover from other projects, keep adding more layers and depth. Pay attention to the colors you use.
I love changing adding a variety of textures to my projects. You can even add a few flowers and more pinecones too!
Watch The Video: Winter Floral Centerpieces
I created a video showing you every single step of this easy craft. Watch the video below and make your arrangement right along with me.
If you enjoyed this and want to learn to wreath the professional way,
try our Wreath Making 101 Workshop!

Happy Wreathing!
Julie
More Winter Projects:
- DIY Lush Greenery Winter Wreath
- Decorating Your Front Door For Winter
- How To Make A Rustic Winter Centerpiece
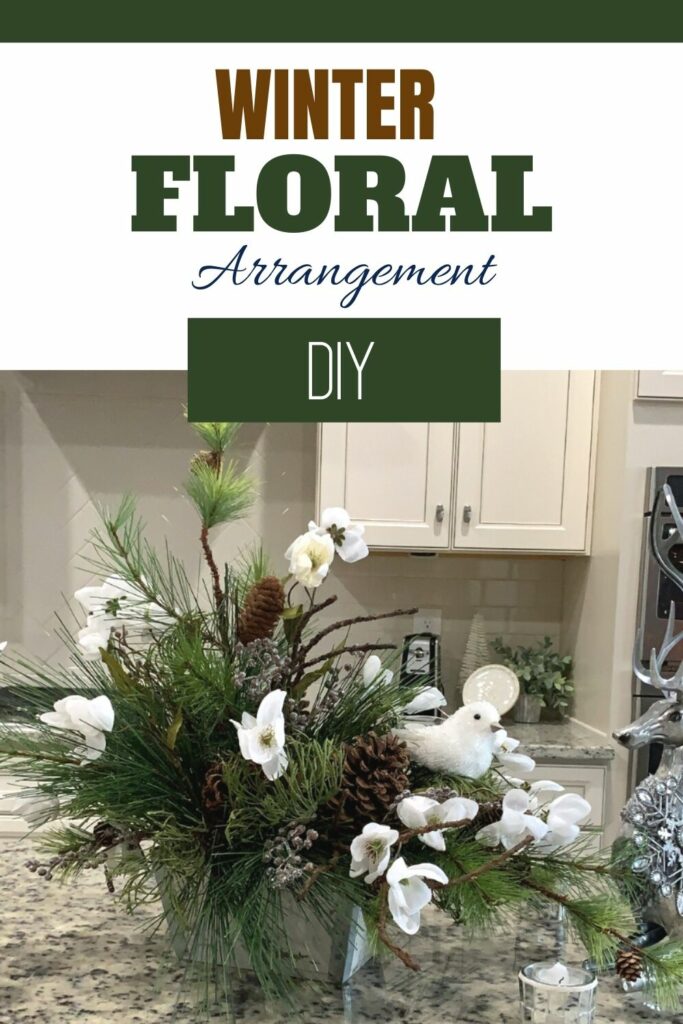
Liked this Winter Floral Arrangement Tutorial? Pin it for later!


what kind of flowers did you use- peonies?
#replay Loved it. Very creative!
I love this arrangement, it’s so pretty.
What are the white flowers called?
They are called Winter Cup Blossoms from this store. Click here
Dear the final peace it is magnificent Julie! with the whit bird, with the reendeer, I loved I wish I can visit your home and enjoy my eyes and admire everything you do my lovely lady!! How much the Lord loves you that you are super blessed!!!