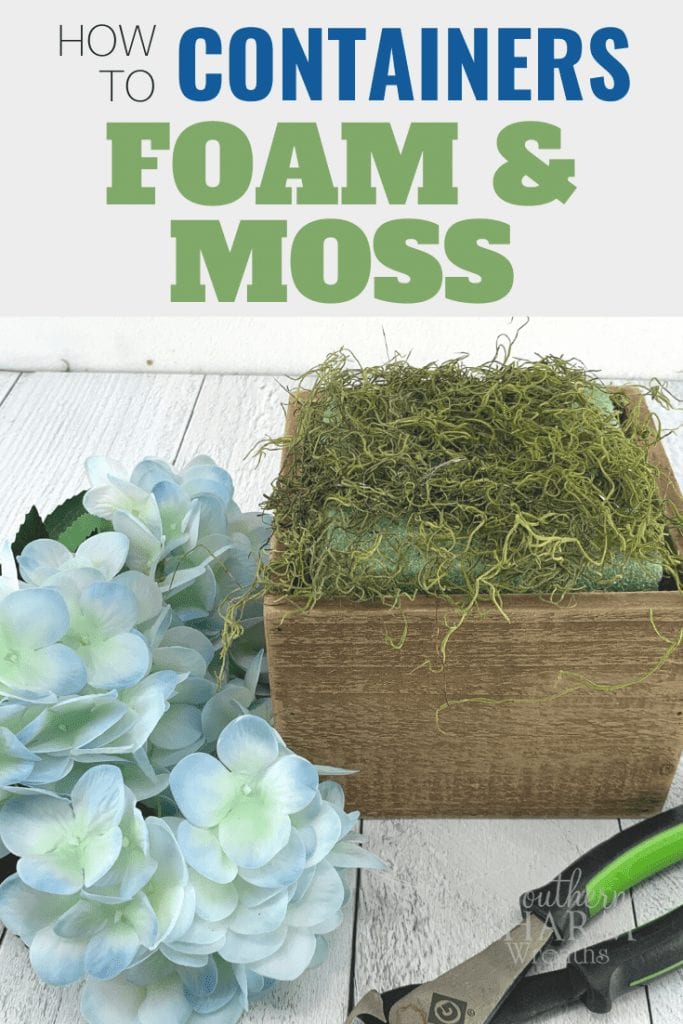
How to Foam and Moss a Container for Silk Flower Arrangements
It’s a topic that’s often glossed over in floral arrangement tutorials, but it’s a foundational skill you’ll need to know to be successful at making centerpieces and other non-wreath arrangements: How to foam and moss a container for a silk flower arrangements. And today in the wreath shop, I’ll be covering just that. Read on or watch the video below to learn exactly what I do to prep for my arrangement, before I even start pulling out the silk flowers.
This post may contain affiliate links for your convenience. Click here to read my full disclosure policy.
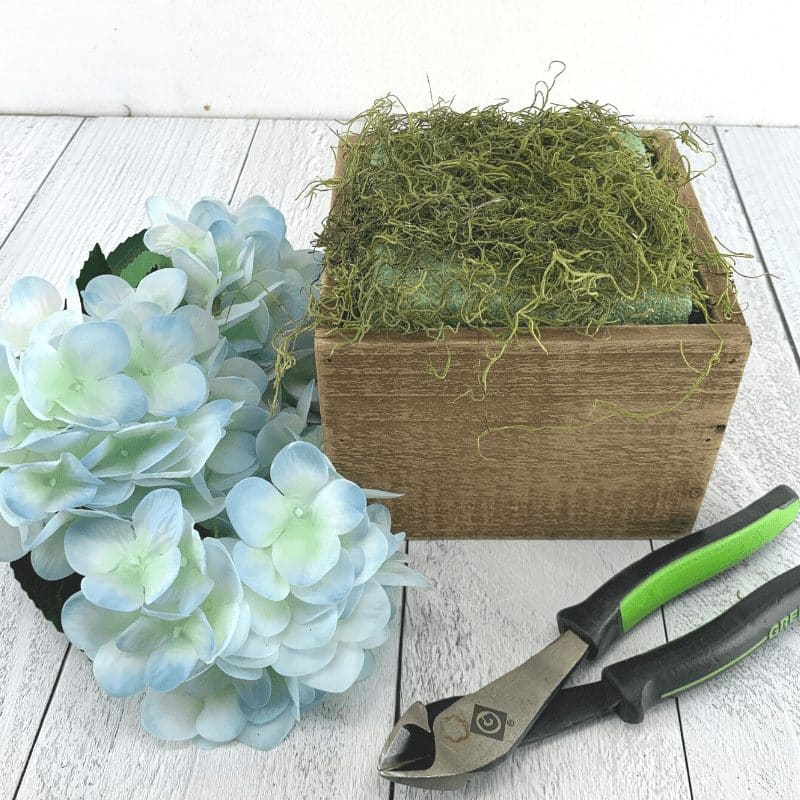
What Do You Need To Prepare A Container for Silk Floral Arrangements?
A container that goes with your theme – I purchased mine from Greenery Market on Etsy. The arrangement I’ll be making in this is pretty rustic, so the wooden box design matches that nicely. You can also start with a container you like and work your arrangement around that.
Foam
Spanish Moss
Wood Floral Picks
Wire Cutters
Floral Knife or Kitchen Knife
Hot glue
Floral Pins
Prepping the Container for Your Centerpiece
A lot of people, when they first start doing floral arrangements, think that the entire container needs to be filled with foam. Personally, I just see that as a waste of foam.
Yes, you’ll usually need the top of the container to have a full layer of foam. But underneath that layer, there’s a lot of space that really isn’t going to get used.
Your stems might poke down in there if you push them all the wayt through the top layer of foam. But that layer should be thick enough to hold them in place on it’s own.
So to get what I need covered, without wasting too much extra foam, what I like to do is this:
Measure your top block of foam to just fit inside the top of the container. I like to press a larger piece down onto the opening until it makes an impression of where the edges are, and then cut just inside that line.
Now cut a small block of foam (or uses scraps!) that will sit in the bottom of the container and act as a pedestal to hold up the top layer. Wipe some hot glue onto the bottom of that and press it into the inside of the container until it is secure.
To attach the second layer of foam, you’ll use hot glue to stick them together. But this time, instead of waiting for it to dry, you’ll quickly press in some wooden floral picks through the top layer and well into the bottom layer so that the glue dries around the picks and the foam really is super secure.
(You can use just hot glue or just wodden picks if you want, but in my experience, this is the method that gives the most sturdy result.)
Now we need to cover up the foam with moss. Yes, most of it will be covered by silk flowers and greenery, but if anything does show through, it will look very out of place because of the distinct shine that floral foam has.
A layer of moss is just another layer of coverage to prevent that weird shine from coming through on the base of your arrangements.
Grab some floral moss (This is Spanish moss, but there are tons of options out there if you don’t like the look of this one. I know it’s not for everyone!
It may seem counter intuitive, but you’ll want to spread this layer fairly thin. If you add too much moss before any of the stems, it will be much more difficult to actually press the flowers through into the foam.
Grab a handful of moss and spread it thin over the foam at the top of the container. Secure it with floral pins in several places.
And that’s all you need to do!
If you’re making any adjustments to the container itself, like painting or staining, you will likely want to make those changes first.
Now it’s time to cover up all the hard work you’ve done and add some flowers! See the arrangement that I made with this container here: Summer Lemon and Hydrangea Table Arrangement
If you enjoyed this and want to learn to wreath the professional way, join me in our exclusive Wreath Making of the Month Club!

Happy Wreathing,
Julie
If you enjoyed this post, you might also like:
Nine Ways to Make a Bow for a Wreath
Top Wreath Making Tools for Beginners
How to Make a Hanger on the Back of a Wreath
Was this Tutorial Helpful? Pin it to save for later!
Thanks Julie! I would have made a mess of my centerpiece without your instructions.
Helpful for me. Thanks Julie!
Really needed this help, thanks
Thank you so much Julie, I needed this so much. Funds are tight so this will be right in my price range. Thanks again my sweet friend.
Thank you so much. This clears up the confusion I had. I really appreciate it.
Thank you Julie! That video was very helpful😊