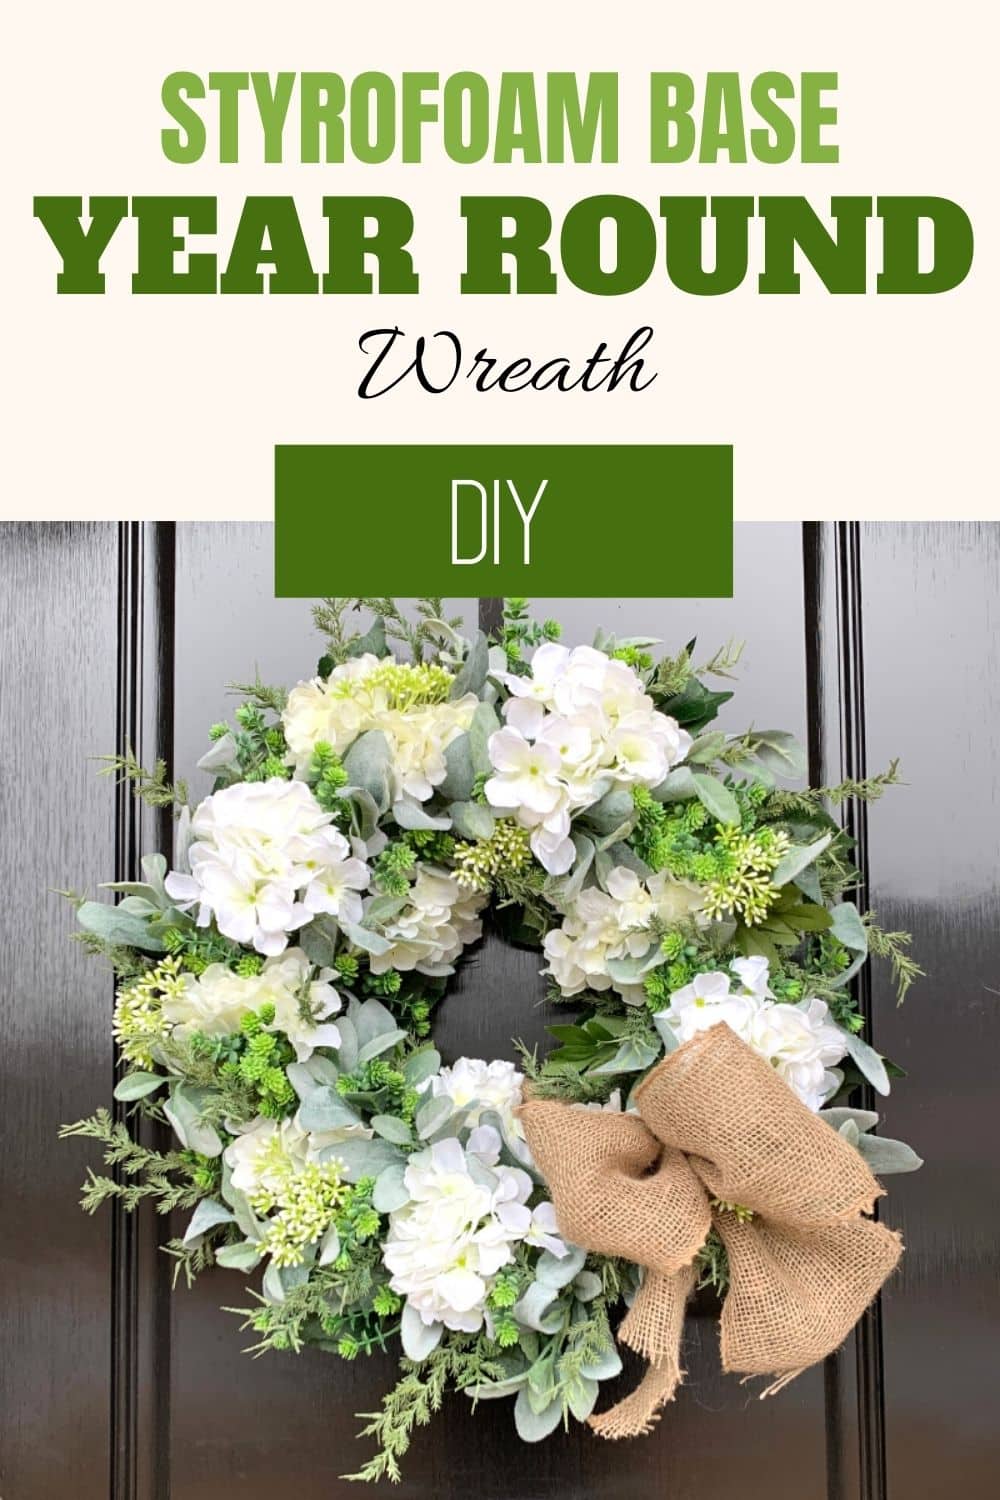
DIY Year Round Wreath on Styrofoam Base
Discover the tricks that will help you create a stunning DIY year round wreath with a Styrofoam base that you can gift or sell.

How To Make A Year Round Wreath On A Styrofoam Base
Over the years I’ve made wreaths on lots of different types of bases – grapevine, evergreen, and even wire wreath forms. Today, I’m going to show you how to make a wreath with a Styrofoam base.
This post may contain affiliate links for your convenience. Click here to read my full disclosure policy.
Supplies
- 16-inch Styrofoam Wreath Base
- 2 1/2 inch ribbon
- 4-inch burlap ribbon
- U-shaped floral pins
- Steel Pick Machine
- Flowers
- Greenery
- Hot Glue Sticks
- Glue Pan
Year Round Wreath On Styrofoam Base: Step-By-Step Tutorial
Here’s how to make a wreath that you can hang up all year long, using a Styrofoam wreath form as the base.
1. Set The Base Top-Up
Before you start crafting, it’s important to understand which side of the base is going to be the front or top of the wreath. Some Styrofoam wreath bases will have a flat side and a rounded side. The flatter side hangs flush against the door, so that is the back.
2. Cover The Side Of The Styrofoam
I like to cover the side of the Styrofoam base with ribbon because that means I use less product in my wreath.
I found a really pretty 2 1/2-inch wide green ribbon to wrap around the side of the wreath. Usually, I like to use 1 1/2-inch ribbon since that is the perfect size to cover the side of the wreath, but I didn’t have any at the time of the video that I made (you can watch it at the bottom of this post).
Stick some u-shaped floral pins into the ribbon to secure it to the base.
3. Create A Greenery Base
The very first layer on the front of the wreath is a bunch of greenery. This includes both flowers and green leaves.
Dip the tips of the greenery picks into the melted hot glue sticks and then poke them into the Styrofoam base. Next, place them all the way around the base, leaving room for the flowers and other types of greenery that you want to add.
If you cut greenery really small, use a steel pick machine to add metal picks to the ends of a few groups of them so that they will stick into the Styrofoam better.
Then, keep filling in the wreath until it is as full of flowers and leaves as you want it to be!
4. Make A Bow
Finally, make a bow to add to your wreath. The bow is completely optional. Even without it, you have a stunning floral wreath that you can hang up all year long.
In the video below, I made a bow out of 4-inch burlap ribbon. I made 12-inch loops. Burlap was tricky to work with, but I think it turned out so cute! Since it isn’t a wired ribbon, I used floral wire to secure it together and attach it to the wreath.
Watch The Video: Year Round Wreath On Styrofoam Base
If you enjoyed this and want to learn more on how to get started with wreath making, try my Wreath Making 101 Workshop!

Thanks for joining me today in the wreath workshop! Comment below and tell me what’s your favorite part or let me know what I should make next!
Happy Wreathing,
Julie
More DIY Spring Projects
If you enjoyed this spring wreath, then here are some more spring projects you will enjoy too.
Liked this tutorial? Pin it for later!
Have you ever made a foam wreath for French doors.
Splitting the wreath, hang both sides on each door when door closes the wreath comes together
No I haven’t
Beautiful wreath. Thanks for the video 🥰