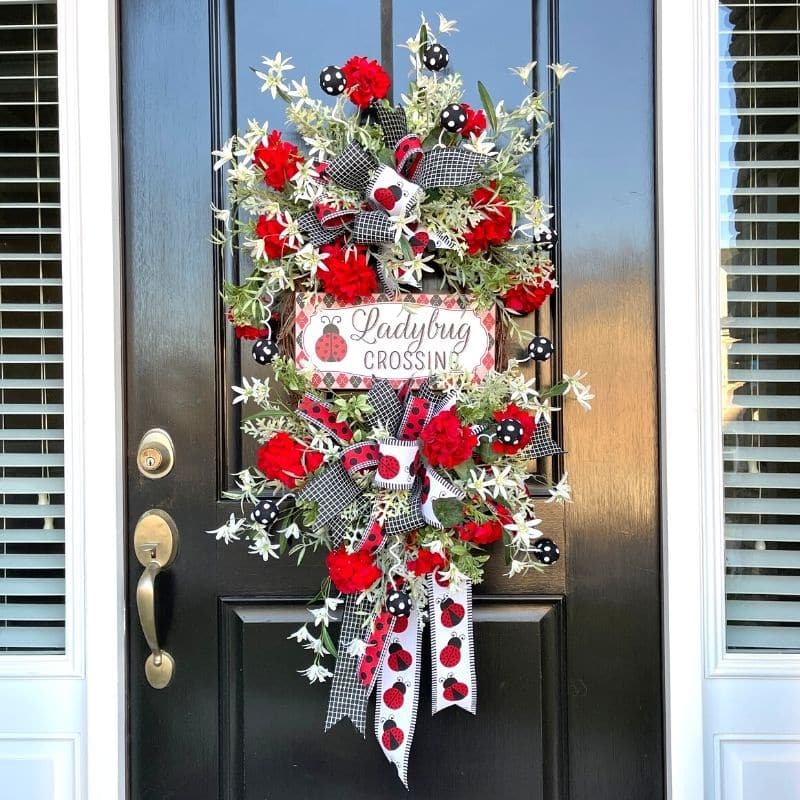
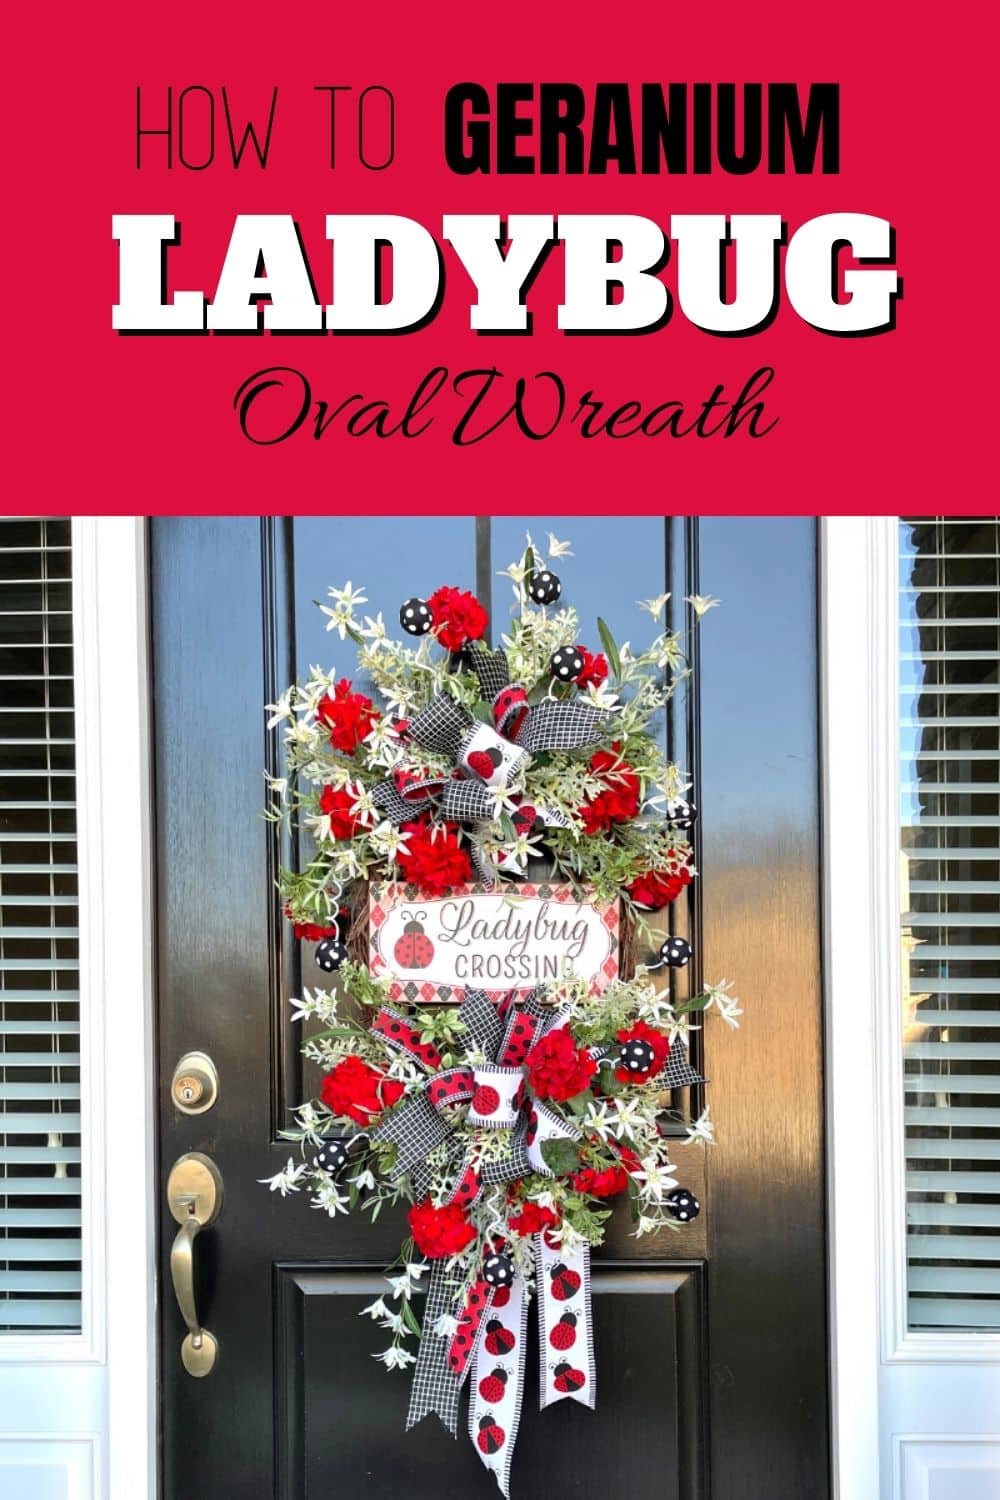
How to Make a Ladybug Summer Geranium Wreath
Ladybugs are very trendy this summer and are even known to bring a little good luck your way! This faux flower ladybug summer geranium wreath will look amazing on your front door this summer. Learn how to make your own following this step by step tutorial!
How to Make an Oval Faux Flower Ladybug Summer Geranium Wreath
I just love ladybugs and the pops of red, black, and white colors of this wreath. You will find that a lot of people love ladybugs too! This stunning oval Ladybug summer geranium wreath will be a great item to keep for yourself to brighten up your front door this summer or sell in your shop!
Supplies for this Project
- Ladybug Crossing sign
- 14″ Oval Grapevine Wreath
- Ladybug Ribbon
- Red and Black Polka Dot Ribbon
- Black and White Patterned Ribbon
- Greenery
- Geranium florals
- Lilly filler bush
- Black and White Polka Dot Curly Picks
- Wire cutters
- Bind Wire
- Scissors
- Staple gun
- Glue Pan
How To Make An Oval Faux Flower Ladybug Summer Geranium Wreath – Step by Step Tutorial
1. Prep and attach your sign
You will need to make anchor points on your sign to be able to attach it to your oval wreath. To do this flip the sign over. Using a small piece of ribbon fold it over and hold down with your finger. Thread your wire through the small ribbon hole and then staple closed with your staple gun. You will do one on each side.
Place sign in the middle of wreath. You will do this by threading your wire anchors through your grapevine and twist to secure. Give your wreath a nice shake to make sure your sign is nice and secure.
2. Make your bow
Measure out an 8 inch streamer and then make a 12 inch loop and pinch it into your fingers, twist and then cut. Now reverse what you just did to make your second loop by making a 12 inch loop, taking it to the back and twist, now cut.
Repeat the same thing with your second and third ribbon. Layer your bow and secure the middle with a floral wire and twist tight. Trim your ribbon ends and dovetail them!
3. Attach a hanger to the wreath
Using rustic wire make a loop and thread the loop through the top of your grapevine wreath, then pull tight. This makes a nice little loop for you to be able to hang your wreath!
4. Attach your bows
Attach one bow to the top middle of your wreath and your second one to the bottom using your floral wire you used to secure them. Placing your bows in these positions really helps make your line for the eyes to visually go from top to bottom. Be sure to fluff your loops and arrange your ribbon tails all nice and neat.
5. Add greenery
Start by bending your greenery to make them look real. Trim any pieces at the base of each steam that appears to be the start of a new branch. Add greenery by working your way back and forth on each side of your wreath to make it symmetrical. Dip the ends of your greenery into hot glue before placing.
Always go in the direction of the grapevine and then bend them once placed in the grapevine out to where you want to place them.
6. Add Focal Flower
Using your geranium floral pieces trim any leaves that need to be cut off but do not get rid of these. You can use them later as filler pieces!
To place dip the ends into hot glue before placing them and start adding them around the bows. Working your way back and forth on each side. Once they are placed you can bring the floral pieces forward in front of the greens where needed.
7. Add additional greenery
To add more texture to your wreath add in a different type of greenery. Divide and separate the greenery bush into smaller pieces and place mostly around the bows.
8. Add filler pieces
Work the Lilly filler pieces into the wreath by working your way from top to bottom. Making it even on both sides. Dip the ends into your hot glue pot before placing the filler pieces into your wreath form. These pieces help add height and texture to your wreath.
9. Add whimsical picks
Dipping the ends into hot glue before placing add these cute and fun pieces to your wreath. You will start placing them randomly into your wreath but making sure you are evening out your placements in your wreath. For example, if you place three on the top be sure you balance out and place three on the bottom.
10. Add streamers
Cutting different strands of ribbon you used in your bow you can add streamers to the bottom of your wreath by attaching a floral pick to the end of your ribbon. Dip the floral pick into the hot glue and push it into the bottom of your wreath. This helps add a little bit more to your wreath, which can increase the wreath value when selling.
You can also add streamers to the inside of your florals the same way you added the tail streamers. Place these on each side of your bow to make them appear as if they are attached to your bow. This helps add color to your wreath and breaks up some of the greenery.
Watch The Video: Oval Faux Flower Ladybug Summer Geranium Wreath
If you enjoyed this post, you might also like:
- DIY Summer Silk Flower Ladybug Wreath Tutorial
- Deco Mesh Bumblebee Wreath DIY Tutorial
- How to Make a Spring Butterfly Wreath
Liked this Oval Faux Flower Ladybug Summer Geranium Wreath? Pin it for later!
You seen one of the most upbeat people that I know and such a kind one at that. I love all your wreaths. We will all be in great shape if we keep God first in our lives. It is too bad that some people are not happy unless they are bashing someone. Keep up the good work my friend.
Julie, just want you to know that I think your work is outstanding! And you sound like someone I’d love to sit down with and just chat. I’m wishing you continued success (which I know you will have). My daughter and I have been enjoying being wreath makers for over 20 years and it’s still my passion and my therapy. Stay strong Julie.
Julie, I love all your designs, exquisite! I have been doing wreaths for years and years just enough to make my nooks and crannies pretty. You have a wonderful outlook on life. We should all be that way. Continued success! I especially love the Lantern Swags and that beautiful peach wreath. That might look great in strawberry..thanks dear Julie. You are a sweetheart!
You have the standard for wreath making. You are an inspiration. Thank you for creating such beautiful arrangements and sharing your joy.