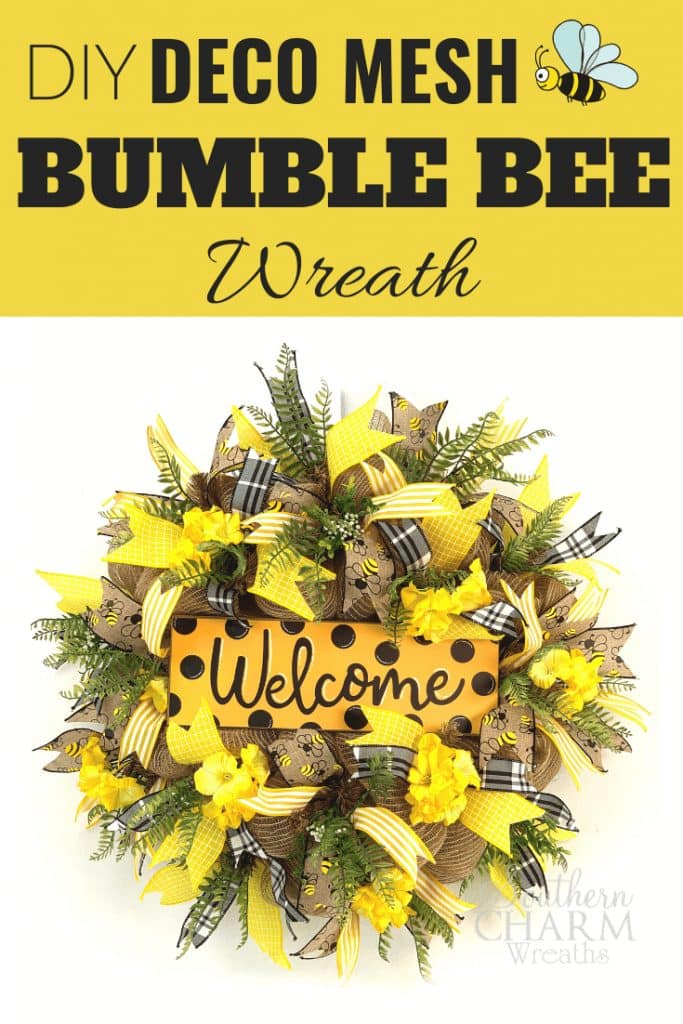
Deco Mesh Bumblebee Wreath DIY Tutorial
Check out what I made in the wreath shop this week! That’s right, more bumblebees! You may have seen the Summer Bow tutorial on the blog last week featuring this ribbon. But when I found this adorable black and yellow welcome sign from Carolina Pottery, I knew I had to bust out the bees again and make this matching wreath. Keep reading or watch the video at the end to learn how to make your own Deco mesh bumblebee wreath!
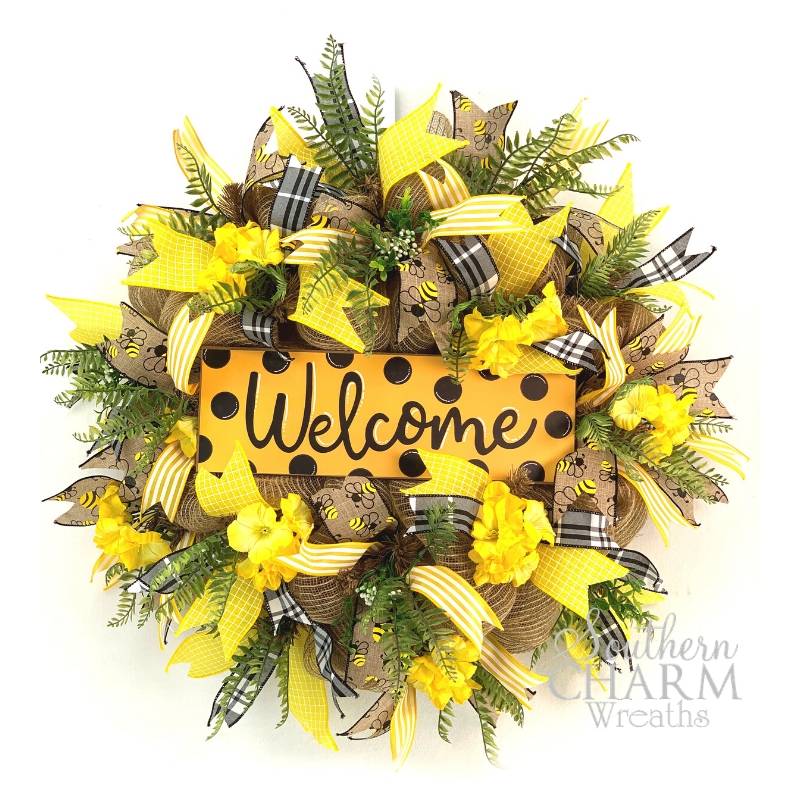
I mean seriously, just look at it! I’m going to have a hard time letting this one go and not keeping it for myself. It’s just so bright and summery!
Bumblebee Wreath Supply List
This post may contain affiliate links for your convenience. Click here to read my full disclosure policy.
All of the supplies I used for this project are from Carolina Pottery. If you don’t live near one, you can order supplies from their online store here or call them directly and make sure to tell them Julie, the wreath queen, sent you! LOL
24″ Work Wreath Frame
21″ Burlap Mesh
2 – 2.5″ Wired Ribbon
2 – 1.5″ Wired Ribbon
Petunia Bush
Greenery Bush
Sign
You’ll also need:
Wire Cutters
Florist Wire or Pipe Cleaners
Scissors
Hot Glue Gun
Hot glue
Craft Mat
Easel (optional)
Putting Together Your Deco Mesh Bee Wreath
Step 1 – The first thing you’ll need to do is prep your welcome sign. Snip off the rope with scissors. You’ll be attaching the sign with pipe cleaners, so the rope isn’t necessary.
Next, fold up a small piece of ribbon and hold it near the side of the back of the welcome sign. (This particular sign is pretty thin, so you just want to build up the height so your staple doesn’t go through the front.) Staple the middle of the pipe cleaner on top of the ribbon. Cover the area with a little bit of hot glue.
Do this to both sides and then set your sign aside to dry.
Step 2 – Next, you’ll start attaching the deco mesh to the wreath. I used the poof method for this wreath, but you can do it however you like.
For this method, open up all of the twist ties on the wreath form. Then start by attaching the end of your mesh at one set of twist ties of the inner ring, then skip one, then twist the following set around the mesh, leaving a poof in between. Do this all the way around the inside ring, then again around the outside ring.
Watch the video below if you’ve never done this before. It’s a lot easier to learn this method if you can see how it’s done.
You could be done with the deco mesh at this point, but I like to make mine a little more full. Especially when the roll is less than half full. You can’t make another wreath with it, so you might as well put it to good use!
Step 3 – Next it’s time to add the ribbons. Use your craft mat to measure and cut nine 14″ pieces of each ribbon. Cut a dovetail finish on each piece as you go so you don’t miss any trying to finish them off on the wreath.
Mix and match your ribbon into 18 pairs.
Pinch a pair of ribbons together in the middle and use the twist tie on the wreath form to attach it. Separate the ribbon ends to form an X. Skip a section (like you did with the mesh) and add the next pair. Try to make sure you’re spreading the ribbon patterns out and not having a bunch of one all on one side of the wreath. Then work around the wreath until all your ribbons are attached.
Step 4 – The next step is to attach the welcome sign you prepped earlier. Just place it down where you want it and twist the pipe cleaners tightly around the inside ring.
Step 5 – The last thing you’ll do is to attach any flowers and greenery. We do this last because we actually hot glue the stems to the twist ties. Once you add the glue, it’s hard to go back and change the mesh and the ribbon, so make sure everything is nice and balanced before you start the florals.
Start by separating the stems on your flowers and greenery bushes. Bend the leaves just a little to give them a bit of volume and make them look more real.
Now, to add each stem, you’ll find a twist tie on the wreath, and curl the end into a small circle that the stem can just fit through. Then you’ll dip the stem in glue and attach it to that tie. The glue will attach itself to the twist tie to hold the stem in place.
Make sure the glue is touching the twist tie instead of just mesh or ribbon. Those materials are not sturdy enough to hold the stems in place.
Work back and forth across the wreath to keep the colors and textures balanced. Repeat this for all of your flowers and greenery.
And it’s done!
Bumblebee Mesh Wreath Video Tutorial
If you enjoyed this and want to learn to wreath the professional way, join me in our exclusive Wreath Making of the Month Club!

Happy Wreathing,
Julie
If you enjoyed this post, you might also like:
How to Make a Hanger for the Back of a Wreath
How to Make a Summer Multi Ribbon Bow
Was this Tutorial Helpful? Pin it to save for later!
Where do you get your welcome sign and all your ribbons. I can never find them at any stores near meWe are not allowed to shop in most stores because of the covid 19. Thanks
We listed it in the blog post where items were purchased.
Thank you!
This is too adorable!!!! I want to make this one!!!
Where did you get the bumblebee?
Thanks
All supplies for this door hanger came from Greenery Market.