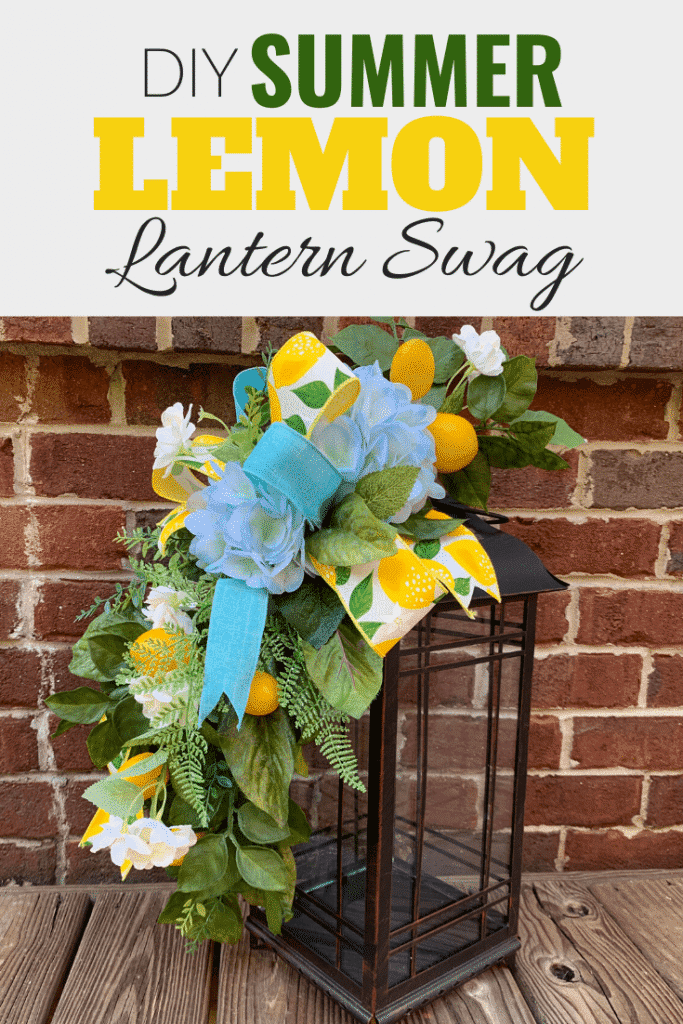
DIY Summer Lemon Lantern Swag
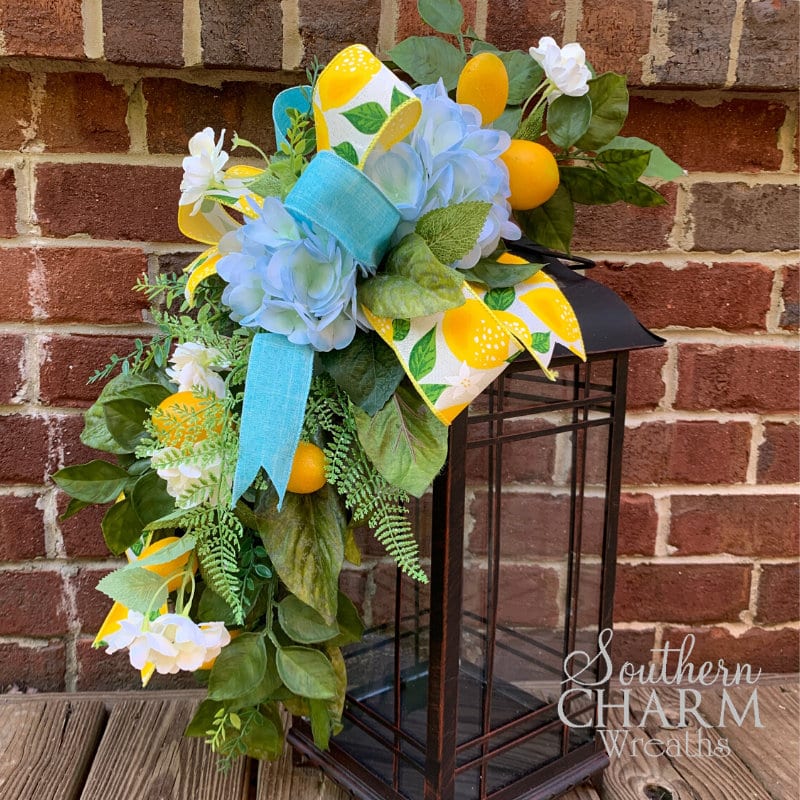
Did you catch this week’s live video on my Facebook page? If not, don’t worry! You can check out the replay below to learn how to make this Summer Lemon Lantern Swag. This swag is a great idea for wedding decor or to use to freshen up your own home or porch.
Wreath making shop owners, don’t forget to add matching pieces to your shop to keep a good variety of price points available for your customers!
Let’s get started!
This post may contain affiliate links for your convenience. Click here to read my full disclosure policy.
Supplies for Your Arrangement:
20-inch Lantern
Greenery spray
Lemon sprays
Hydrangeas
Wild Roses
1.5″ Ribbon
2.5″ Ribbon
Hot Glue Pan
Hot Glue
Wire
Rustic Wire
Zip Ties
Scissors
Wire Cutters
Steps for Making a Summer Lemon Lantern Swag
Step 1 – Line up the lemons, greenery, blue hydrangeas, and white flowers. If the leaves are not working in the arrangement you can trim them off. You are going to zig-zag your items down the spray. Once you have them lined up how you like, you can zip tie the stems together. You can also use bind wire to secure any additional items. Make sure you keep the larger items like flowers towards the top.
Step 2 – Add another spray to the top. I layered the hydrangeas and lemons with the white flowers and then zip tie this bundle together.
Step 3 – Trim the stems so they are even and zip tie once again but this time attaching the two arrangements together with about 4 inches of space between the two hydrangeas.
Make sure you pay attention to the scale of your lantern in relation to your swag. You want me to make sure not to cover up the lantern. You want to still be able to see what is inside.
Step 4 – Measure out the lemon ribbon, about 12” for a 6” loop. We will do the same with the blue ribbon. Do two layers of the lemon ribbon. Secure with wire and attach to stems of swag. Dovetail the bottom of the ribbon that hangs down the swag.
Step 5 – From here you can trim the excess stems. I like to use to glue down a few extra leaves to cover up the wires and bindings on the backside of the swag.
Step 6 – Next attach the swag to the lantern using rustic wire. I put the wire above the bow on this one and attached it to the top of the lantern. This is important, don’t forget to bend and shape the swag down the side of the lantern so it is not sticking out. By angling it down towards the lantern creates a more natural look. Bend the top pieces as well.
Step 7 – You could be finished here but I like to hot glue small pieces into the bow to help the bow blend in with the swag.
And that’s all there is to it!
And when I ship my lantern swags, I only ship the swag, not the lantern. This way the customer can change out the lantern for different seasons and holidays.
Subscribe to my Youtube channel to see more easy floral arrangements like this!
DIY Summer Lemon Lantern Swag
Comment below and tell me what theme you would like to see for a lantern swag.
If you enjoyed this and want to learn to wreath the professional way, join me in our exclusive Wreath Making of the Month Club or join a community of wreath makers in our Wreath Making Madness Facebook Group.

Happy Wreathing,
Julie
If you enjoyed this post, you might also like:
DIY Summer Silk Flower Arrangement
Summer Deco Mesh Wreath with Two Colors
Summer Flower Basket for Front Door
Liked this Summer Lemon Lantern Swag tutorial? Pin it for later!
Thanks once again Julie, for giving back to the creating community !
Beautiful, you are so talented., thanks for the tips!
God bless.
Love this Lemon Lantern and the touch of Blue gives it it’s ellagance.
Beautiful ! Thank you so much !
Love your creative style. I am having a blast following your videos and creating arrangements. Love seeing everyone’s creations on line. Thanks so much for helping others enjoy this craft.