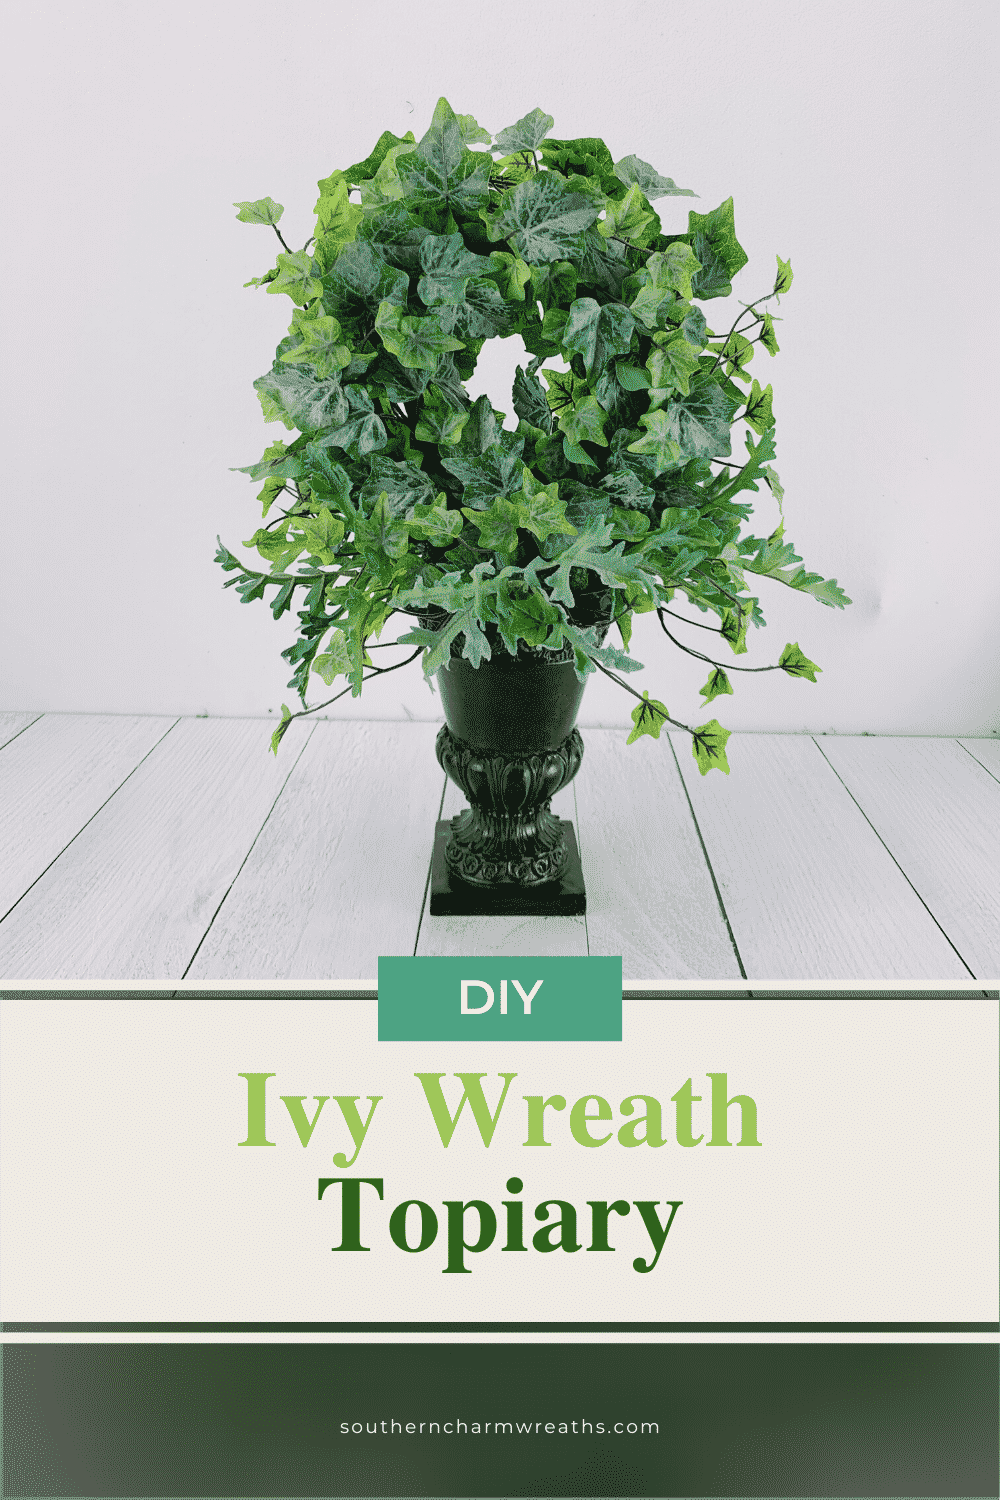
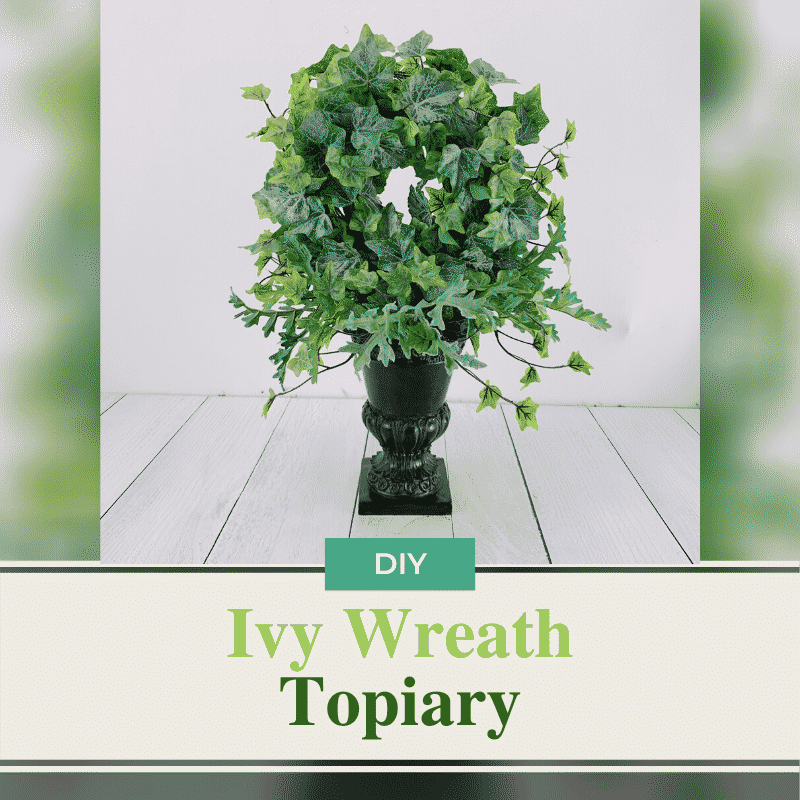
DIY Ivy Wreath Topiary
Follow this step by step tutorial and make your own DIY ivy wreath topiary. It’s perfect for spring and summer home decor.
Don’t you just love creating things that you can display all year long? This topiary has beauty in the simplicity. It can fit within any decor in any season or holiday (which makes it the perfect thing to sell in your shops).
How To Make An Ivy Wreath Topiary
Since this is such a simple thing to make, it’s the perfect thing to sell. You can put together a bunch of them in an afternoon – and they really do sell all year long.
Supplies
- Decorative Pot
- Floral Candle Ring
- Floral Foam
- Floral Picks or plain stems.
- Floral Moss
- Floral Pins
- Zip ties
- 18-inch Gauge Wire
Ivy Wreath Topiary: Step By Step Tutorial
Here is how to make a simple ivy wreath topiary, step by step.
1. Put Foam in the Container
If you are reusing the container, clean it out first. Then, dip the narrow end of the foam into some melted hot glue. Hold the foam in place inside the container while it dries. Next, I added another bit of foam on top so that it reaches the top of the container.
Keep adding foam blocks until it is the height that you want. I added another 2 inches so that my candle rings would sit higher above the container.
Each time you add a foam block, insert a plain floral pick into the foam blocks, securing them together. Do this before the glue dries or else it will be really difficult to hammer it into the foam.
2. Cover the Foam Blocks with Floral Moss
After you have enough foam blocks, cover them in floral moss. I used floral pins to attach them securely to the foam blocks.
3. Zip-Tie the Candle Rings Together
I made a faux topiary by attaching two greenery candle rings together, back to back. I used zip-ties – it was super fast and easy. You can also use wire.
4. Place the Candle Rings into the Foam
To make the round candle rings sit up securely above the container, I used 18-inch gauge wire. Trim it about 16-inches long. Dixon pins would also work perfectly for this.
After you trim the wire down to 16-inches, fold the wire in half so it looks like a “U.” Trim the edges at an angle so they are sharper – this will help them go into the foam easier.
I trimmed about 4 rings and made 4 pins out of them.
Place your topiary where you want it on top of the foam. Dip the pins you just made into some melted glue and use them to secure the topiary to the foam.
Use as many pins as you need to really hold the greenery in place.
5. Decorate with More Greenery
Finally, add more floral leaves and greenery until it is as full and decorated to your liking.
At this step I also like to trim some of the extra leaves around the edges so that the topiary has a more defined shape.
Watch The Video: Ivy Wreath Topiary
For all you visual learners that want to see how I made this, I have a video. Grab your supplies and make a topiary along with me.

If you enjoyed this and want to learn to wreath the professional way,
try our Wreath Making 101 Workshop!
Happy Wreathing!
Julie
More Winter Projects:
- DIY Lush Greenery Winter Wreath
- Decorating Your Front Door For Winter
- How To Make A Rustic Winter Centerpiece
Liked this DIY Ivy Wreath Topiary Tutorial? Pin it for later!