Rustic Christmas Mistletoe Wreath
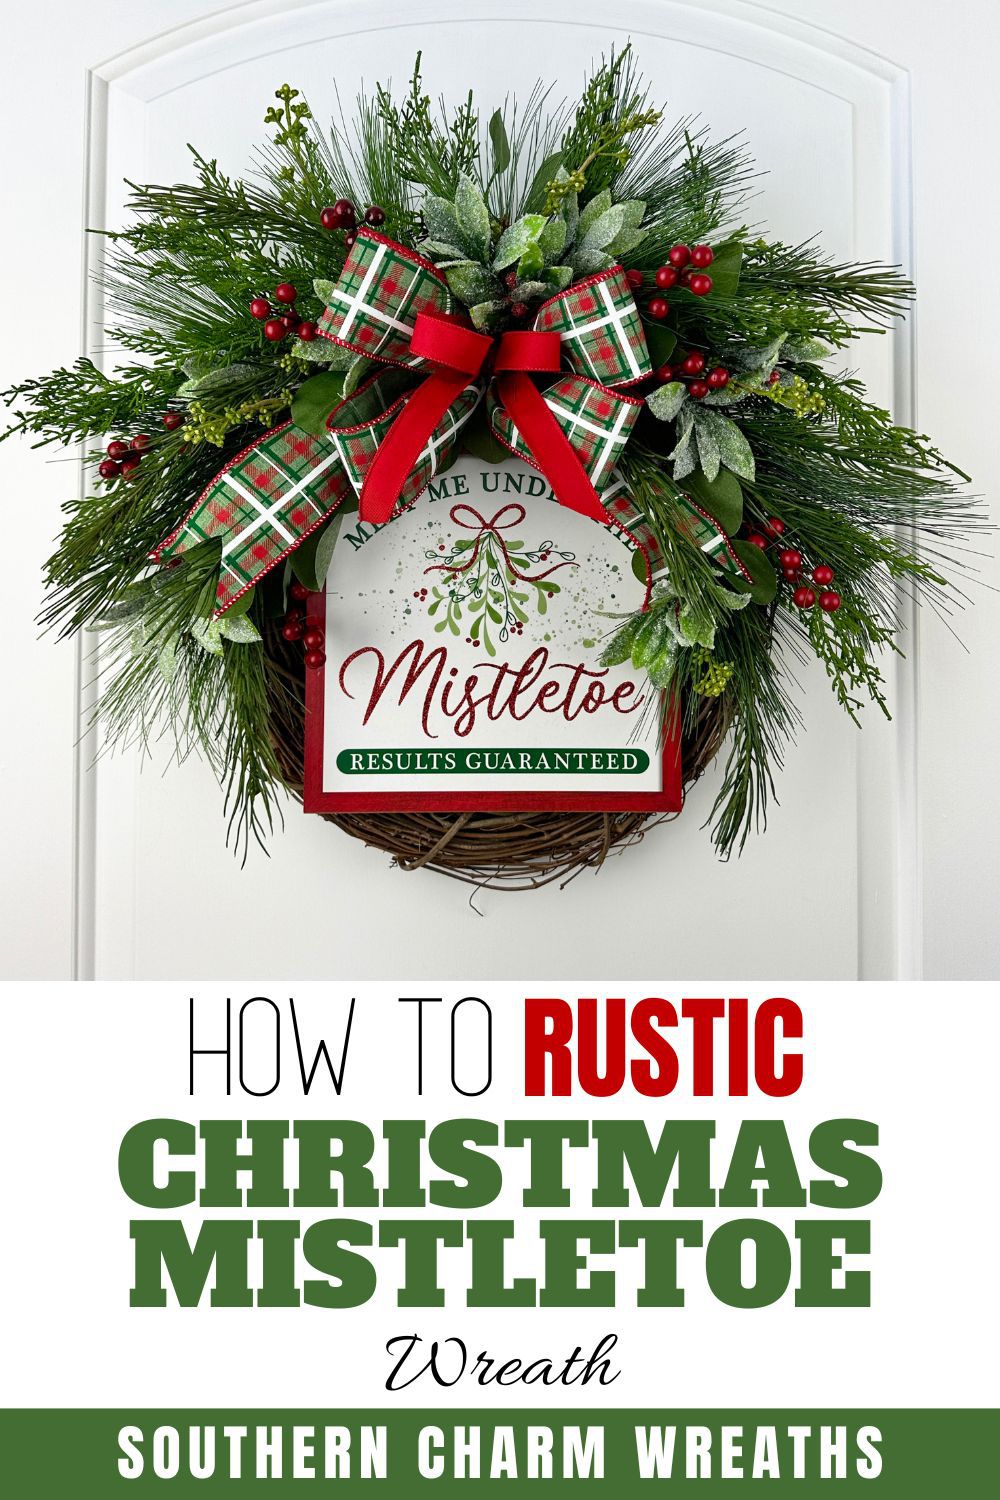
Celebrate a romantic holiday tradition with this rustic Christmas mistletoe wreath. It’s easy to make, has a rustic charm, and exudes just the right amount of cheekiness.

DIY mistletoe wreath
Today’s design demands that you pucker up!
Well, not literally. But holiday smooches are definitely encouraged under this Christmas mistletoe wreath!
This design is rustic and gorgeous, with textured greenery, plaid accents, and a smidge of glitter that adds frosty beauty.
This post may contain affiliate links for your convenience. Click here to read my full disclosure policy.

Supplies for this project
You’ll need:
- 16” grapevine wreath
- Mistletoe Christmas sign
- Assorted greenery
- Cypress, eucalyptus, and red berries
- Glittery mistletoe
- Dark green pine
- Christmas plaid silk bow
- Steel picks or wooden floral picks
- Hot glue
- Scissors
- Wire cutters
- Florist wire
How to make a rustic Christmas mistletoe wreath
1. Attach your sign
First up, you’ll want to secure your mistletoe sign, strapping down all four corners to the wreath.
I like to staple a piece of cardboard to each back corner of the sign with pieces of florist wire on top. Then, I use a bit of hot glue overtop to secure the wire.
Then, just feed your florist wire pieces through the grapevine wreath and tie them at the back to secure, twisting about an inch of wire before trimming the ends.
2. Add your bow
Now, attach your bow to the top center of your grapevine, wrapping florist wire around the center and feeding it through the wreath.
This is going to be your central binding point.
3. Begin with Christmas sprays
Start building shape with your Christmas greenery sprays, attaching one spray on each side of the bow and using hot glue to secure them.
Trim any bits that are too long or full.
Also, make sure to touch each element to give them life, bending your elements for shape.
4. Build your shape
Next, we’re going to build our shape, adding length with trimmed Christmas sprays attached beneath each of the first sprays.
Then, add clippings of pine to the top of the wreath and then to the bottom of the sprays. Fill in any holes with cypress.
Finally, add glittery clippings to the wreath, evenly distributed throughout for gorgeous color. I recommend adding a small bunch near the center of the bow to add lightness and draw the eye.
These glittery bits look slightly frosted for a wintery appeal!
5. Finishing touches on your mistletoe wreath
To finish off this design, add tiny clippings of red berries throughout, and fill in any holes with clippings of cypress or pine.
You can also give little “hair-cuts” to perfect your shape, trim ribbon ends, and pull your elements upwards until they stand to attention.
Once you’ve finished fussing – ta-dah! Your Christmas mistletoe wreath is ready to greet the world.
Watch the video: How to make a rustic Christmas mistletoe wreath
If you enjoyed this post, you might also like:
- Red Magnolia Christmas Arrangement
- DIY Christmas Flower Market Deco Mesh Wreath
- DIY Holly Jolly Deco Mesh Christmas Wreath
Like this post? Pin it for later!
It was really so pretty and I liked it being rustic looking. It is a lot of people wanting the rustic look. Thank you for teaching me this.