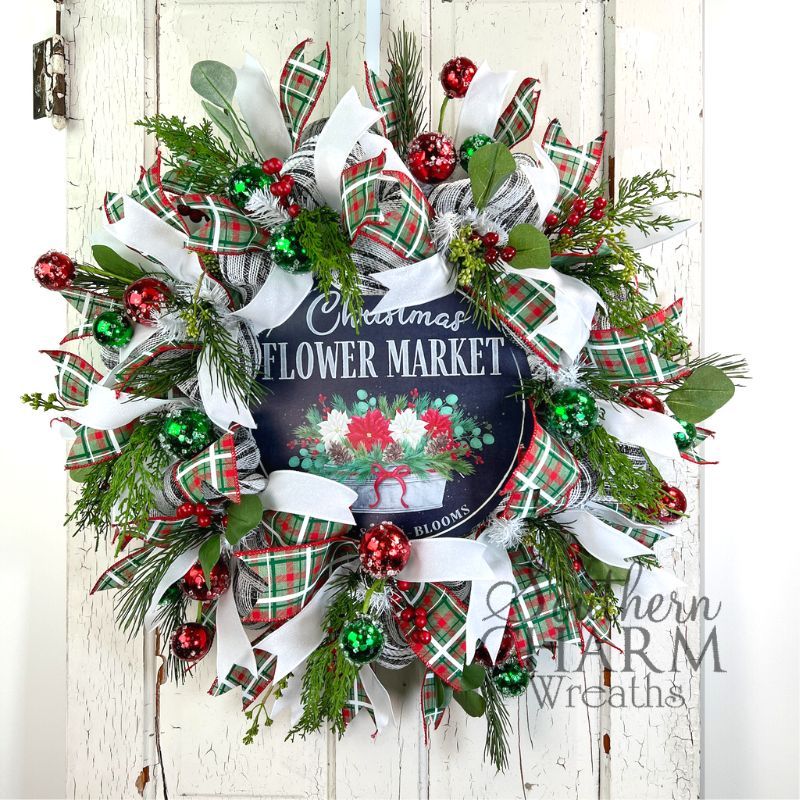
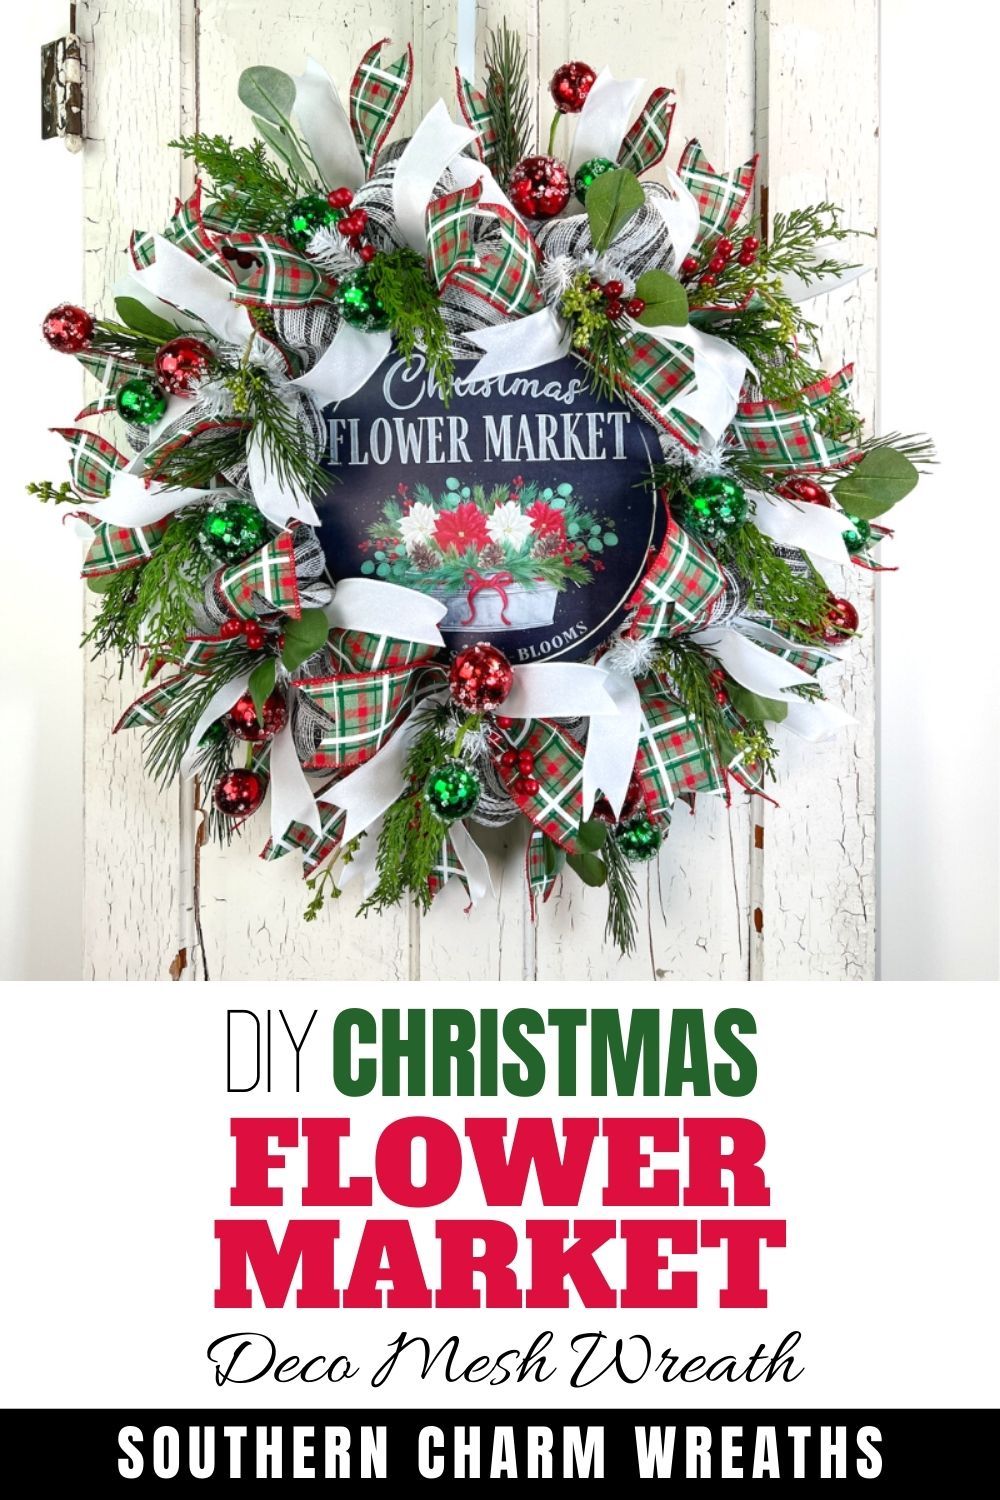
DIY Christmas Flower Market Deco Mesh Wreath
Looking for a great beginning kit to test the waters in wreath making? Look no further than this Christmas Flower Market Deco Mesh Wreath that comes in a kit that ships right to your home. Purchase your own from Trendy Tree and watch as I teach you how to turn yours into this striking front-door Christmas deco mesh wreath.
How to Make A Christmas Flower Market Deco Mesh Wreath
Are you looking for the perfect craft project to get into the holiday spirit? Then why not try your hand at making a gorgeous Christmas Flower Market Deco Mesh Wreath? This festive and decorative wreath will definitely add some sparkle and cheer to your home throughout the whole season. Plus, it’s also an easy-to-follow process that even complete beginners can master with little effort. So if you want to learn how to make one of these striking wreaths be sure to purchase your own wreath kit today!
Supplies for this project:
Thank you to our friends at Trendy Tree for bundling these supplies together for easy purchase. For more information and to purchase, please visit Trendy Tree here.
- 1 – MD0996 – 12″ Christmas Flower Market
- 1 – RY841562 – 10.5″ Cotton Foil Check Mesh
- 1 – RGC1541AM – 2.5″ Printed Plaid Ribbon
- 1 – RGC159627 – 1.5″ Shimmer Glitter
- 2 – 8556RDGN – Orn Ball Spray x 10
- 2 – 841545SP32 – 32″ Cypress Eucalyptus Red Berry Spray
- 1 – XX748827 – White Work Wreath Form
How to make a Christmas Flower Market Deco Mesh Wreath: Step-by-step tutorial
1. Prep Your Wreath
Start by arranging your twist ties to the front of your wreath. Arrange them sticking up so you are ready to place things into your wreath. Work your way around the wreath until you are done checking and arranging all the twist ties.
2. Attach Mesh To Wreath
Measure out your mesh into lengths of 10 inches. Then twist tie it your tie. Open your next tie like a V and then secure. Keep measuring 10 inches at a time and continue to make a V lay the mesh and twist.
Work your way all the way around your wreath form. The goal is to make sure they are almost all the same height. When working your way from the top to the bottom no need to cut your mesh, You just bring it from the top down to the bottom. Just keep the edges rolled underneath and keep the mesh the same height.
Once you have made it all the way around you will want to repeat this process to hide the wreath form that is showing from the middle. You will do this by repeating the same steps but you will have to open up the pine tines and lay down the mesh and twist again.
Once you get to the last twist tie you will cut the mesh and then tuck the tail to hide it.
3. Add Ribbon
Cut your ribbon to 14 inches long. Cut 18 each of each color. Then dovetail the ends. Now you will layer the plaid ribbon with a solid white. Fold in half and add to all of the twist ties. Untwist the ties lay the ribbon in and twist back. Repeat this process all the way around your wreath.
4. Add Sign
Using the pre-cut hole in your sign find the needle tie on your middle ring. Go behind one of the streamers you ties on and anchor your sign down. Don’t push it too much so it flattens the loops. Secure it loosely so it is tacked down. Make sure it is centered before pulling it all the way secured. Also, make sure you are around the wreath wire form.
5. Fluff Wreath
Pull your ribbons out and face them forward. You can move them out, don’t be scared. Fluff your mesh that might have been pushed down when attaching your sign to the wreath.
6. Add Greenery And Picks
Separate your greenery pick by pulling or cutting it. Use wire cutters for an easier process. Then sort the pieces into like stems.
Dip the end of your greenery stem into the glue. Make a hole in one of your ties and then push your greenery stem into that tiny hole. Do this on each side by skipping every other one. You will work on both sides. Keep it even. What you do on one side do on the other. Add in the next greenery by filling in the middle section on the sides.
Add in the green berry stems. It will add texture and look greatly scattered around.
Lastly, add in your fun Christmas ball picks. Dip them in hot glue first and make your loop in your pine tine and secure it nicely in that hole. You can add these on every third tie.
Final Touches
Make sure all your streamers are pulled and fluffed. You can always add more floral picks if you desire. Now gift it to a loved one or hang it right on your front door!
Watch the video: How to make a Christmas Flower Market Deco Mesh Wreath
If you enjoyed this post, you might also like:
- DIY Holly Jolly Deco Mesh Christmas Wreath
- How to Make an Elegant Deco Mesh Christmas Wreath
- How to make a Winter Wreath for Your Front Door
Like this post? Pin it for later!
Where is the tutitual fir this Wreath, I cannot get to it?
You can find the video for this tutorial towards the bottom of this page. It is a YouTube video.