Spring Pink Hydrangea Wreath
Follow along as I make this beautiful spring hydrangea wreath, complete with pink monochromatic blooms and rose accents. This simple design takes just a few materials for maximum impact!
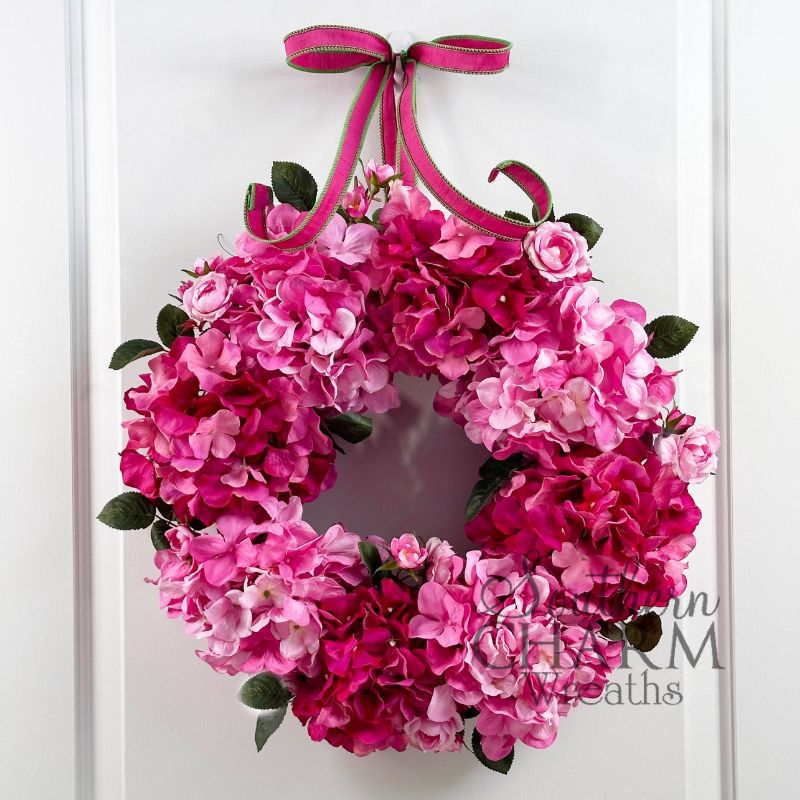
DIY pink hydrangea wreath
Sometimes, less really is more. And that’s definitely the case for this spring pink hydrangea wreath!
While I love getting fancy with all sorts of materials, there’s something special about a simple, feminine design like this spring wreath.
Beyond its beauty, this style made with full pink hydrangeas is very on-trend – you’ve likely seen something like it in all the floral magazines.
So, if you’re looking for a crowd-pleasing spring wreath that’s sure to be a best-seller at the craft fair, today’s project is just the thing!
This post may contain affiliate links for your convenience. Click here to read my full disclosure policy.

Supplies for this project
You’ll need:
- 16” Grapevine wreath
- Faux flowers
- Bright pink hydrangea
- Light pink hydrangea
- Pink roses
- Pink silk ribbon
- Zip ties
- Wire cutters
- Hot glue
- Florist wire
How to make a spring hydrangea wreath
1. Prep your hydrangea wreath
First up, prep your design by trimming any loose ends on your grapevine wreath.
Also, take a minute to trim your hydrangea stems to about 4” long.
2. Add two-tone hydrangeas
Insert your first light pink hydrangea through the grapevine, securing the end with hot glue. Remember to insert the stem at an angle, then bend it upwards.
Next, insert a dark pink hydrangea next to it using the same method. Continue around the wreath, alternating the shades of pink.
3. Fill in holes
For a full design, work your way around the wreath and continue to bend and separate the hydrangeas to fill in holes.
Ensure the form of your design is set, resembling a complete circle.
Optionally, you can choose to insert hydrangea leaves around the outer edge of the wreath, securing it with hot glue.
4. Add contrast
For an extra bit of pink, add small cuttings of roses throughout your design, securing with hot glue. Use the roses sparingly!
Then, add some rose leaves using the same principle. This is going to break up the pink color just a hair.
5. Make your hanger
To make your wreath hanger, wrap a cut of pink ribbon around the top of your wreath, tucking the ribbon underneath your hydrangeas. Then, cut the ribbon ends at about 6” long.
Zip-tie these ends together.
Next, measure out an 18” tail of pink ribbon, pinch, and pleat. Then measure 12” for a 6” loop, pinch, and twist. Repeat for a total of 2 loops, then trim another 18” tail.
Take florist wire and wrap it around the center of the bow, cutting off any excess.
Then, zip tie your bow to the top of your ribbon hanger, again trimming any excess.
To finish your hanger, take a 5” cut of pink ribbon, fold it, and wrap it around the center of your bow with a knot. Cut off any excess, and voila! Your spring pink hydrangea wreath is complete.
Watch the video: How to make a pink spring hydrangea wreath
If you enjoyed this post, you might also like:
- Spring Flower Wine Bottle Bouquet
- Spring Tulip Arrangements for Mother’s Day
- DIY Spring Rose Grapevine Wreath
Like this post? Pin it for later!
