Easy Hacks for Spring Wreath Making
Use these genius spring wreath-making hacks to speed up your time in the studio. You’ll make more wreaths in a shorter time!

Genius Spring Wreath-Making Hacks
I always say that the more wreaths you make, the more shortcuts and hacks you will teach yourself. It just takes practice. Well, I’m about to save you even more time. These spring wreath-making hacks are my own little shortcuts and time savers that I find myself using over and over again.
1. Use Rustic Wire to Make Hangers on the Back
I like to sell my wreaths with a hanger on the back so that way customers know which way to hang them up. Honestly, rustic wire is a game-changer – it is so easy to use. All I did was twist the rustic wire around the wreath and made a loop. There is no denying which way the wreath hangs up.
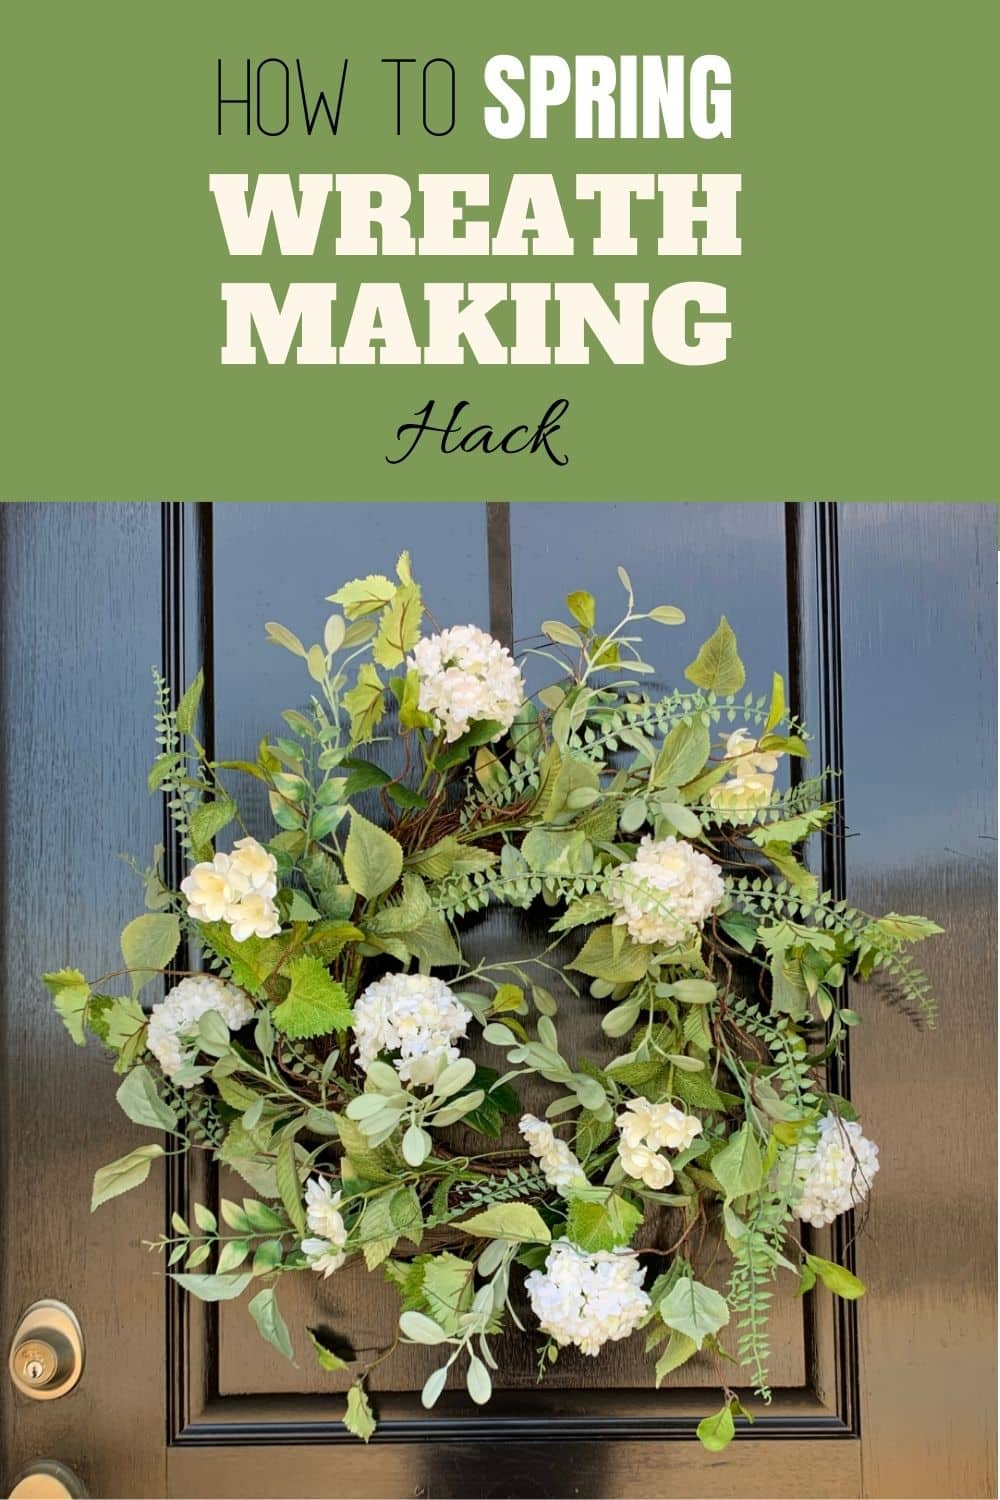
2. Start With a Premade Green Wreath
This is the hack the pros won’t tell you! Start with a premade wreath that already has the greenery on it. Then, go through and add your favorite floral blooms to it.
Florists to this hack all the time. It saves them lots of time and allows them to have a super-quick wreath for their shops.
Before you add the flowers to the wreath, touch all the little pieces of leaves and fluff everything so that it comes to life and gives your wreath dimension.
3. Design Your Wreath On a Wreath Easel
When I am adding the flowers to my wreaths, I always hang it up on my easel first. This way you can see what it will look like on the door. I can step back and look at the wreath to decide whether it needs more flowers or if there is a large empty spot.
4. Add The Flowers One At a Time
I like to start on one side and add each large flower on opposite ends. Then, I keep adding flowers until I am happy with how many I have on the wreath. I try to space the flowers out evenly so that they create a balanced wreath.
5. Melt Gorilla Glue Sticks In a Hot Pan
This is one of my favorite time-saving hacks. I use a hot plate and melt a few glue sticks in it. Then, I dip the end of my floral or greenery picks into the melted glue and sick them into the wreath. As they dry, they are permanently attached to the wreath.
When you try this one, make sure you get a hot plate that is dedicated for crafting rather than eating! 😉
5. Pre-Make More Wreath Bases for Other Seasons
If you have a slow season, make some extra simple bases. Then, you will have something that you can use for any season of the year – all you’ll have to do is add different bows and signs to it to make it seasonal. This is another secret the pros won’t tell you!
Spring Wreath Making Hacks: Watch The Video

If you enjoyed this and want to learn more on how to get started with wreath making, try my Wreath Making 101 Workshop!
Thanks for joining me today in the wreath workshop! Comment below and tell me what’s your favorite part or let me know what I should make next!
Happy Wreathing,
Julie
More Wreath Making Tips
If you enjoyed this spring wreath making hack article, here are some more tips that you will enjoy next.
- Easy Wreath Making Hacks For Fall The Pros Don’t Tell You
- How Not To Overybuy Wreath Supplies
- Florist Wire Gauge Explained
Liked These Spring Wreath Making Hacks? Pin it for later!
I wanted to join your wreath club and was on your wait list. Guess I wasn’t fast enough. I work full time and looks like I got busy and didn’t get signed up fast enough. Maybe next time.
Thank you, Julie and staff. I always learn so much from you.
where do you find the premade just greens wreath to start with?
Hey Stacey – Many of your favorite local retailers like Michaels, Hobby Lobby, etc. sell pre-made wreaths. You can also search your favorite online vendors to see what they have available.